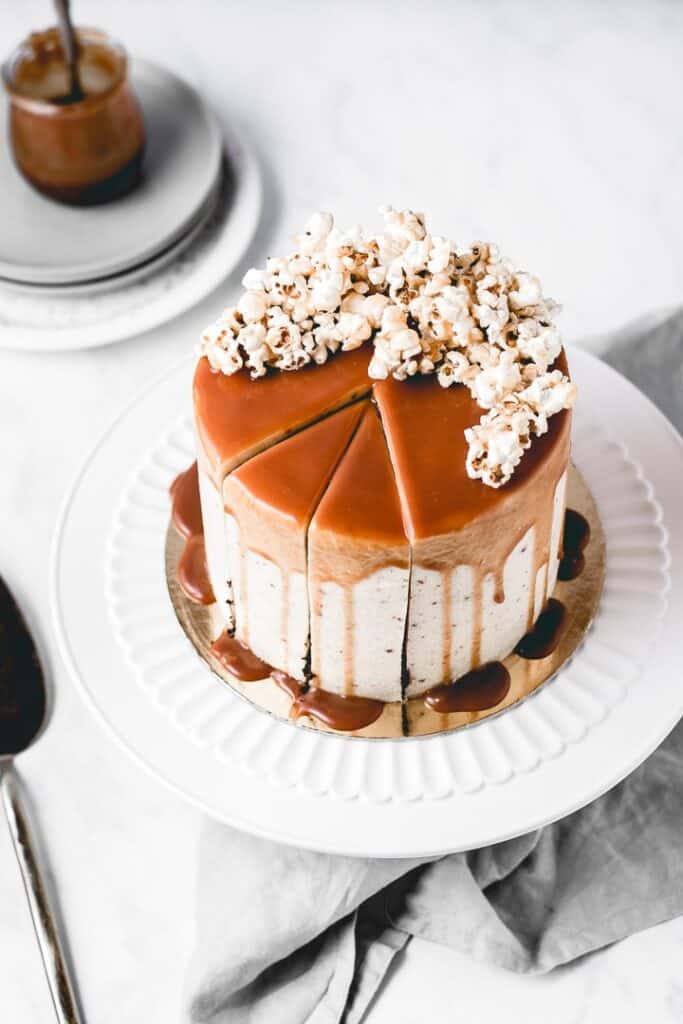
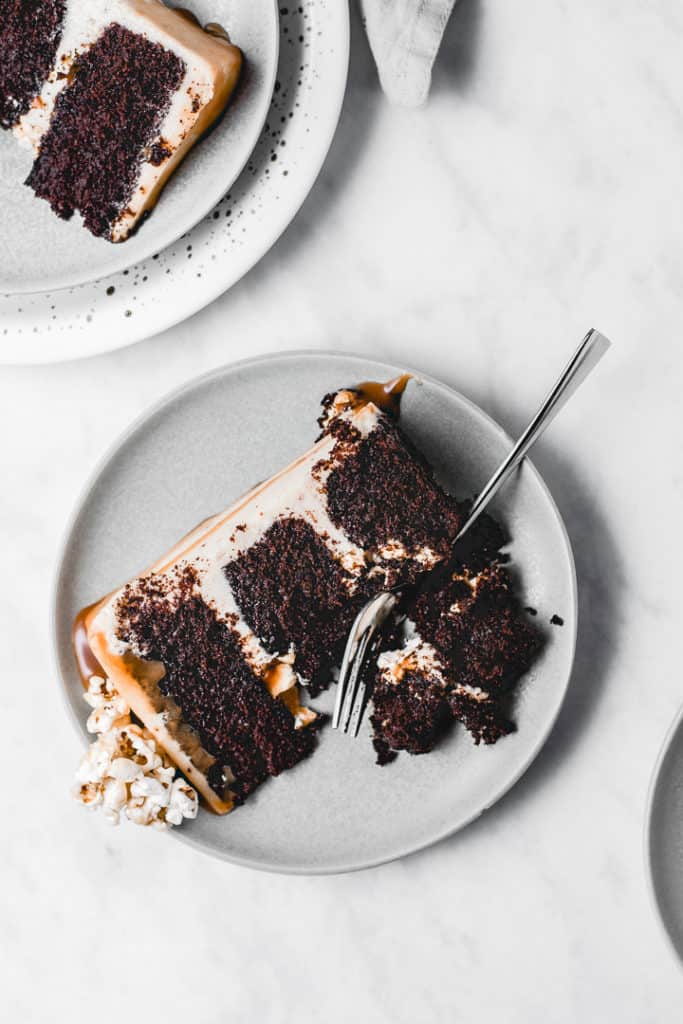
Three layers of rich, moist chocolate cake, paired with amazing brown butter popcorn frosting and caramel popcorn in between the layers for a little bit of crunch! Heavily drizzled with caramel sauce, this Caramel Popcorn Chocolate Cake is a showstopper!
I strayed away from my posting schedule a little bit, so I'm running late with writing this recipe. But better late than never, aye? 😉 (I'm currently obsessing over Outlander, so I love overusing the series slang - I'm so sorry , lol. )
I've had some things come up at work, a sudden business trip that lasted longer than predicted and I also visited Vienna with my family.
We had a lovely time together, but I was also glad to be home and recharge my batteries. Now I'm ready to get back in the kitchen and make some magic - already in gingerbread mode. *sorry, not sorry*
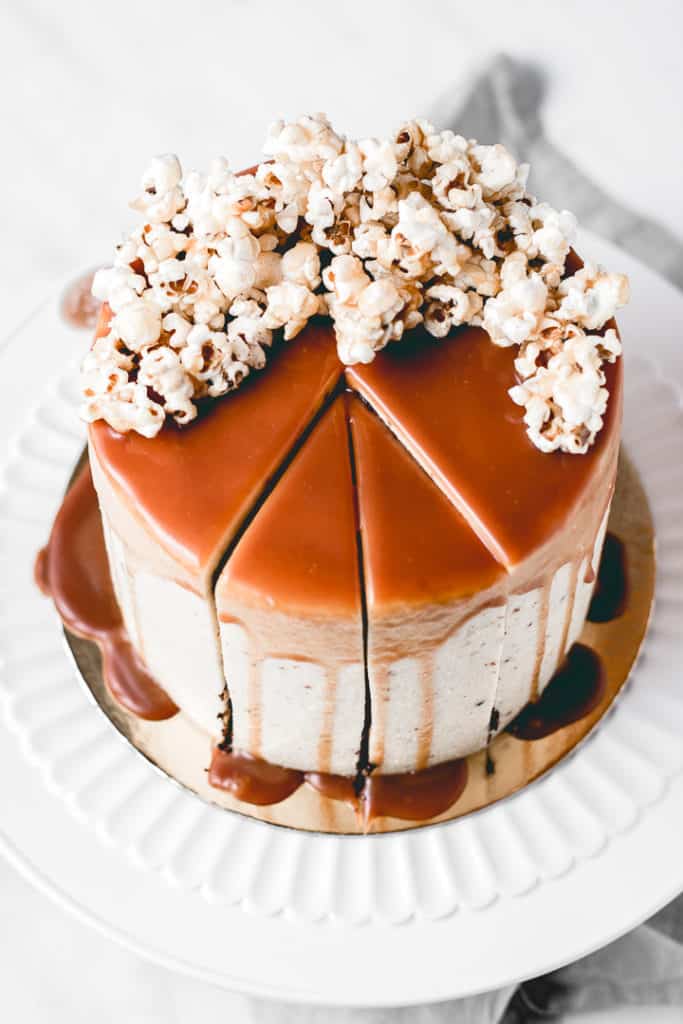
HOW TO MAKE THIS CARAMEL POPCORN CHOCOLATE CAKE
I used my true and tested chocolate cake recipe, that I simply adore. As do all other people who have had the chance to try it, so you know we have a winner here. 😉
You don't have to worry about having weird, soapy aftertaste that often happens in cake recipes that call for way too much baking soda.
I've written a little bit about baking soda vs. baking powder, as well as the other components regarding this cake recipe, in my Chocolate Oreo Cake. Give it a read if you want to know the deets!
Now, you may be wondering how on earth do caramel popcorn and chocolate go together.
But it works, I promise! Ever since my sister got back from an exchange programme in Germany, almost 10 years ago, she has been talking about a delicious Milka popcorn chocolate bar she had .
And I'm a massive fan of sweet and salty combinations, so I knew I had to make that bar into a cake flavour. 🙂
LET'S TALK ABOUT BROWN BUTTER POPCORN FROSTING...
... or as some (me) like to call it - one of the best things you're EVER going to taste.
Buttered popcorn is a snack popular worldwide, so I decided to transform it into a buttercream.
To bring out that popcorn flavour, I decided to steep the popcorn in hot milk. The longer you steep it for, the better the flavour.
Just bear in mind that the popcorn will soak up A LOT OF MILK, that's why I used almost a litre of milk to make sure I'll have enough for the buttercream base.
Aside from that, you're going to need to make brown butter. Fret not, it's one of the easiest things in the world and has an amazing nutty aroma. You'll love it!
If you want to know more about it, check out my Brown Butter Choc Chip Cookies recipe, where I go in to more details.
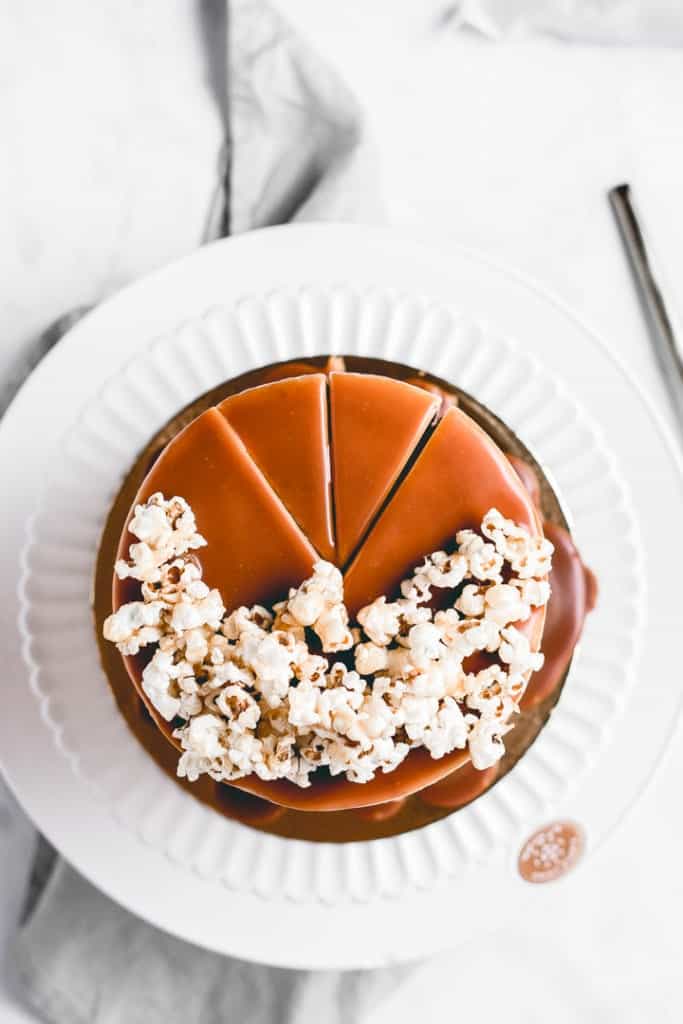
In the recipe below I also explained how to make caramel popcorn, as well as caramel sauce.
TIPS FOR CARAMEL DRIP
I actually used some leftover caramel sauce, so it wasn't very thick. If you want to have a nice, thicker caramel drip, then put less cream and heat up the caramel sauce a little longer after putting in the cream (the higher temperature makes it thicker). And make sure to pour it over the COLD CAKE. 🙂
IF YOU'RE A LAYER CAKE LOVER, THEN CHECK OUT SOME OF MY FAVOURITES...
Earl Grey Tea Layer Cake
Chocolate Berry Cake
Lemon Elderflower Cake
Funfetti Vanilla Birthday Cake
Chocolate Hazelnut Cake
Dulce de Leche Banana Cake
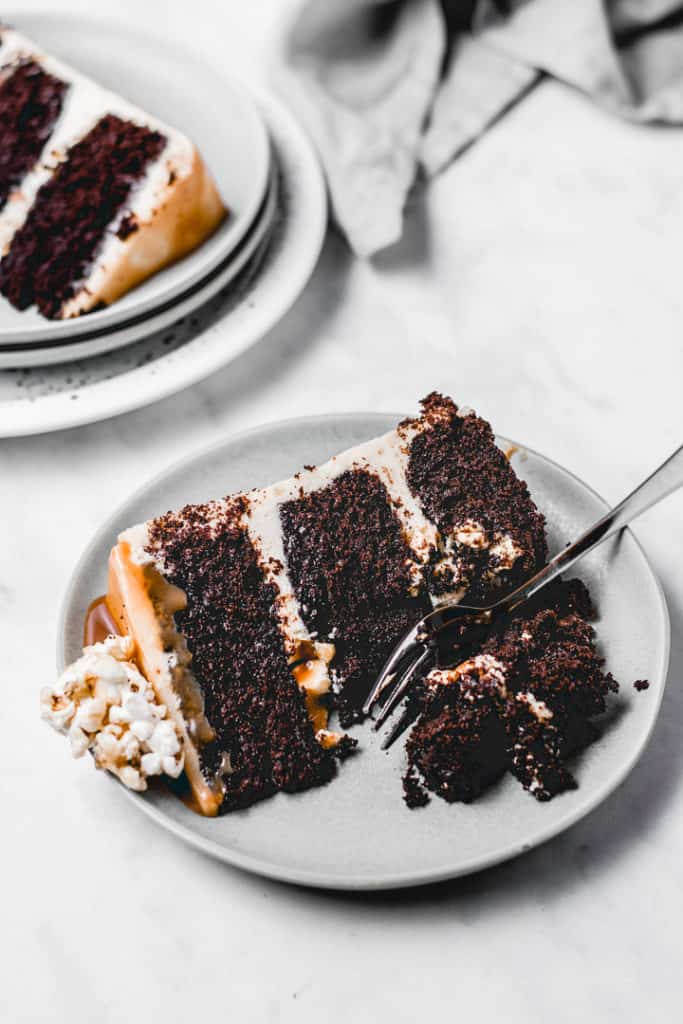
If you make this delicious Caramel Popcorn Chocolate cake, let me know by tagging me on Instagram @anasbakingchronicles or tell me all about it in the comments section down below. I love seeing your creations! If you have any questions, don’t hesitate to ask. Happy baking!
Love,

📖 Recipe
caramel popcorn chocolate cake
Description
ingredients
Chocolate Cake:
- 2 large eggs (room temperature)
- 115 g vegetable oil ((I used sunflower))
- 200 g full-fat sour cream (room temperature)
- ½ teaspoon vanilla extract
- 170 g all-purpose flour
- 75 g dutch-processed cocoa powder
- 2 + ¼ teaspoons baking powder
- ½ teaspoon salt
- 225 g caster sugar
- 65 g brown cane sugar
- 130 g hot water
popcorn infused milk
- 100 g corn kernels
- 1 tablespoon vegetable oil
- 15 g unsalted butter
- 800 g whole milk
brown butter popcorn buttercream
- 55 g all-purpose flour
- 225 g granulated sugar
- ½ teaspoon salt
- 390 g popcorn infused milk
- 350 g unsalted butter
- 1 teaspoon vanilla extract
caramel popcorn
- 100 g corn kernels
- 1 tablespoon vegetable oil
- 15 g unsalted butter
- 2 teaspoons salt
- 200 g caster sugar
- 80 g water
- 20 g unsalted butter
Instructions
for chocolate cake layers
- Preheat your fan oven to 160°C (325°F) or 175°C (350°F) if you're not using a fan oven. Grease and line with parchment paper three 6" round cake tins. Alternatively, you can use two 8" cake tins.
- In a medium bowl sift together flour, cocoa powder, baking powder and salt. Add sugars, whisk until combined and set aside.
- In a small bowl or a measuring jug, whisk together eggs, vegetable oil, sour cream and vanilla extract. These are your wet ingredients.
- In a small pot, bring your water to a boil or simmer, it's important that it's hot. Add the wet ingredients to dry ones, stir a little bit, it'll be somewhat dry. Then add the boiling water and whisk until combined. I usually add the water in two stages to minimize clumps forming.
- Divide the batter evenly among the 3 tins and bake for 23-25 minutes or until skewer inserted in the middle comes out with few moist crumbs. Do not overbake it.
- Once they're done, let the cakes cool for 10-15 minutes on a wire rack before removing them from the pans to cool completely.
for popcorn infused milk
- First up - make the popcorn. Put the oil and butter in to a tall pot, heat it up and then put the corn kernels in. Stir with a wooden spoon or a silicone spatula to evenly coat the kernels. Cover with a lid and leave to pop. When it's done, season it with salt.Meanwhile, bring the milk to a simmer in a medium-large pot. Put all of the seasoned popcorn in the milk and stir with a wooden spoon/silicone spatula to make sure everything is coated in milk. Cover with a lid and leave it to steep for an hour. Afterwards, strain the milk through a fine mesh sieve to get rid of popcorn. If your popcorn soaked up too much milk, then add regular milk to get the amount needed for buttercream.
for brown butter popcorn buttercream
- The first thing you need to do is to make brown butter. Cut the butter into cubes and melt it in a small saucepan, over a medium to high heat. Once melted, you want to keep heating it, stirring occasionally with a wooden spoon, until brown specks appear and you can feel that nutty aroma. Be careful not to burn the butter, but also don’t “underbrown” it. Once your butter is browned, transfer it in a bowl and let it cool in the fridge, stirring occasionally. Before using it, bring to room temperature.
- In a small saucepan (I always use heavy-bottomed one to prevent burning) combine flour, sugar, salt and popcorn infused milk. Cook over medium-high heat, stirring constantly with a whisk until it thickens. This can take about 15 minutes. The moment you realize it's thicker, cook for another 3-4 minutes.
- Once it's done, put a cling film over it touching the surface to prevent "skin" forming and let it cool to room temperature. This is your pudding base. You can do this in a fridge, but before using it let it come to room temperature.
- Using a stand mixer fitted with the paddle attachment, beat the brown butter (with the addition of unsalted butter to get to 350 g) for 5 minutes until it's pale and fluffy. Then add spoonful by spoonful of previously made pudding. Mix until it's all nicely incorporated and with no lumps. Add vanilla extract and mix until everything is combined.
- Cover with cling film and leave it at room temperature until you're ready to assemble the cake.
caramel popcorn
- Put the oil and butter in to a tall pot, heat it up and then put the corn kernels in. Stir with a wooden spoon or a silicone spatula to evenly coat the kernels. Cover with a lid and leave to pop. When it's done, season it with salt and transfer into a large bowl.
- In a small, heavy-bottomed saucepan, combine sugar and water. Make sure every sugar granule is covered with water. Heat it up over medium to high heat, until it reaches golden amber colour. DO NOT STIR IT. This will take about 15 minutes. Remove from the heat, add butter, stir with a silicone spatula. Quickly pour over salted popcorn and stir with a silicone spatula to get it distributed as evenly as possible. Trasnfer to a silicone mat and press with a silicone spatula to even it out. Leave to cool and harden.
assembly
- Using a cake leveler or a long serrated knife level the tops of your cakes if needed.
- In the middle of your cake board or a serving plate put some buttercream to stop the cake from moving around.
- Place one cake layer on a cake board or a serving plate. Using a small offset palette knife or a piping bag, spread the frosting over the cake layer and make a small dam around it. Drizzle with caramel sauce and sprinkle some caramel popcorn. Top it with the next cake layer and repeat the process.
- Place final layer on top, upside down, and do a thin crumb coat on the cake. Chill for 20-30 minutes in the fridge before final decorating.
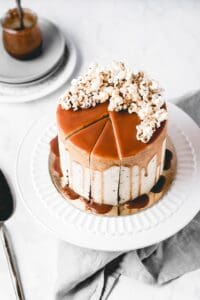
- Once cooled, frost and smooth the top and sides of the cake with remaining frosting. Place in the fridge for 45 minutes before pouring the top with caramel. Decorate with caramel popcorn and enjoy!
Notes
- If you don't have a stand mixer, you can use a hand mixer.
- Not all ovens are the same. I suggest to check the cakes at 18 min mark and then adjust the baking time accordingly. Get to know your oven!
- If you still don't own one, I advise you to buy a kitchen scale - they're cheap and easy to use, and always guarantee the same results in baking!
- Cake is best eaten at room temperature. You can keep it in a fridge, wrapped in cling film, but take it out of it at least half an hour before serving.
IMPORTANT
All the recipes are developed and tested using only metric measurements and a kitchen scale. The U.S. cup and spoon measurements are provided for your convenience, but I highly recommend getting a digital kitchen scale and measuring in metrics. It's easy and always guarantee the same results in baking!
Nutrition
The nutritional information and US conversions are calculated automatically. I cannot guarantee the accuracy of this data. If this is important to you, please verify with your favourite nutrition calculator and/or unit conversion tool.



Comments
No Comments