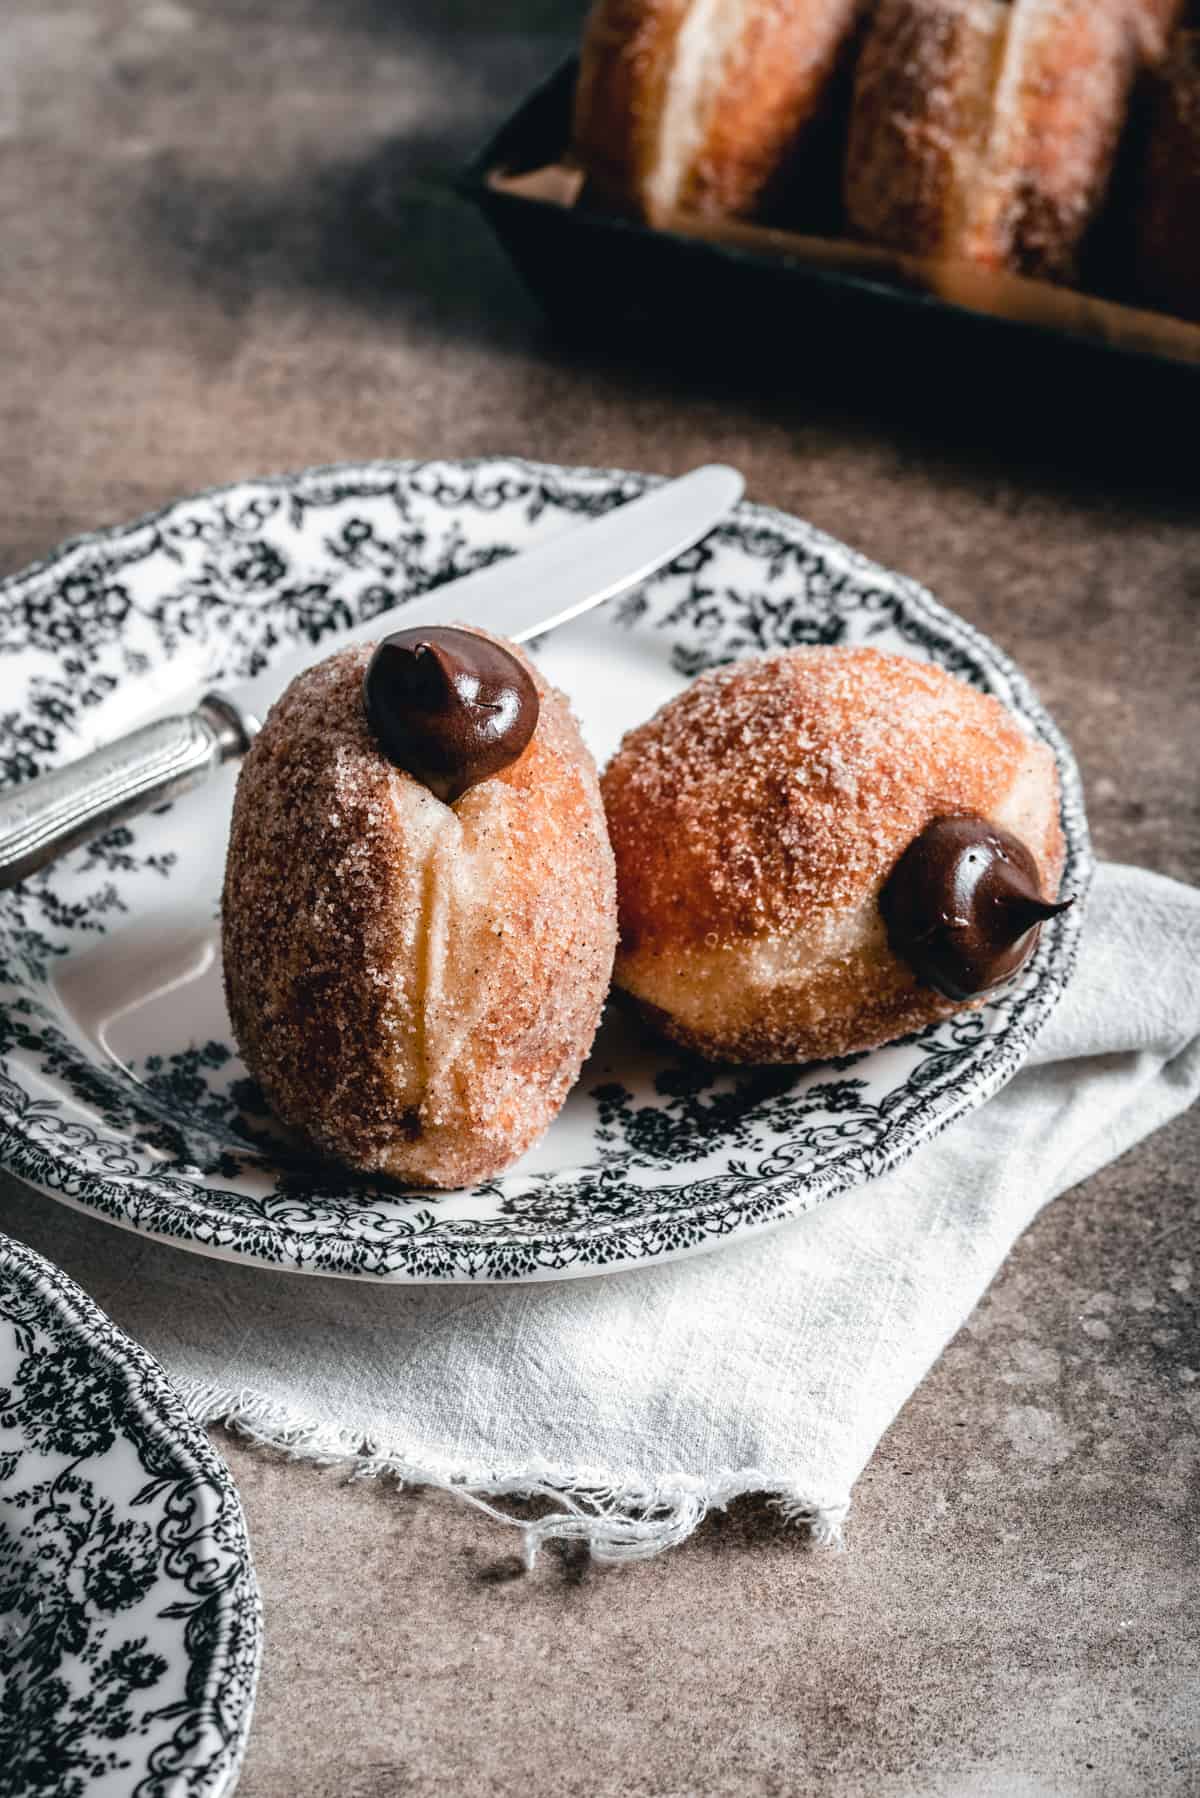
Let me introduce you to the fluffiest, chocolate filled brioche doughnuts, with the most velvety rich, chocolate filling that true chocolate lovers will adore!
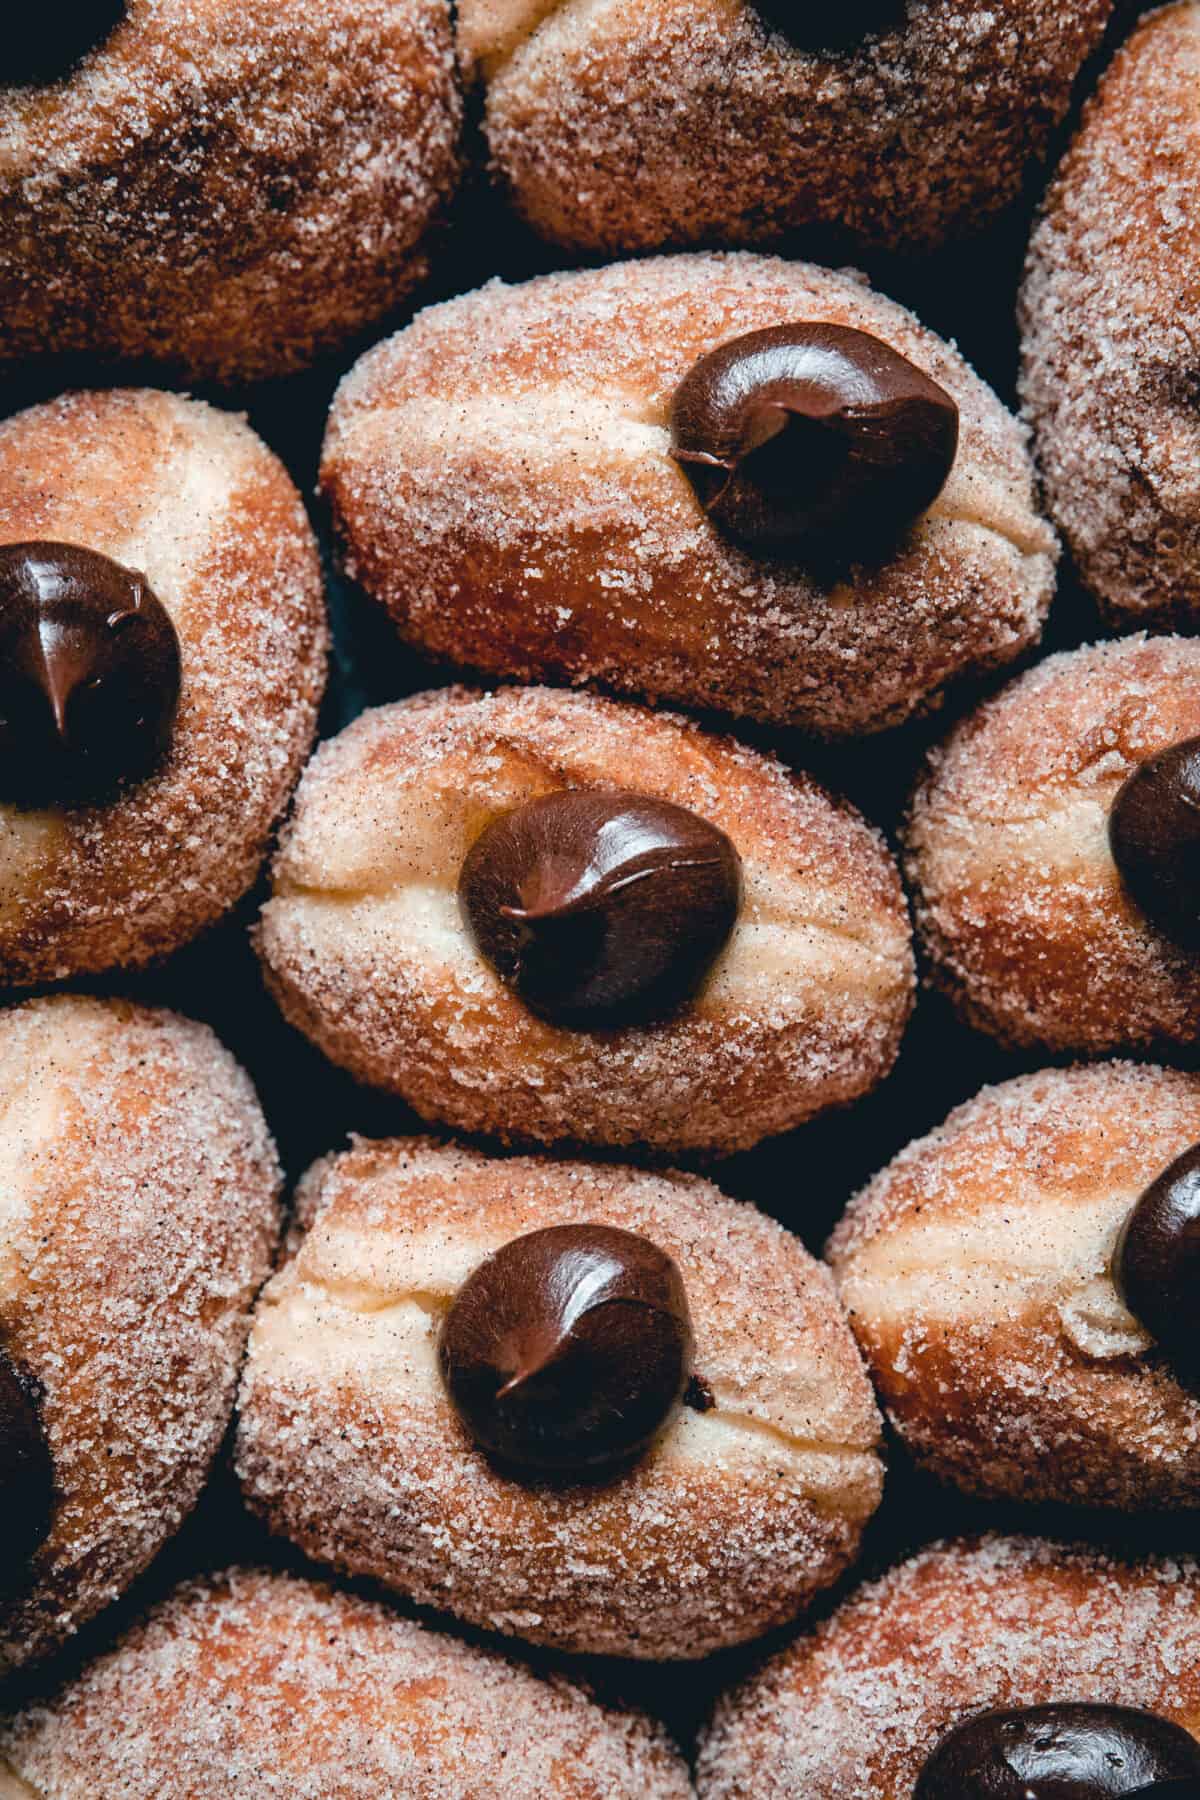
To finish my doughnut story, I needed to share with you the recipe for an amazing, rich chocolate doughnut filling. While creating it, I had a single memory on my mind—childhood summers spent on the beaches in Brela and the most delicious chocolate doughnuts I've ever eaten.
It's not quite the same, but it's darn close and I'm really happy about it! Especially considering the raving reviews it got from friends and family! 🙂
The doughnut recipe is the same as for my Bavarian cream doughnuts. It makes the softest and most flavorful dough, enriched with organic eggs and lots of European-style butter.
It takes a bit of time to properly make it, but trust me when I say—it's absolutely worth it!
Jump to:
Why you'll love this recipe
- it makes the fluffiest, most delicious brioche doughnuts you'll ever try
- the process includes overnight proofing, which makes it easier for you to distribute the workload and creates a complex depth of flavor
- the chocolate filling can easily be made vegan by substituting vegan butter and I recommend using it with my vegan doughnut recipe! 🙂
What does brioche mean?
Nowadays when recipes are labeled as "brioche" it implies that they are enriched with a lot of eggs and butter, which makes them softer and more flavorsome. The term comes from brioche bread, a rich French type of bread that is braided and baked in a loaf tin.
Ingredient notes
- Yeast: It doesn't matter if it's dried or fresh, both will work great in this recipe. Usually one packet of dry yeast is enough for 500 g of flour, so I add just a bit more from another packet because I have more flour and a very rich dough that needs longer to proof.
- Eggs: when I started developing this recipe I quickly realized that I wanted to use whole eggs, because I already had so much leftover egg white. I usually use large eggs in my baking, but I've switched to organic eggs from local farms and they come in various sizes. For that reason, I wrote the egg measurement for the dough in grams.
- Salt: It's very important for both the brioche doughnuts dough and the filling , otherwise the dough will be bland and the filling too sweet.
- Butter: always use good quality, European-style butter that has at least 82% fat.
How to make brioche doughnuts (step-by-step)
Note: You have the fully written recipe with measurements and detailed instructions at the end of the post. However, I advise you to read all the helpful tips and FAQs.
I hope the visual cues of each phase the dough goes through will be helpful to you. This is a pretty rich dough, so it needs a bit of time to properly develop.
I recommend using a stand mixer with a dough hook attachment. A regular KitchenAid Artisan with a 5qt (4.8L) bowl will do great (approx. 25 minutes from start to finish) and if you have a KitchenAid Heavy Duty mixer, that one will do an even better (quicker) job (approx. 15 minutes from start to finish). This is not sponsored, I just personally own and use both of these mixers. 🙂
For those of you that don't have a stand mixer, you can try and use an electric hand mixer with dough kneading attachments, but pay attention to possible overheating of the mixer.
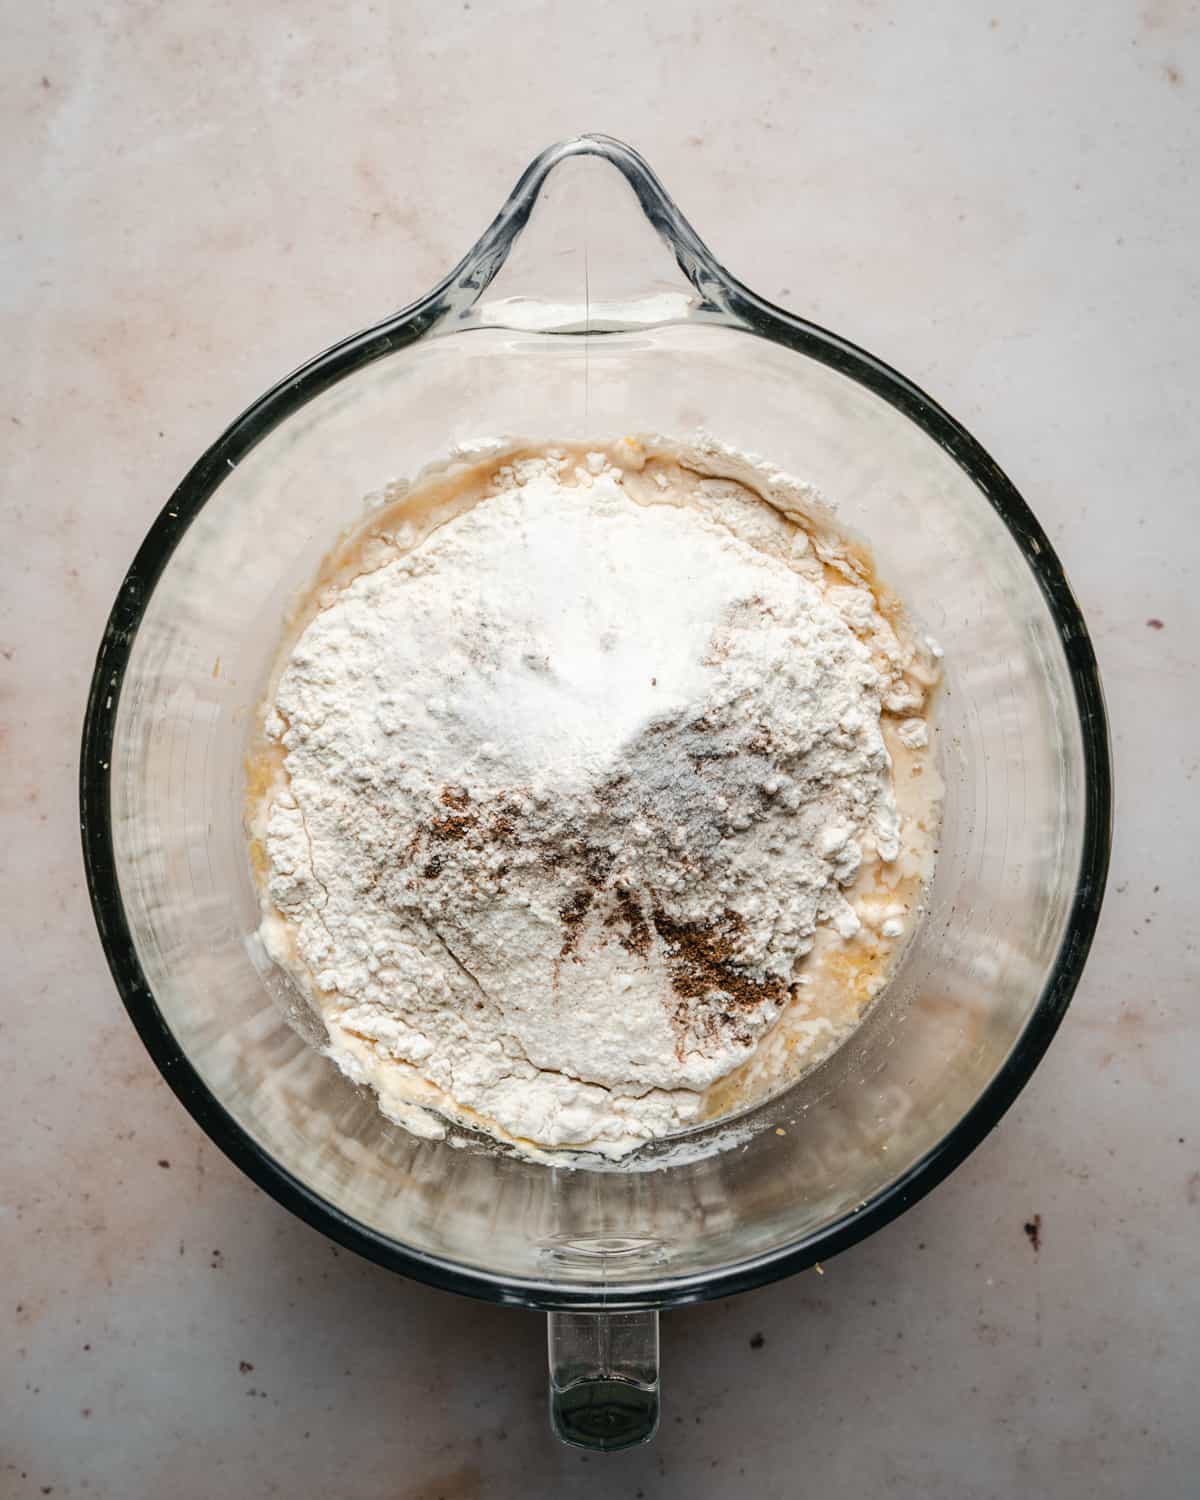
- Start by adding the lukewarm water, sugar, yeast, rum, lemon zest, vanilla and eggs to the bowl of a standing mixer. Then add the dry ingredients - flour, salt and ground nutmeg. It's important that the yeast doesn't come to direct contact with the salt.
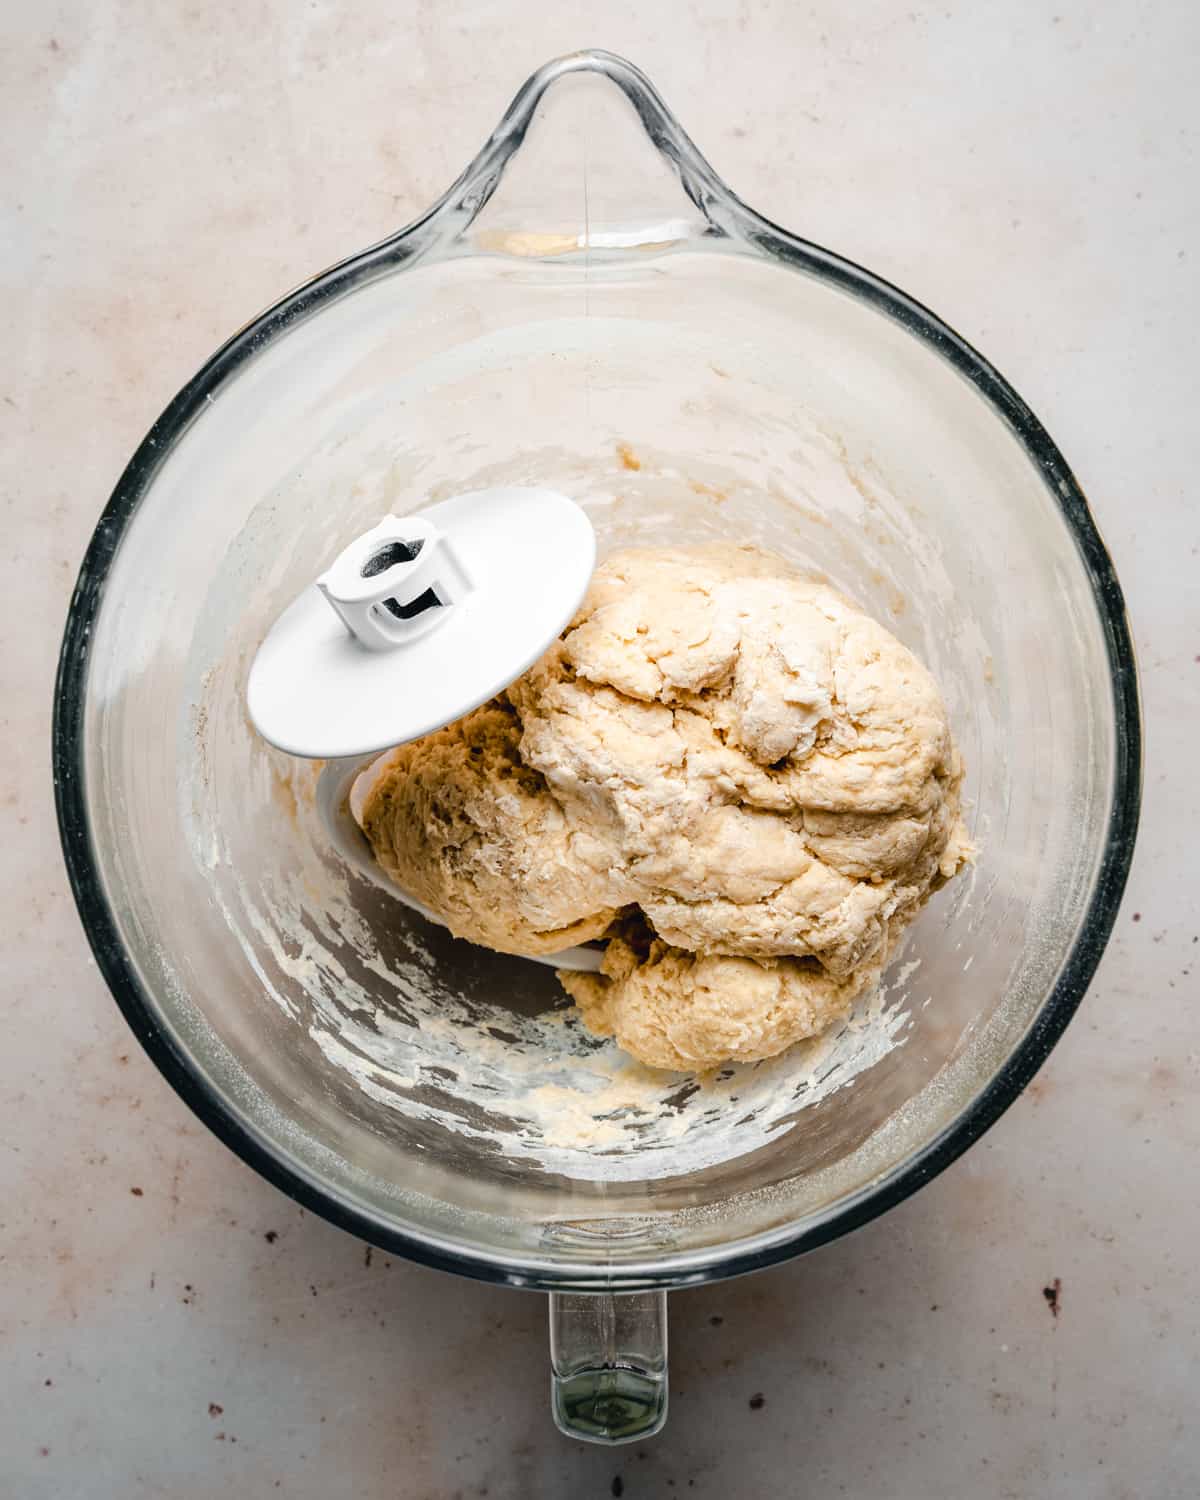
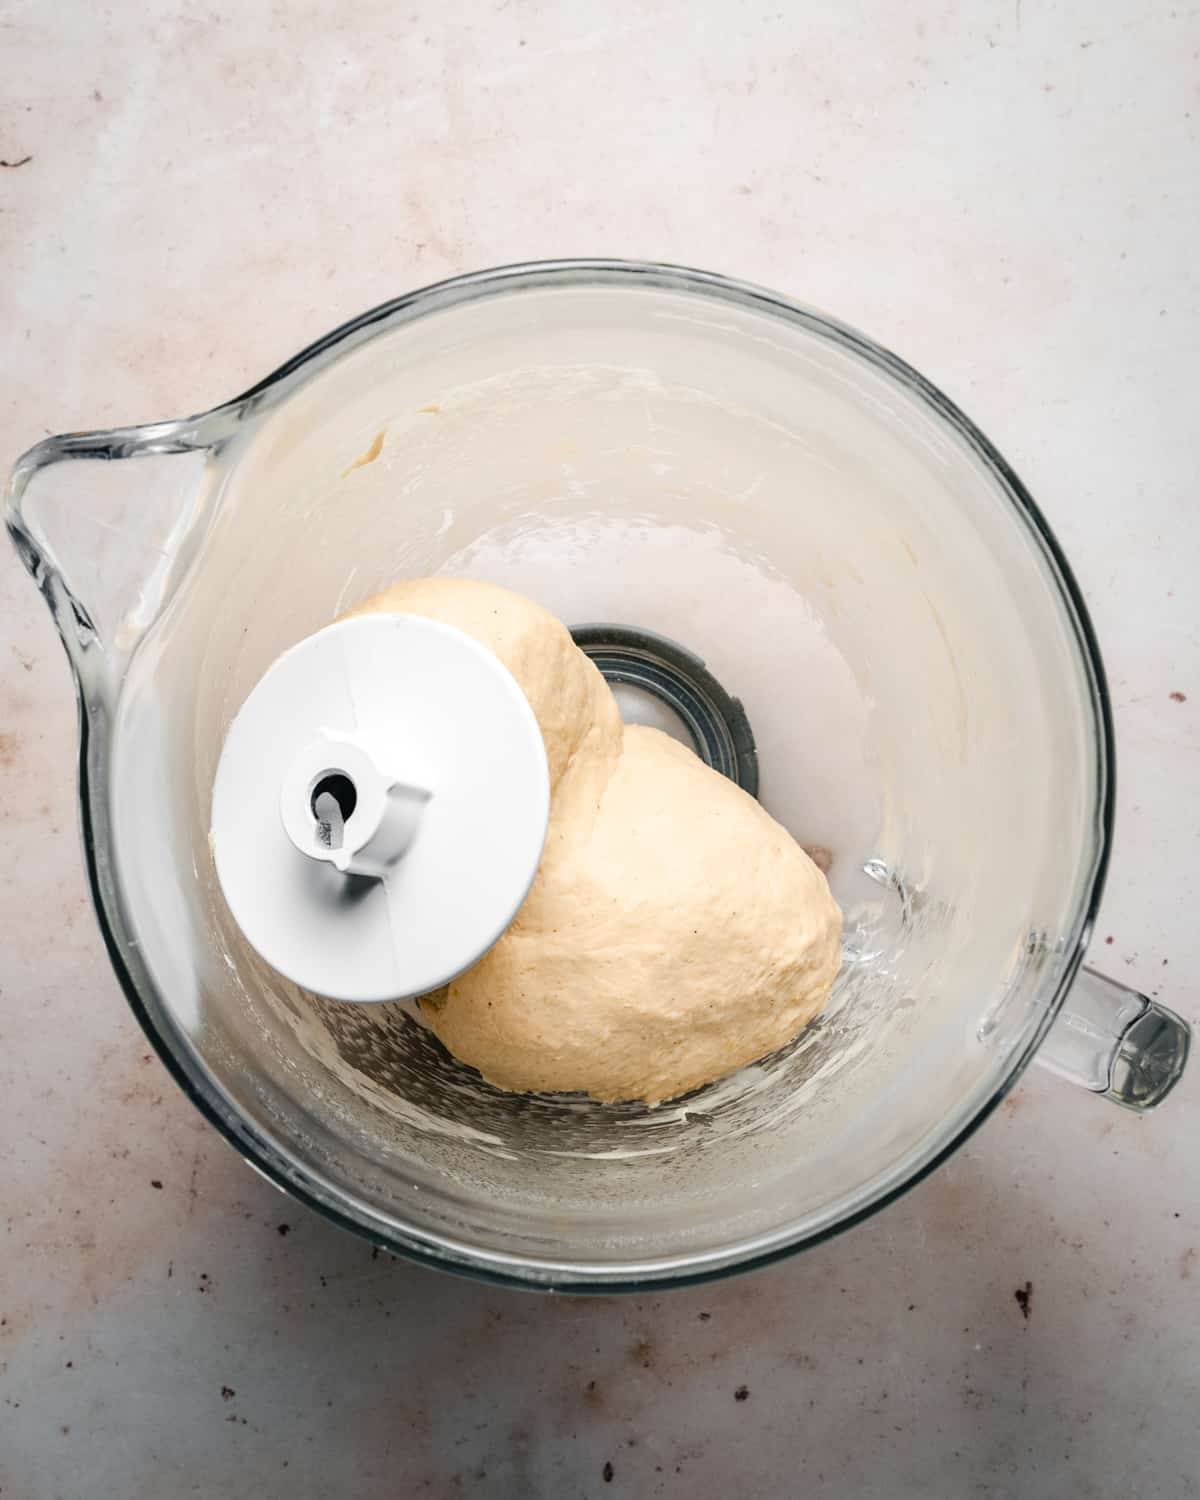
- Using a dough hook attachment, start kneading at low speed. The ingredients will start clumping together into a dough and look somewhat dry and rugged like pictured.
- However, just continue with the kneading for 5-8 minutes and the dough will become smooth and more elastic and pull away from the sides of the bowl.
The reason we're not adding the butter from the start is to make it easier for the dough to develop gluten and become soft and elastic.
Now that we've allowed the dough to develop some gluten, it's time to start adding the butter, one cube at a time. In this process, the dough will go through various phases, but just keep going and be persistent.
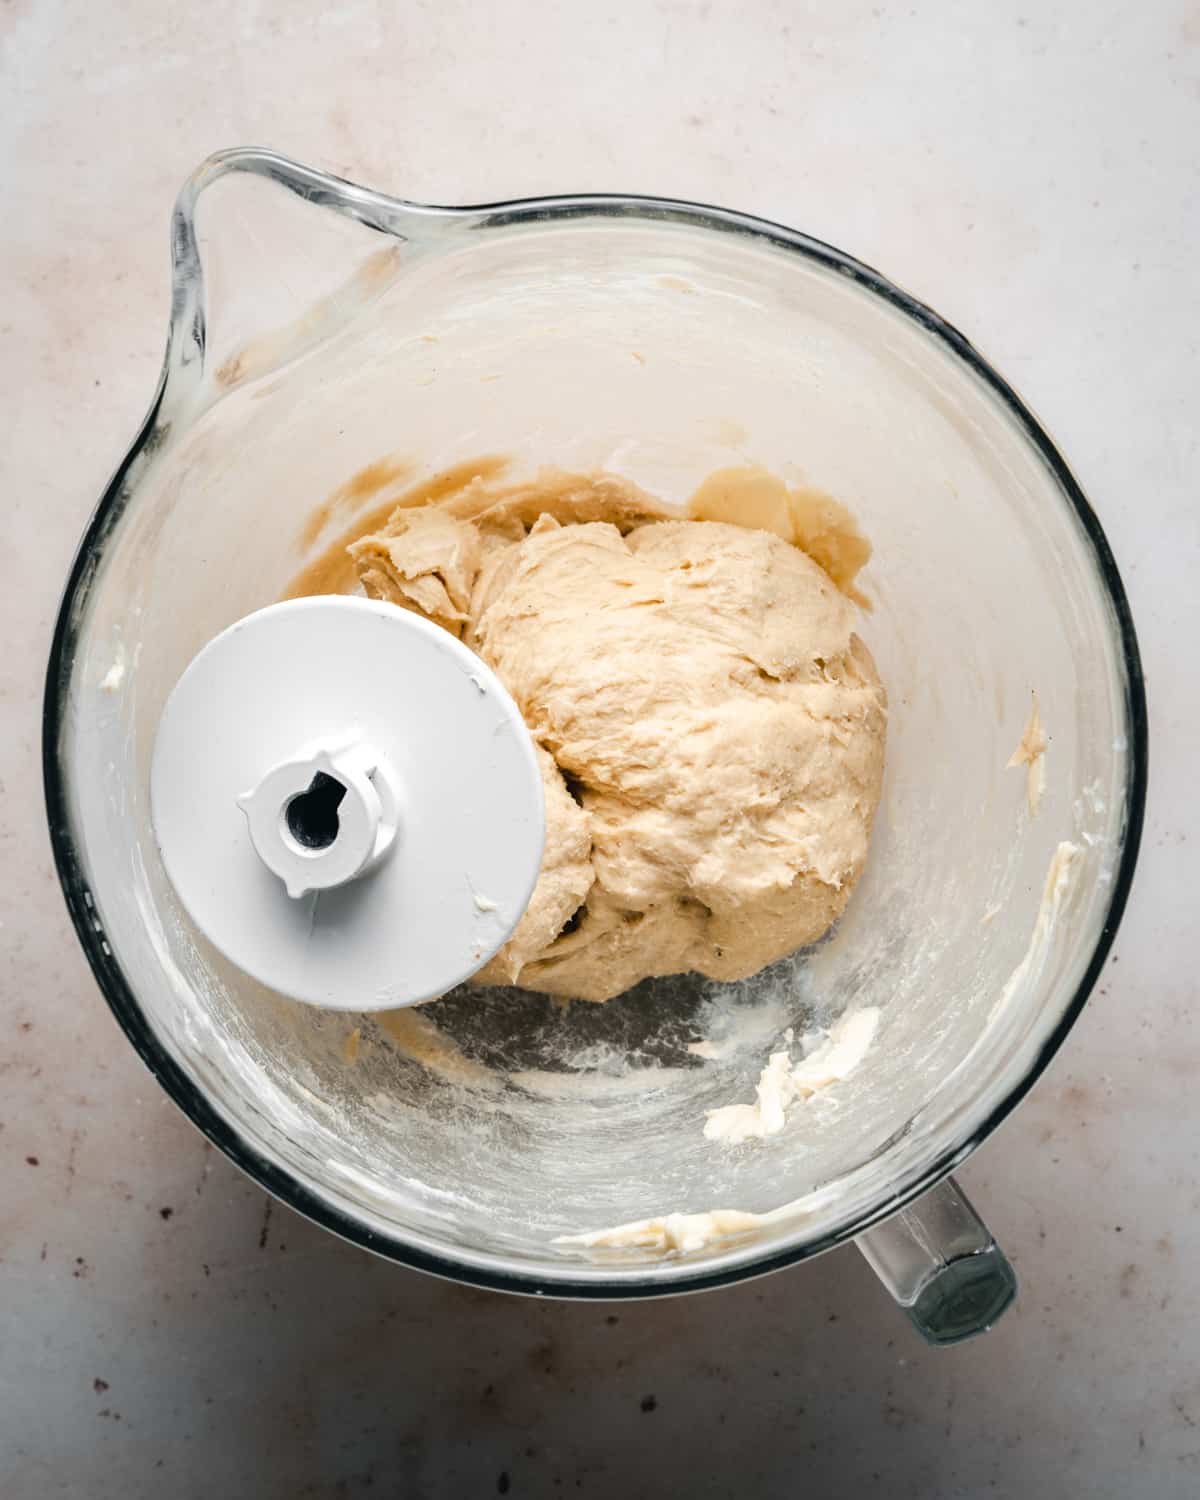
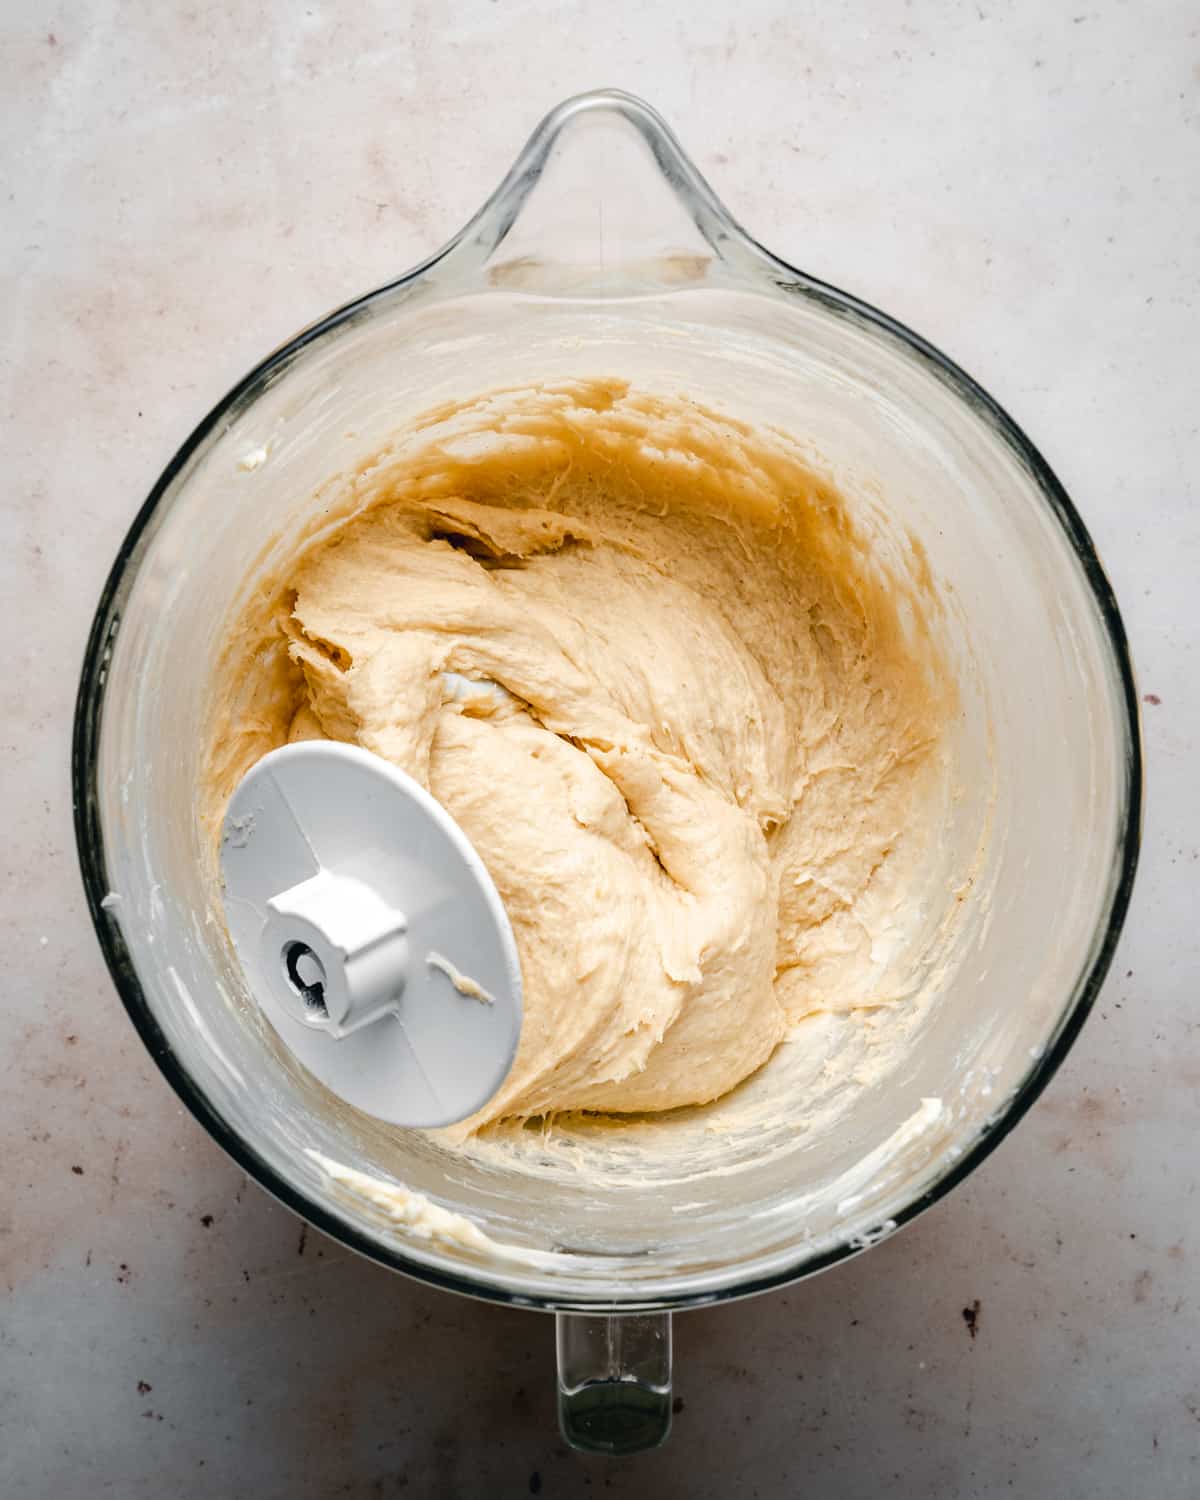
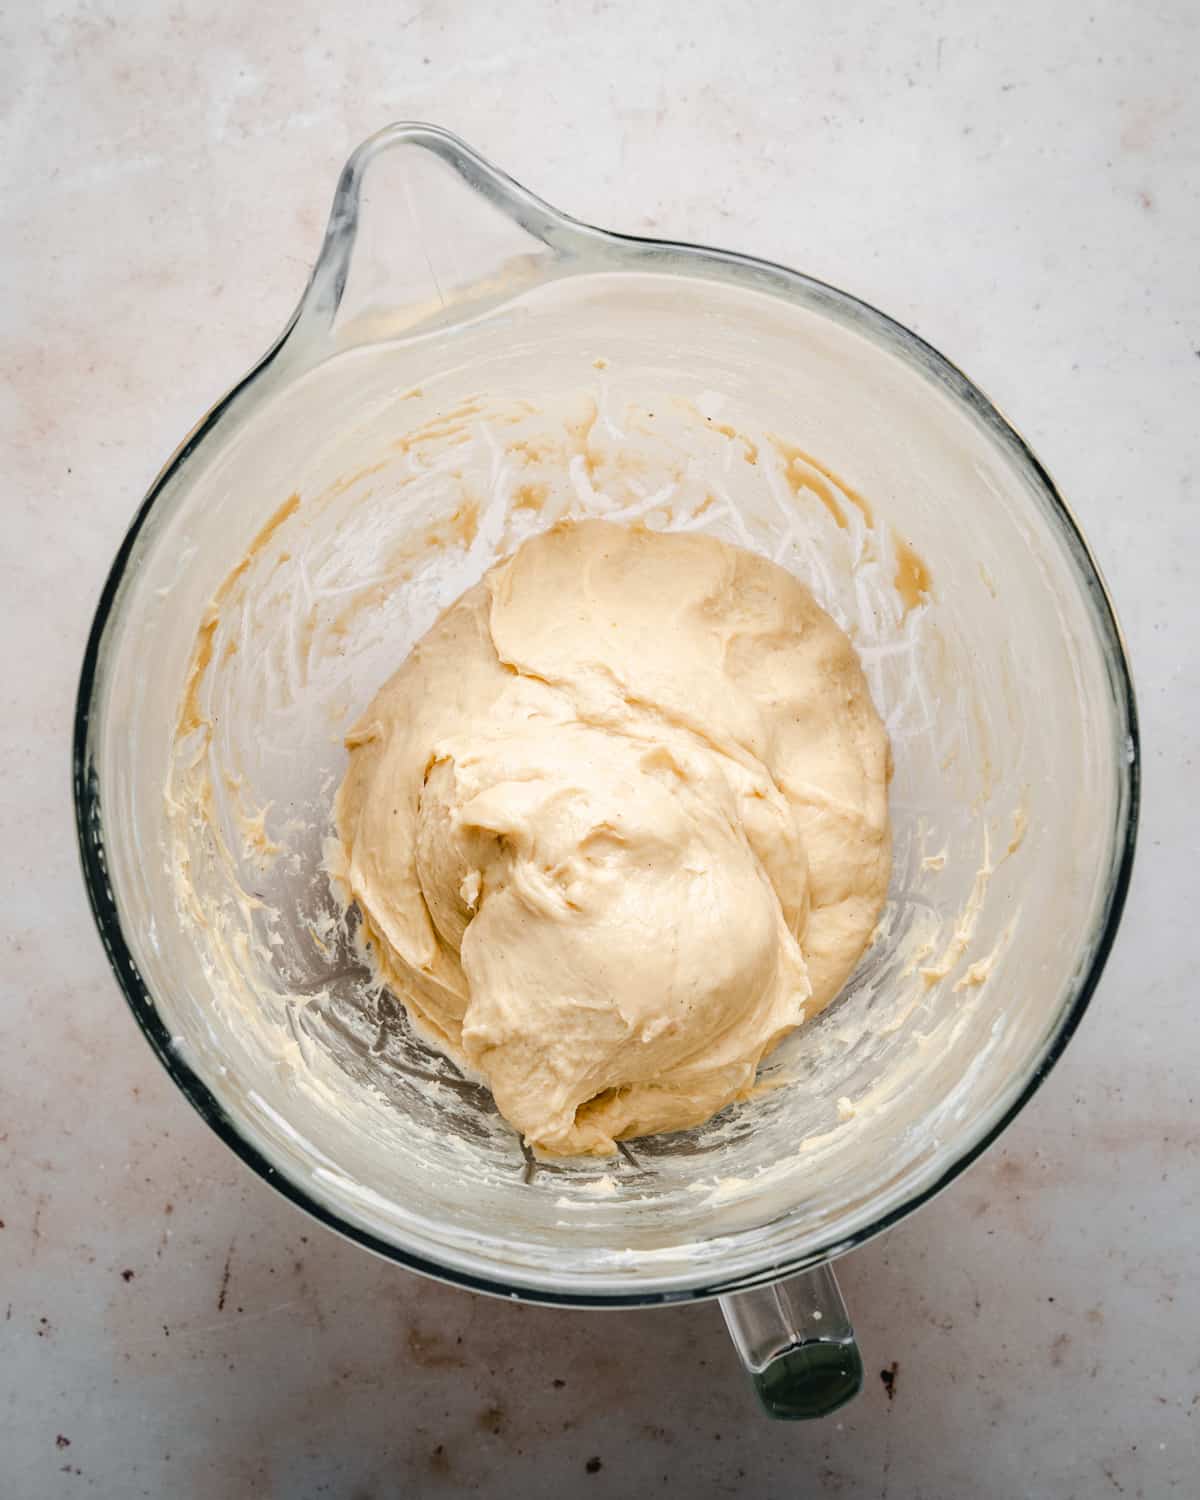
- At first, as we start adding the butter, the dough will start looking like it's separating and the butter is just getting smeared on the sides of the bowl, but don't worry.
- Eventually, the dough will start "accepting" the butter and it will become a sticky mess. Still, trust the process.
- When you've added all the butter, knead for another 5 to 10 minutes, or until it's once again smooth, elastic and not sticking to the sides of the bowl.
- Then, take the dough out of the bowl and "slap-and-fold" it a few times on a clean surface, until you form a smooth, glossy ball of dough.
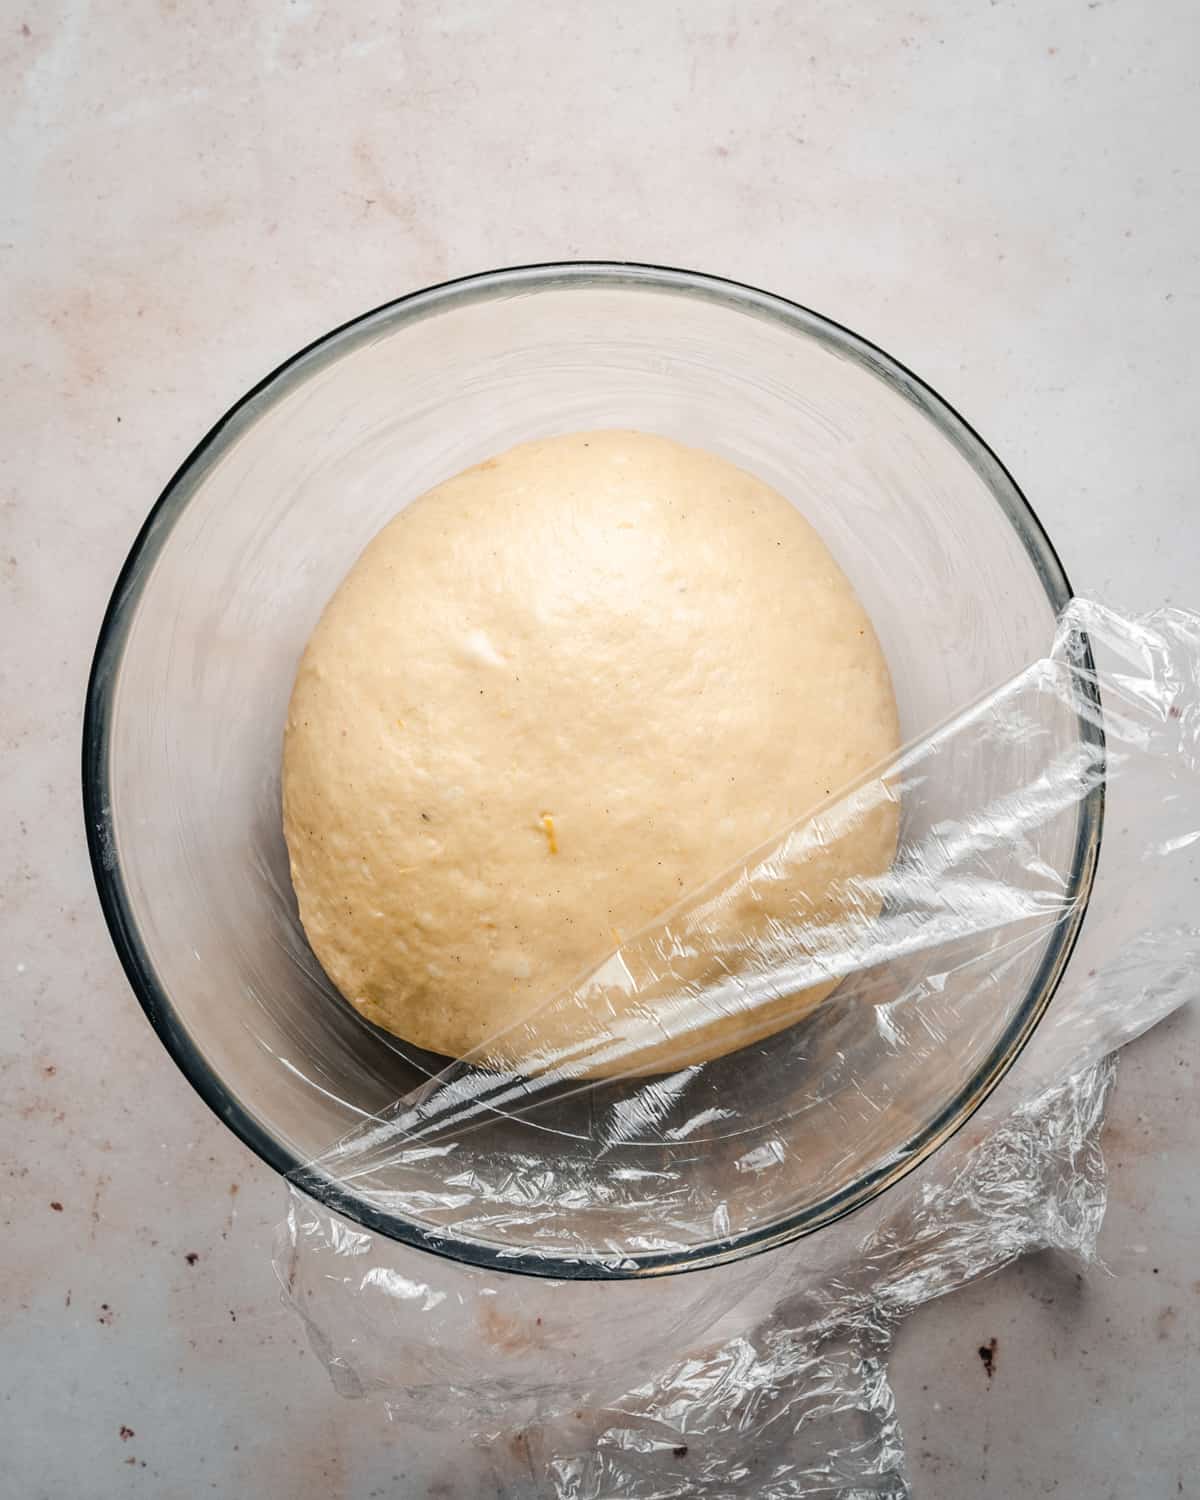
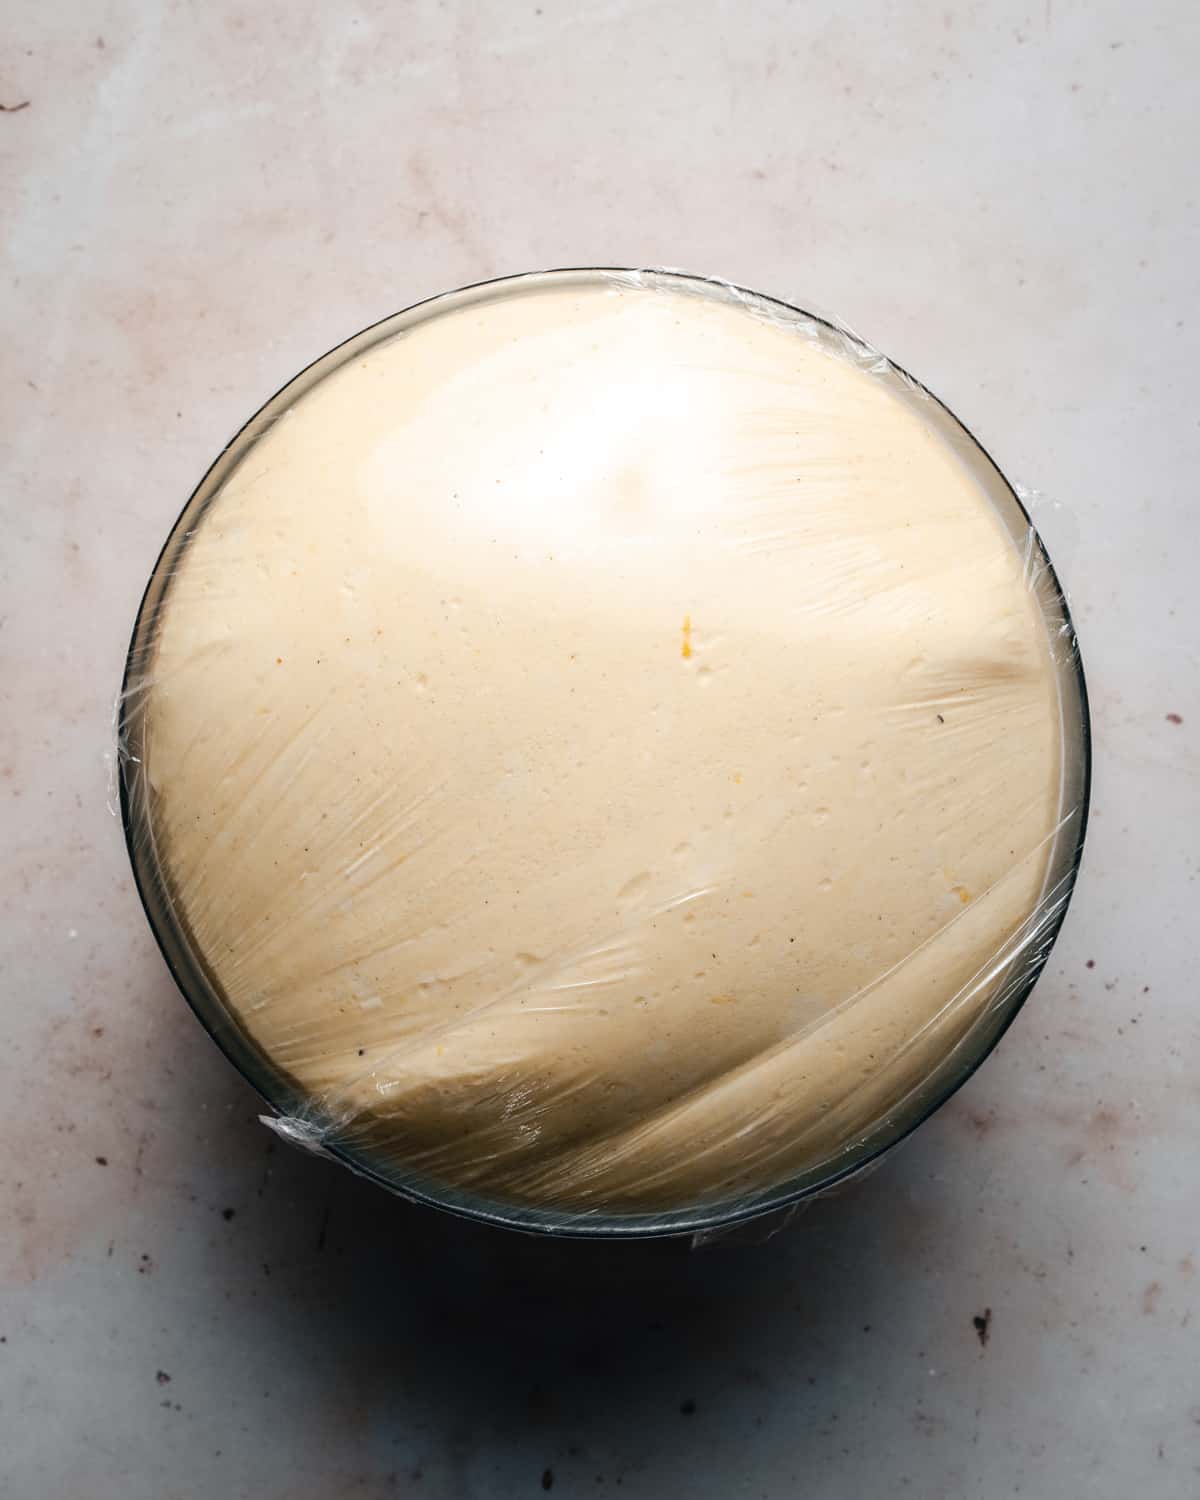
- Place the dough in a slightly greased bowl, cover with cling film and put in the fridge to proof overnight, approx. 12 to max 18 hours. The dough will have doubled in size.
Slow, cold fermentation helps with developing a more complex flavor, fluffier texture and better digestibility.
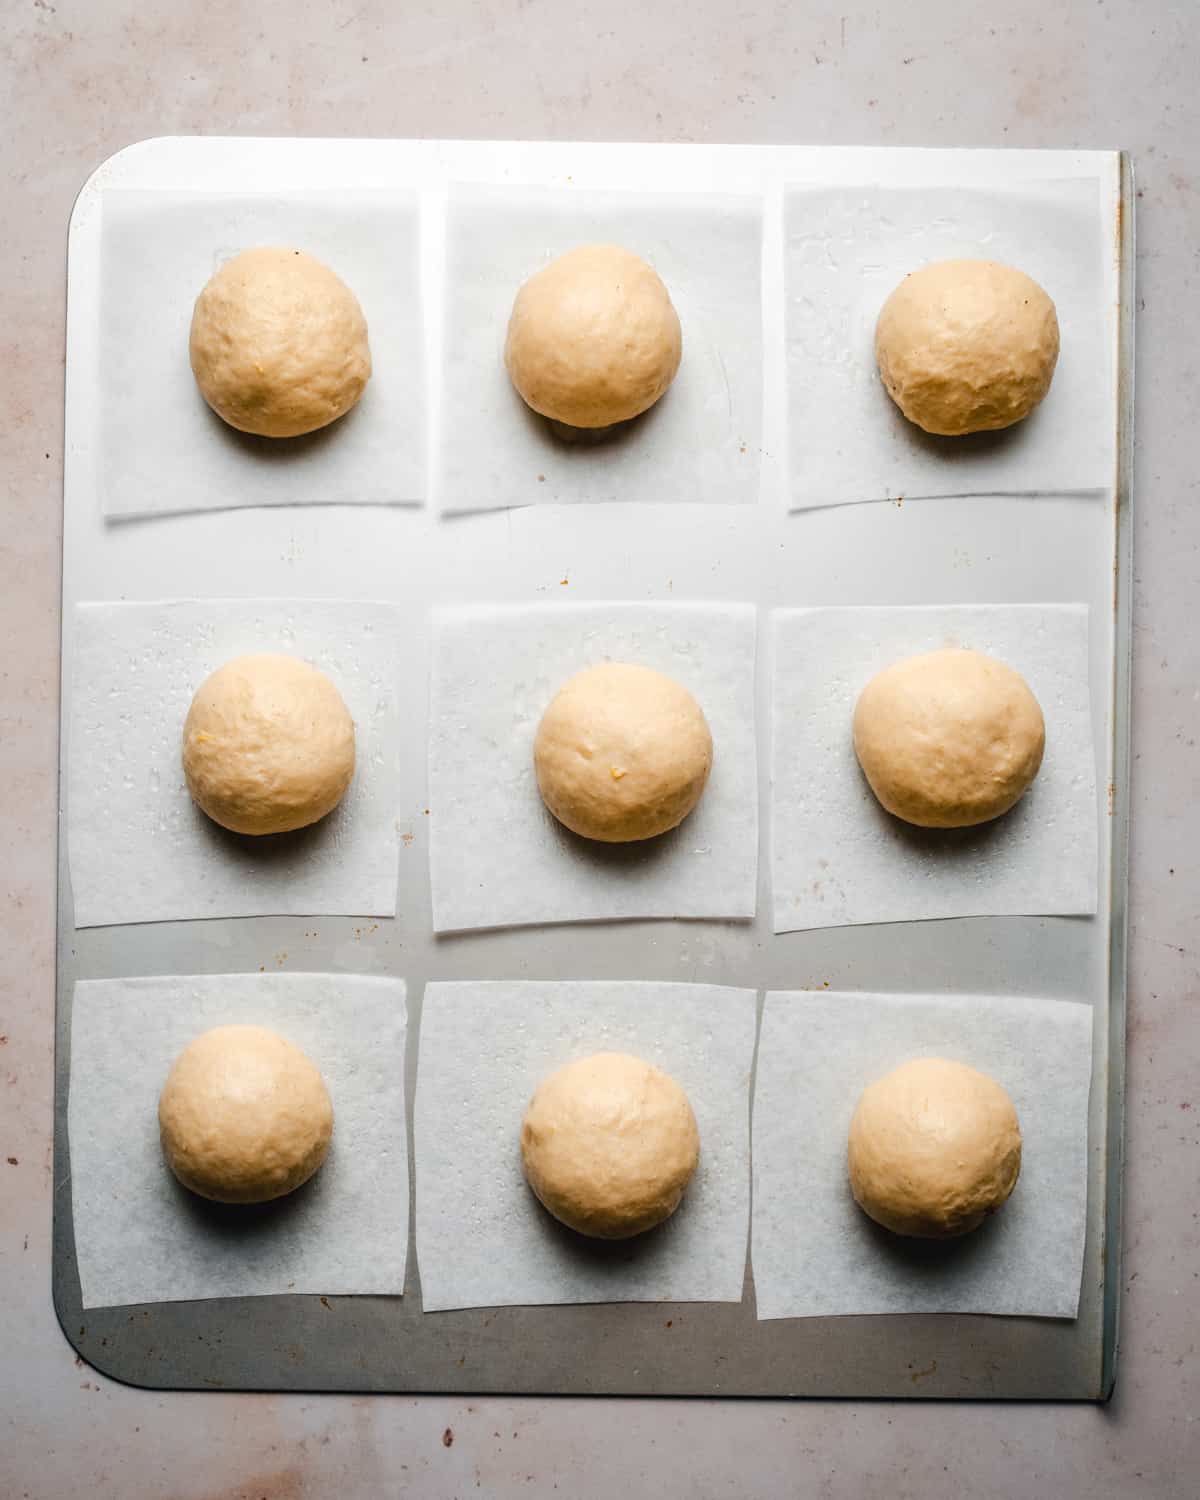
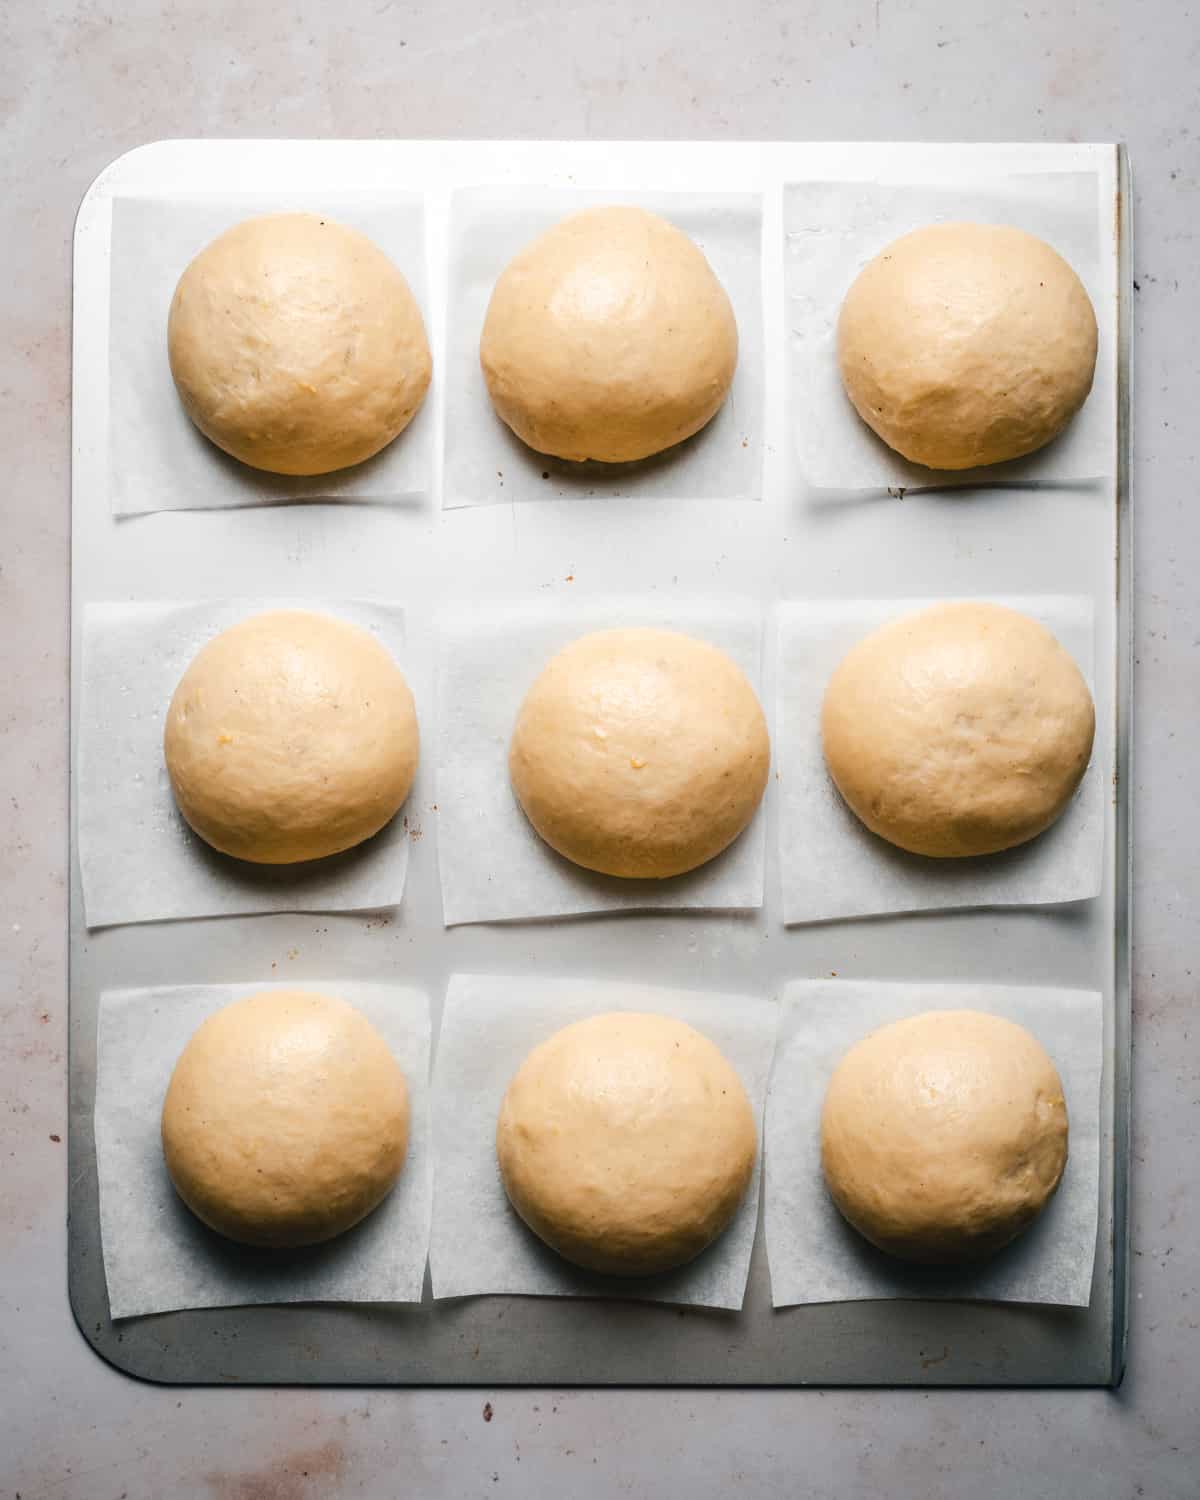
- Place the doughnuts on lightly greased squares of baking paper. If proofing at room temperature, cover loosely with cling film (so they don't dry out). On the other hand, if you're using your oven, covering is not necessary. (Check tips below!)
- Leave to rest for approx. 3h to double, almost triple in size. They're done proofing when they're quite big and you can press one with your finger, gently, and it keeps the indentation visible.
TIP FOR ROLLING THE DOUGH: using the inside of your hand, firstly press the piece of the dough to get rid of the residue air bubbles and then start rolling with your hand in a "claw" shape. Don't press too much, you want your hand to act as a "shield", as a space for that dough to shape itself. If possible work on the faster side as this will help produce tight, smooth balls.
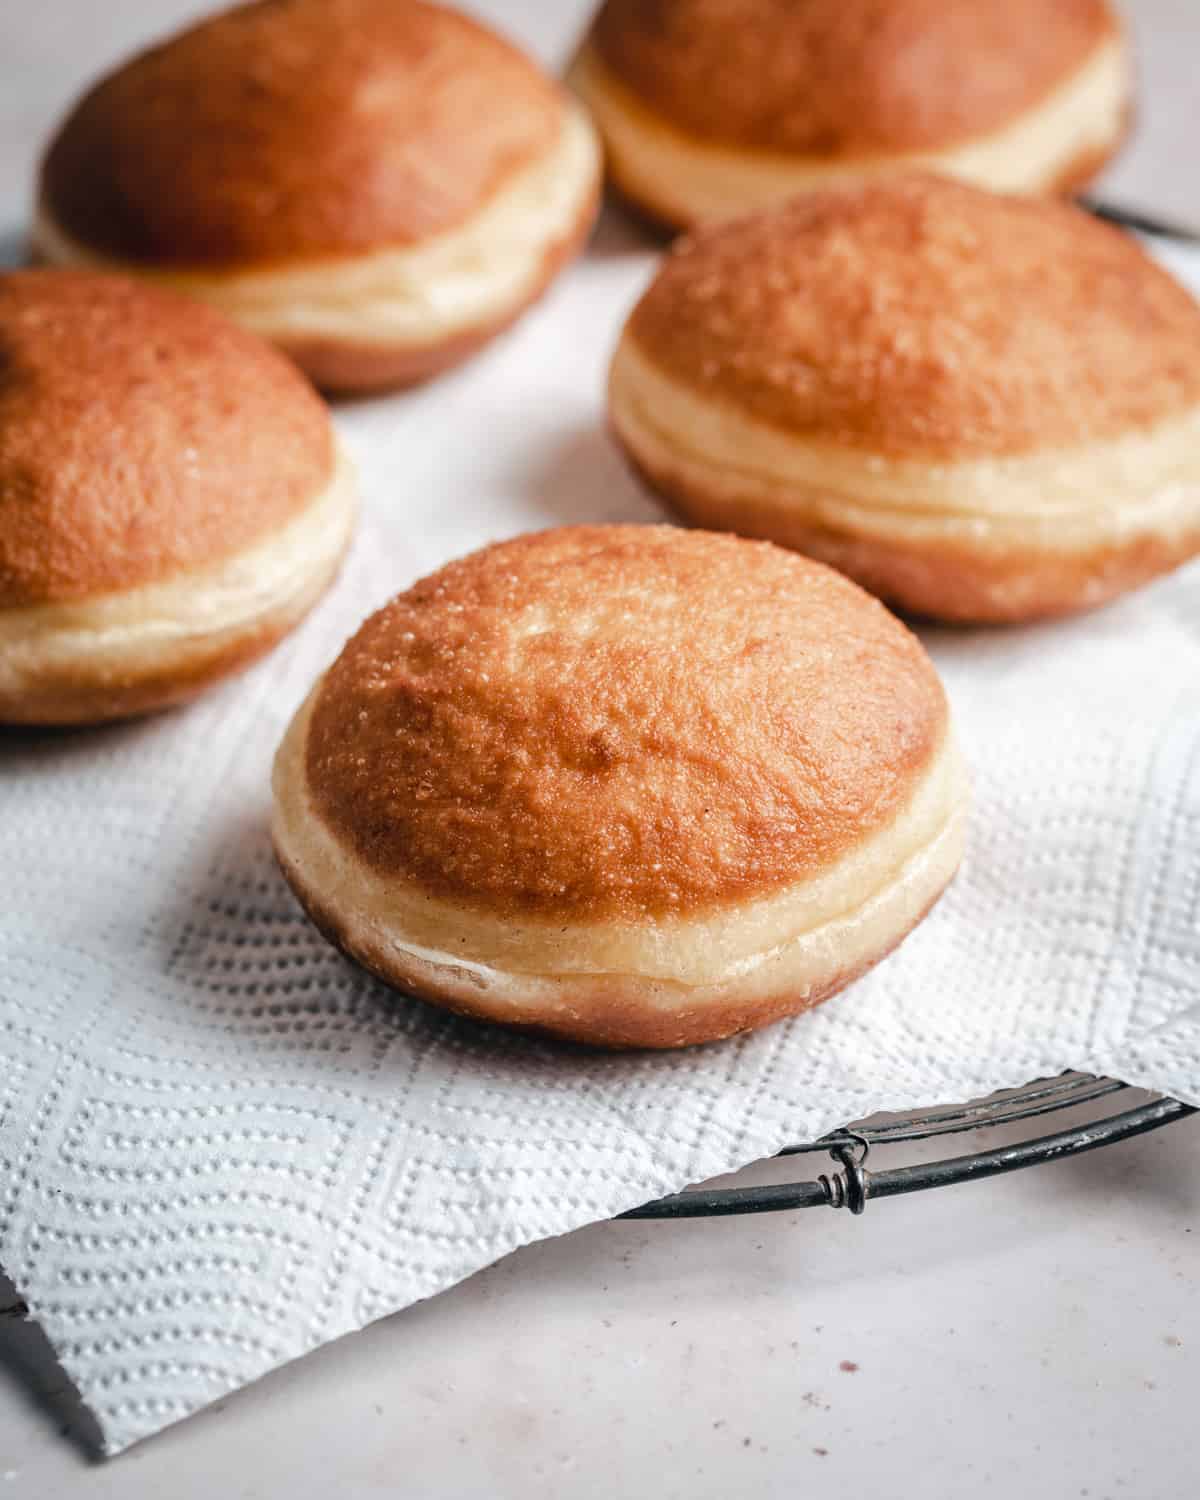
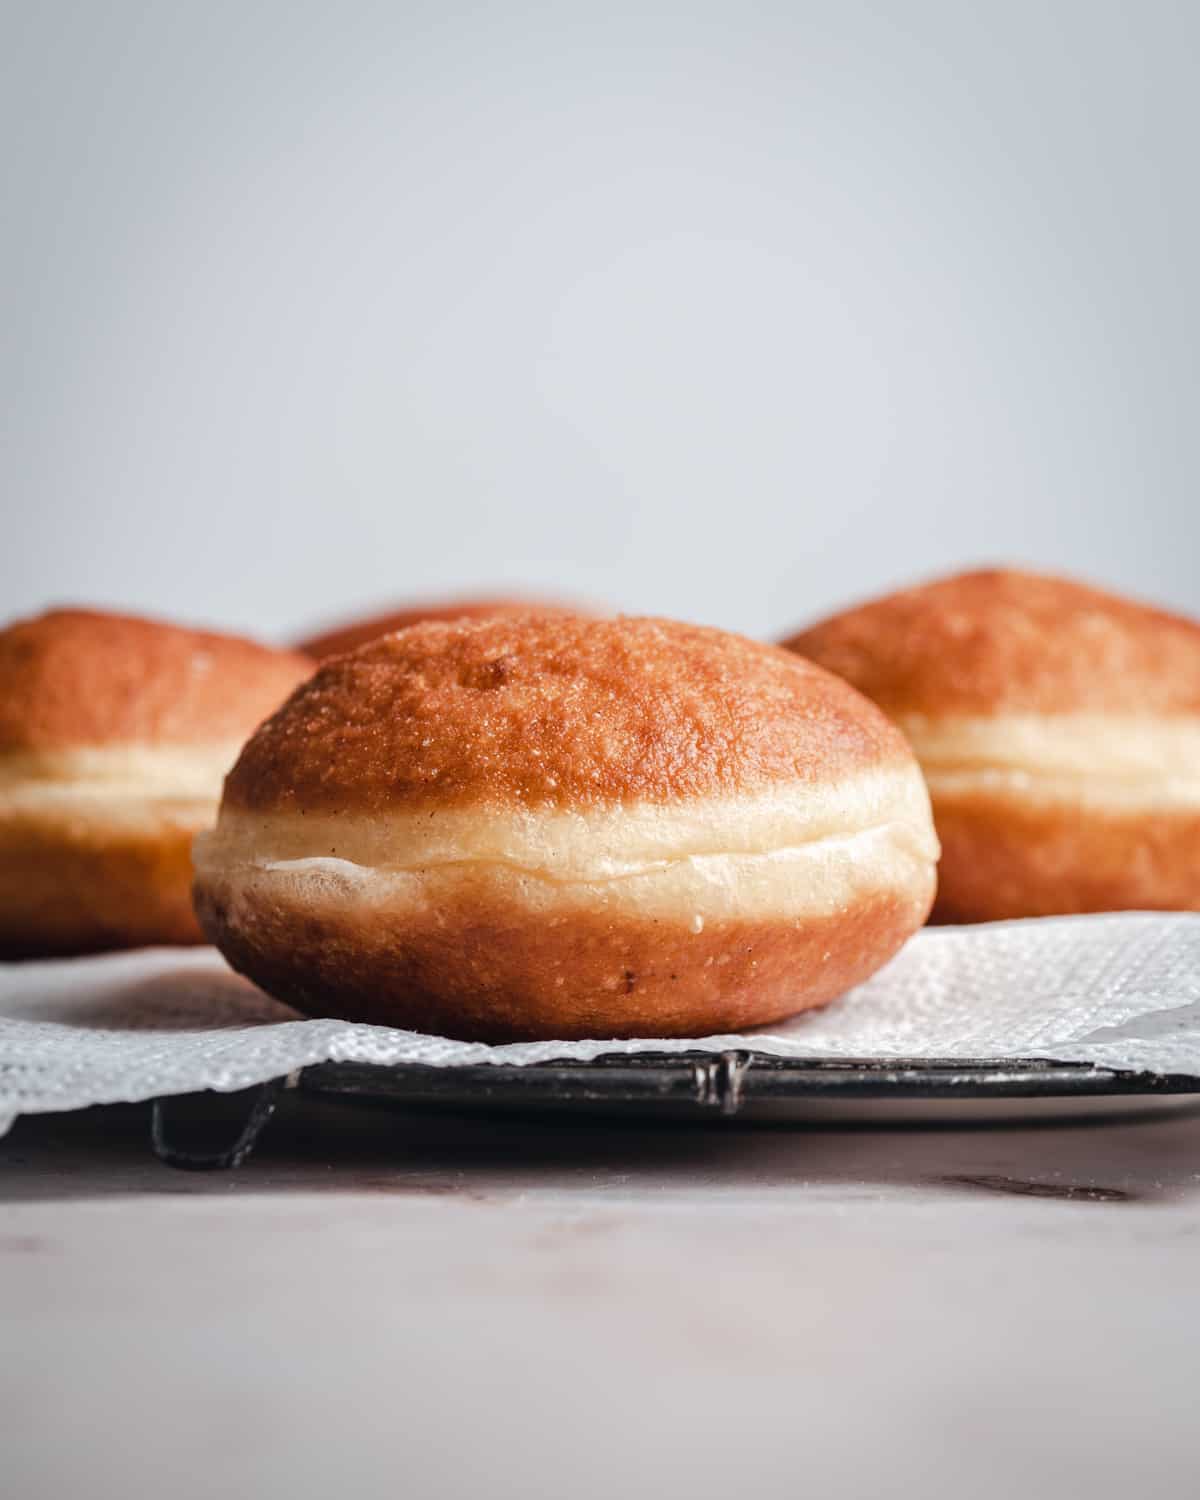
- Deep fry the doughnuts for a couple of minutes on each side, until beautifully golden brown.
- The top of the doughnut should be the first side to touch the oil. The bottom (the side that's touching the baking paper square) will then become the top and wait for its turn in the oil. 🙂
- Transfer to a wire rack or a plate with paper towels and let cool slightly before rolling into sugar and filling.
Note: Don't worry if the doughnuts slightly deflate after frying and the white ring becomes wrinkly. This is a good thing because it means they're very fluffy AND you have room to fill them with delicious chocolate filling and make them plump again! 🙂
How to make chocolate doughnut filling
The best part of this filling is that it's ready to use in less than 15 minutes!
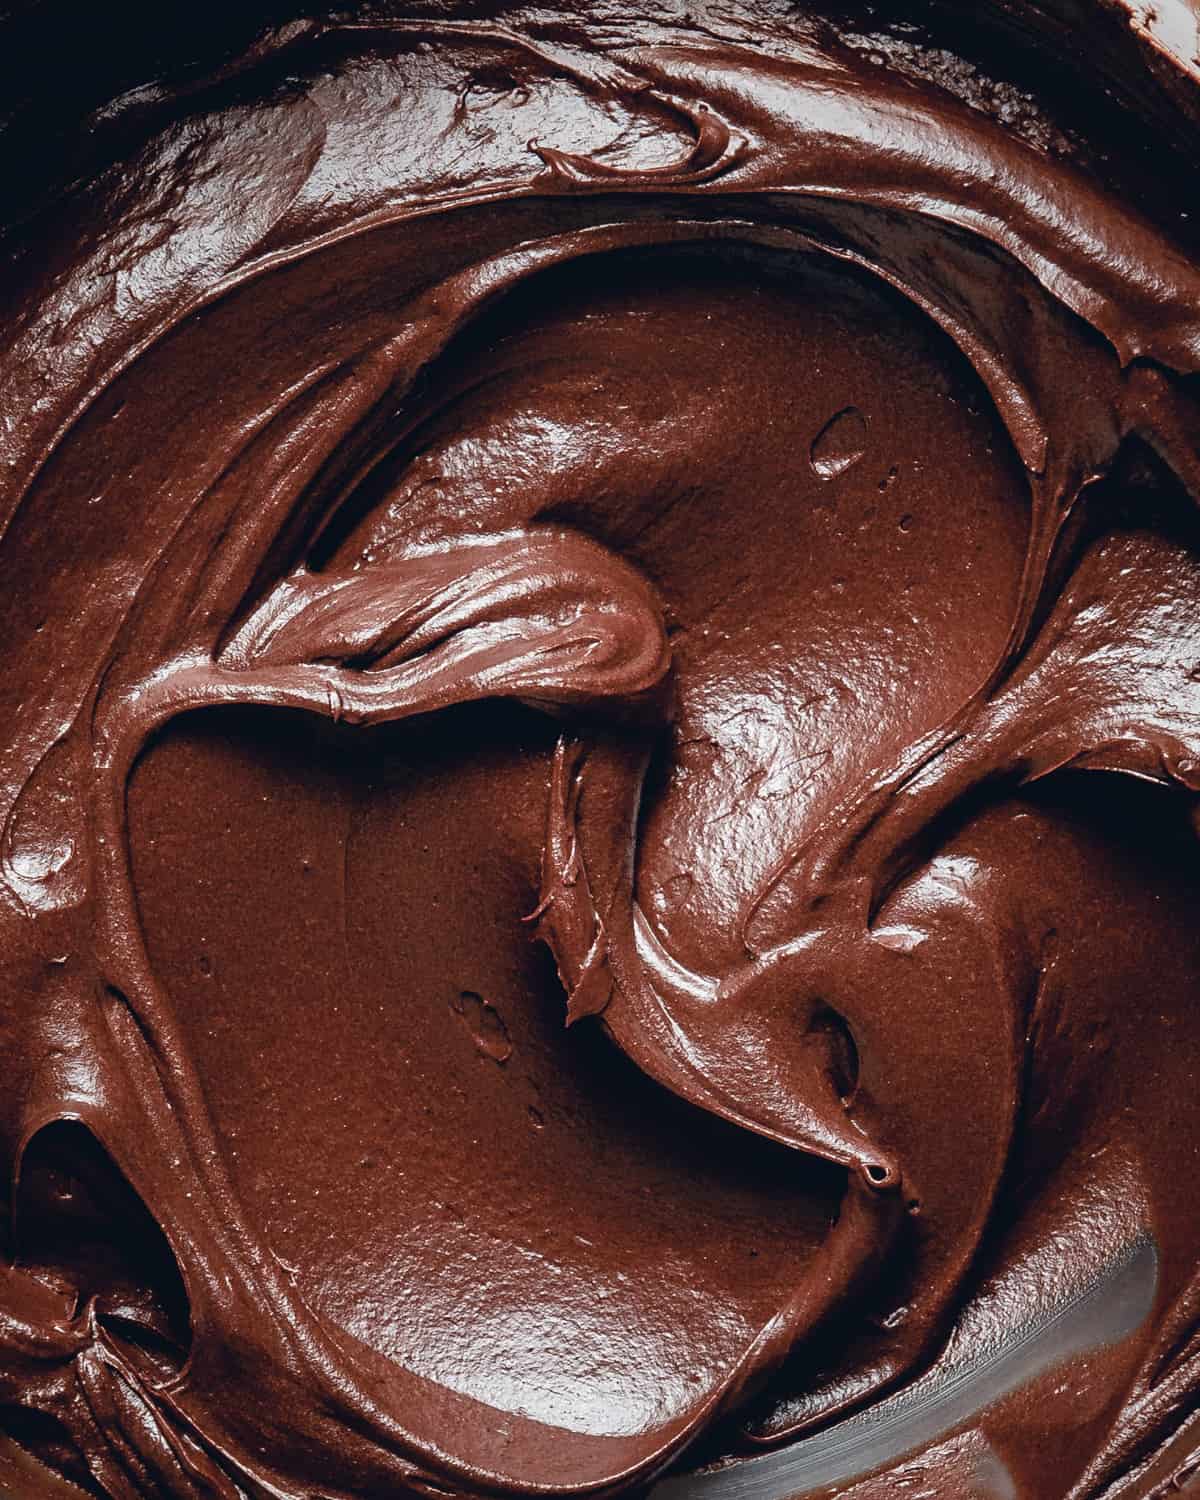
I wanted something that's both sweet and rich, with a velvety texture. Ganache seemed just too overpowering and not the right type of sweet for a doughnut filling. I knew I needed to use cocoa powder and not chocolate. Thus, this magnificent, almost brownie rich, chocolate doughnut filling was born 🙂
Don't skip the salt and hot water. Salt balances the sweetness and brings forward rich chocolate flavor. Hot water helps with blooming the cocoa powder and binding everything together.
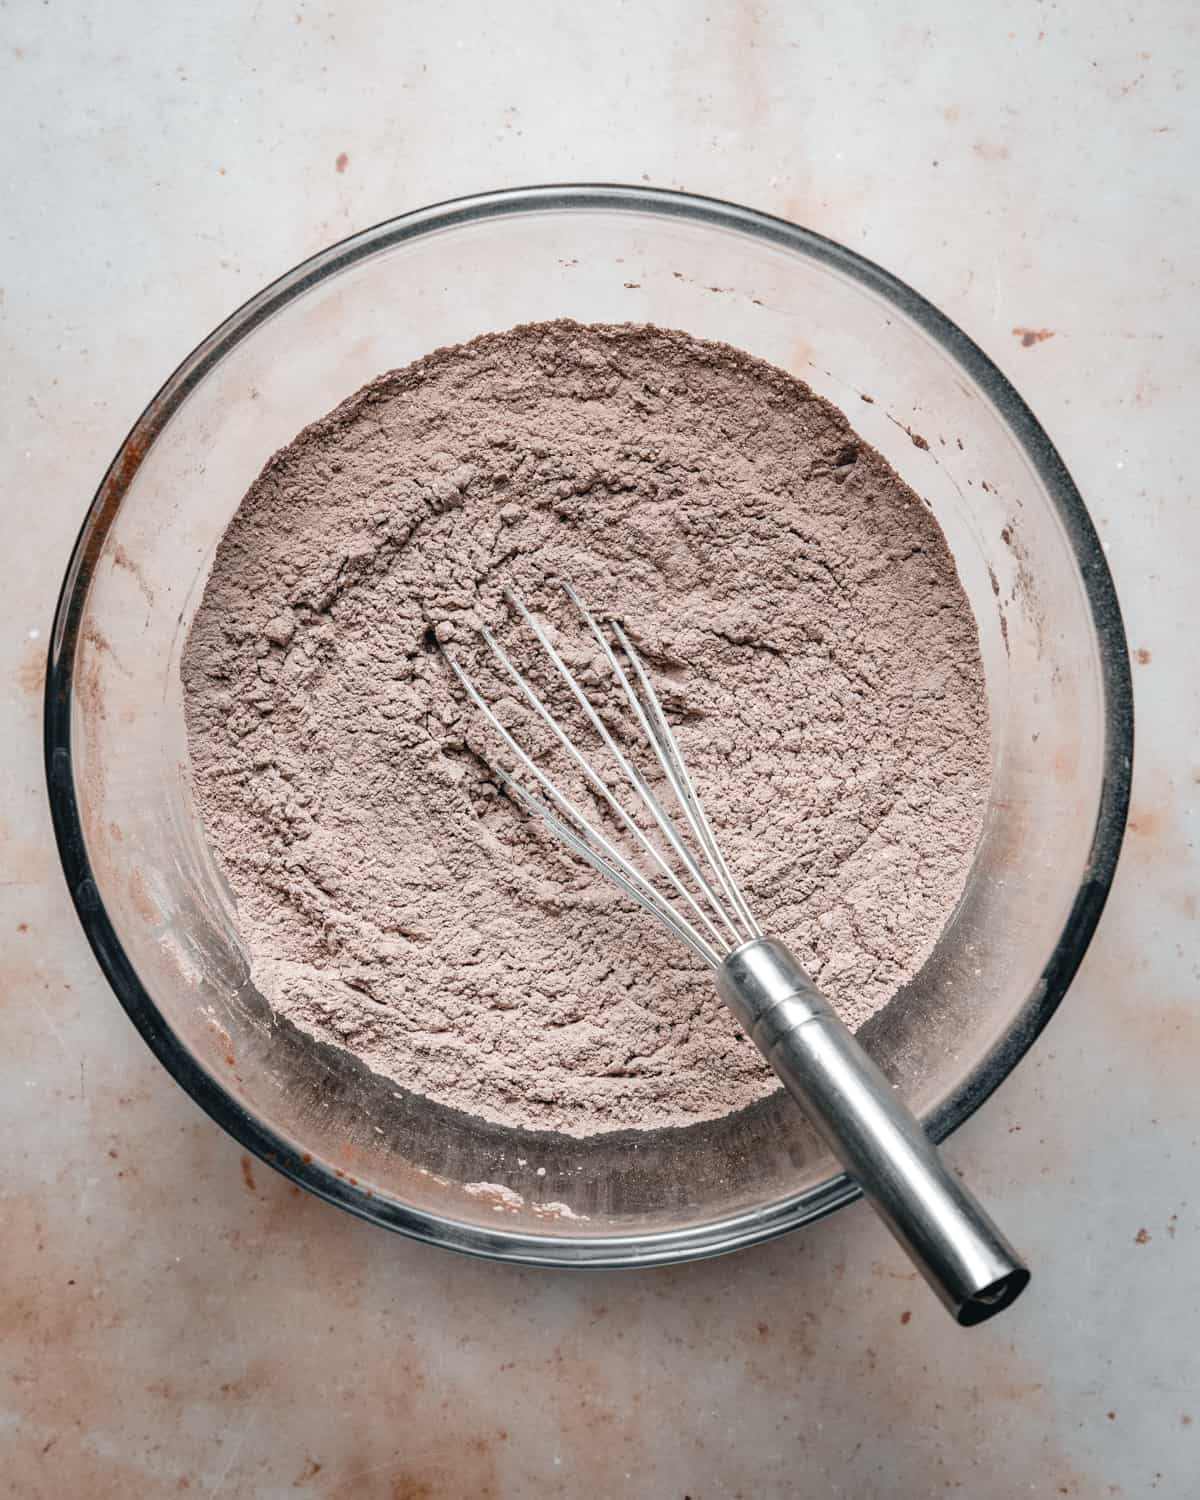
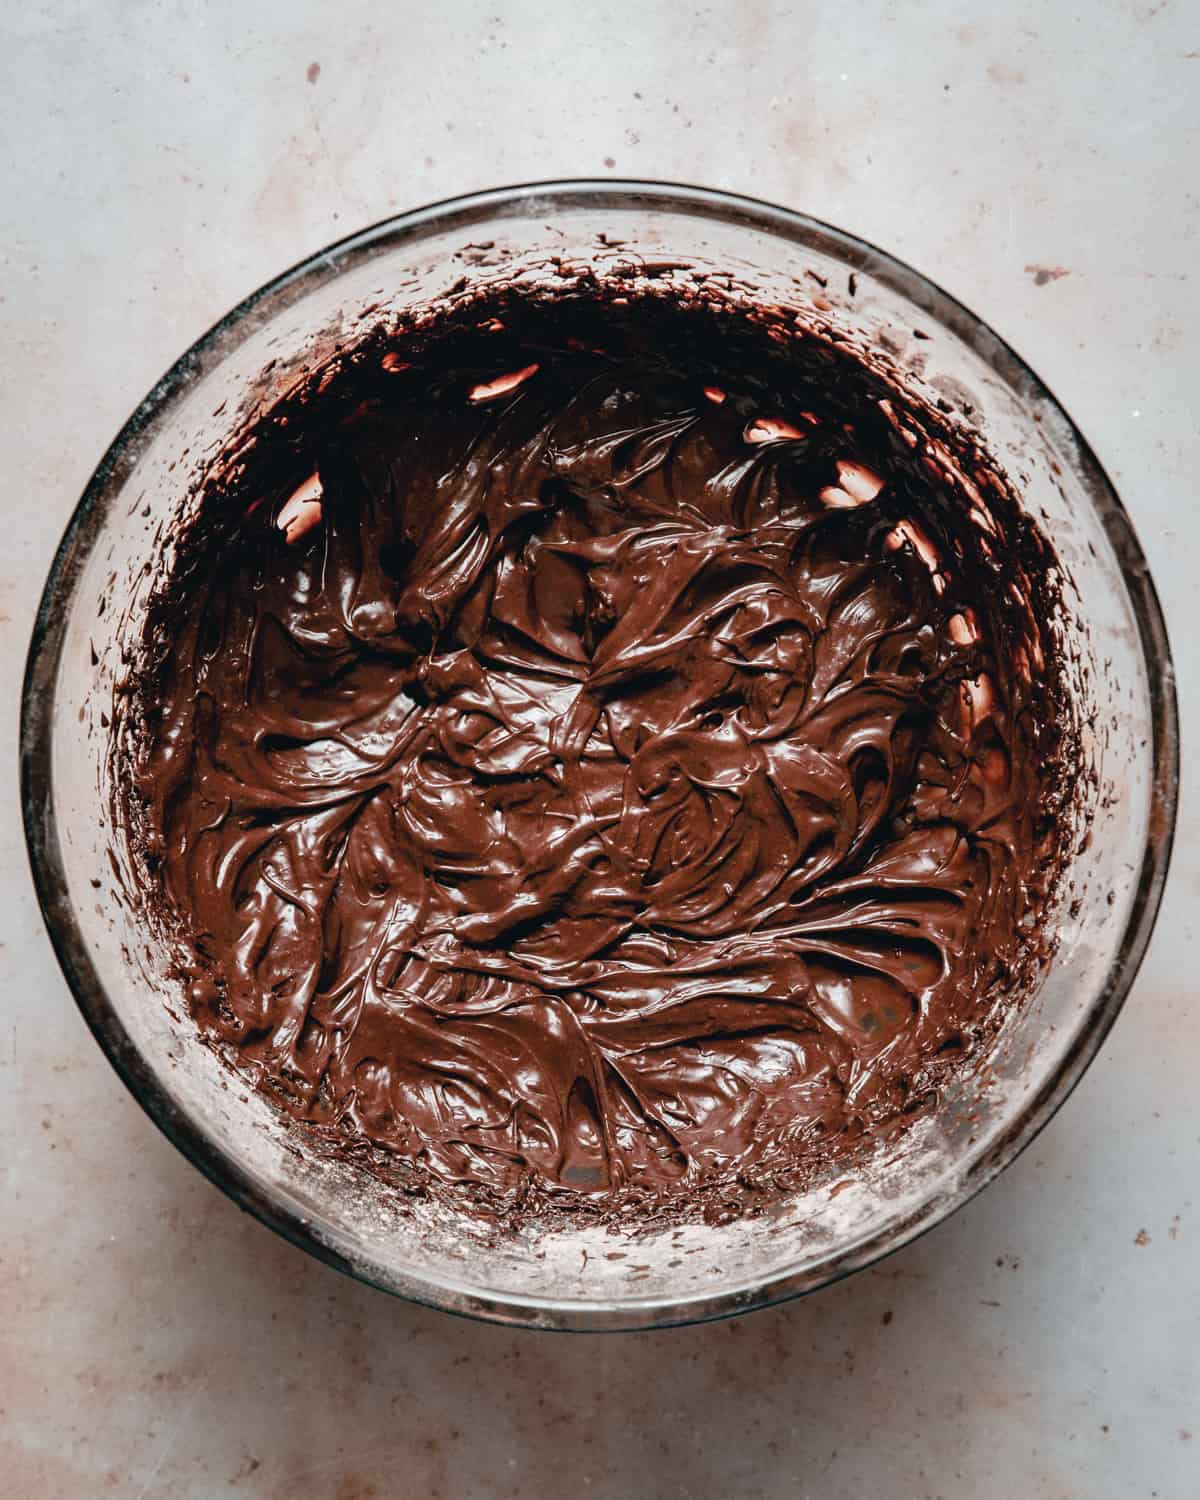
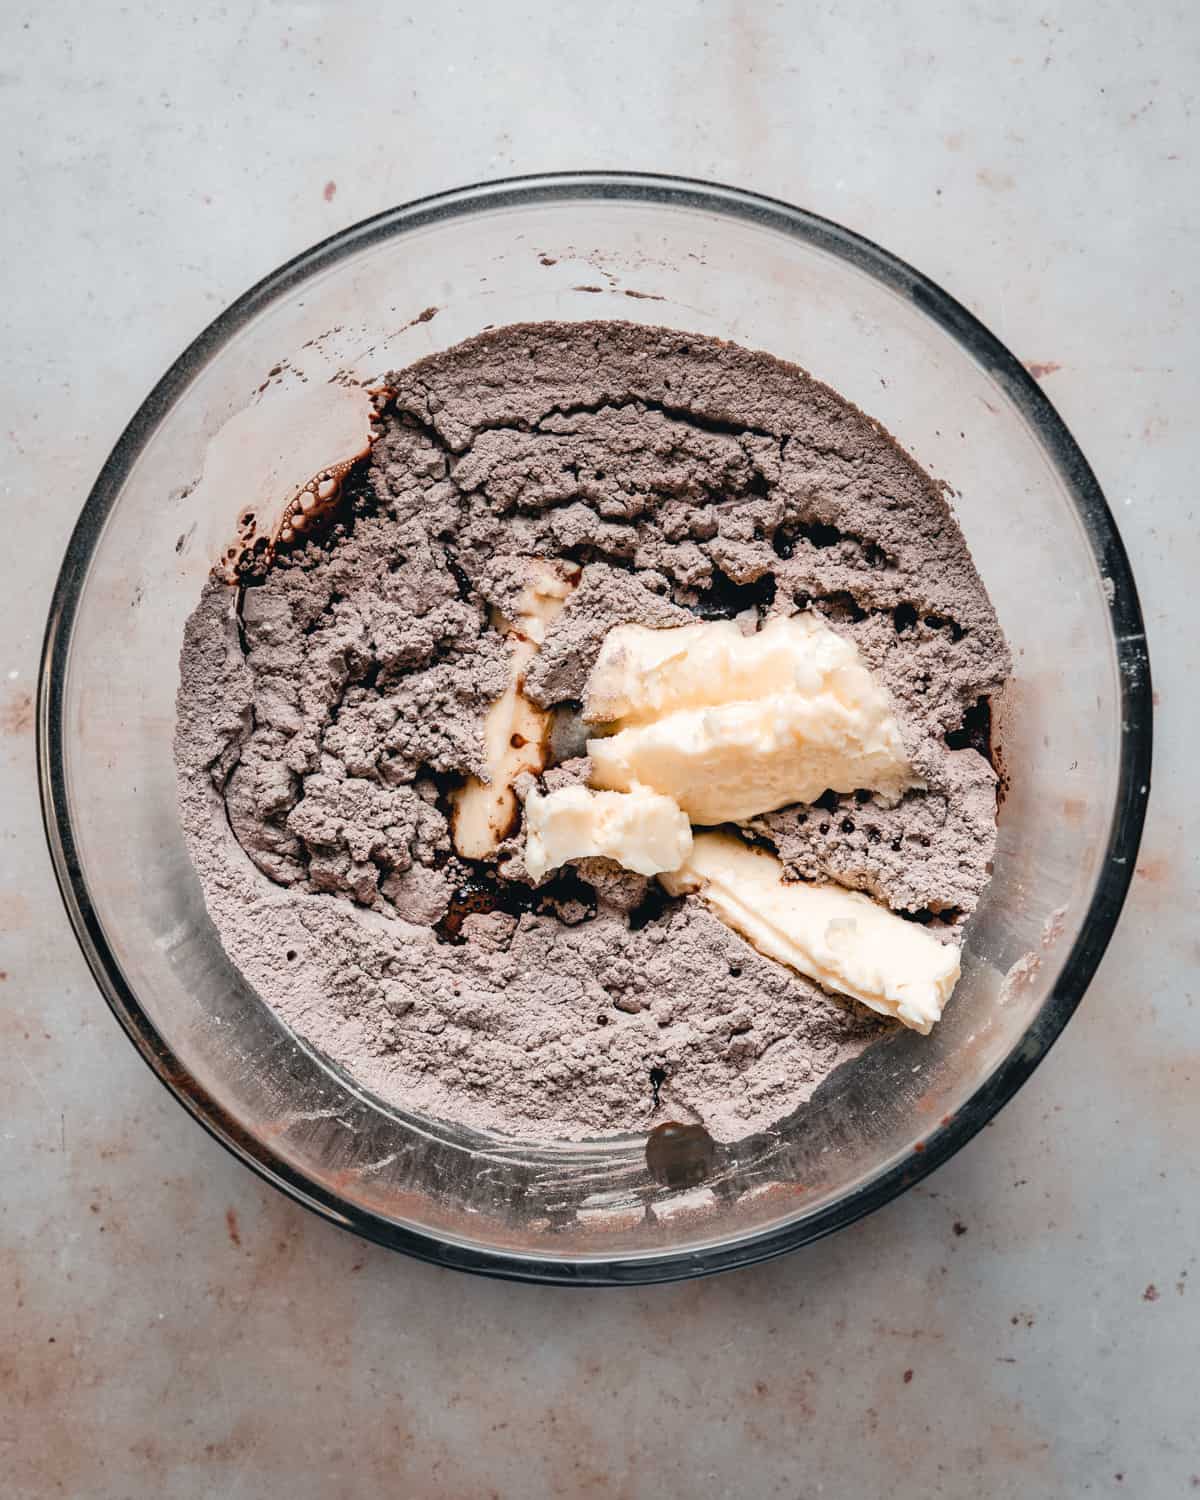
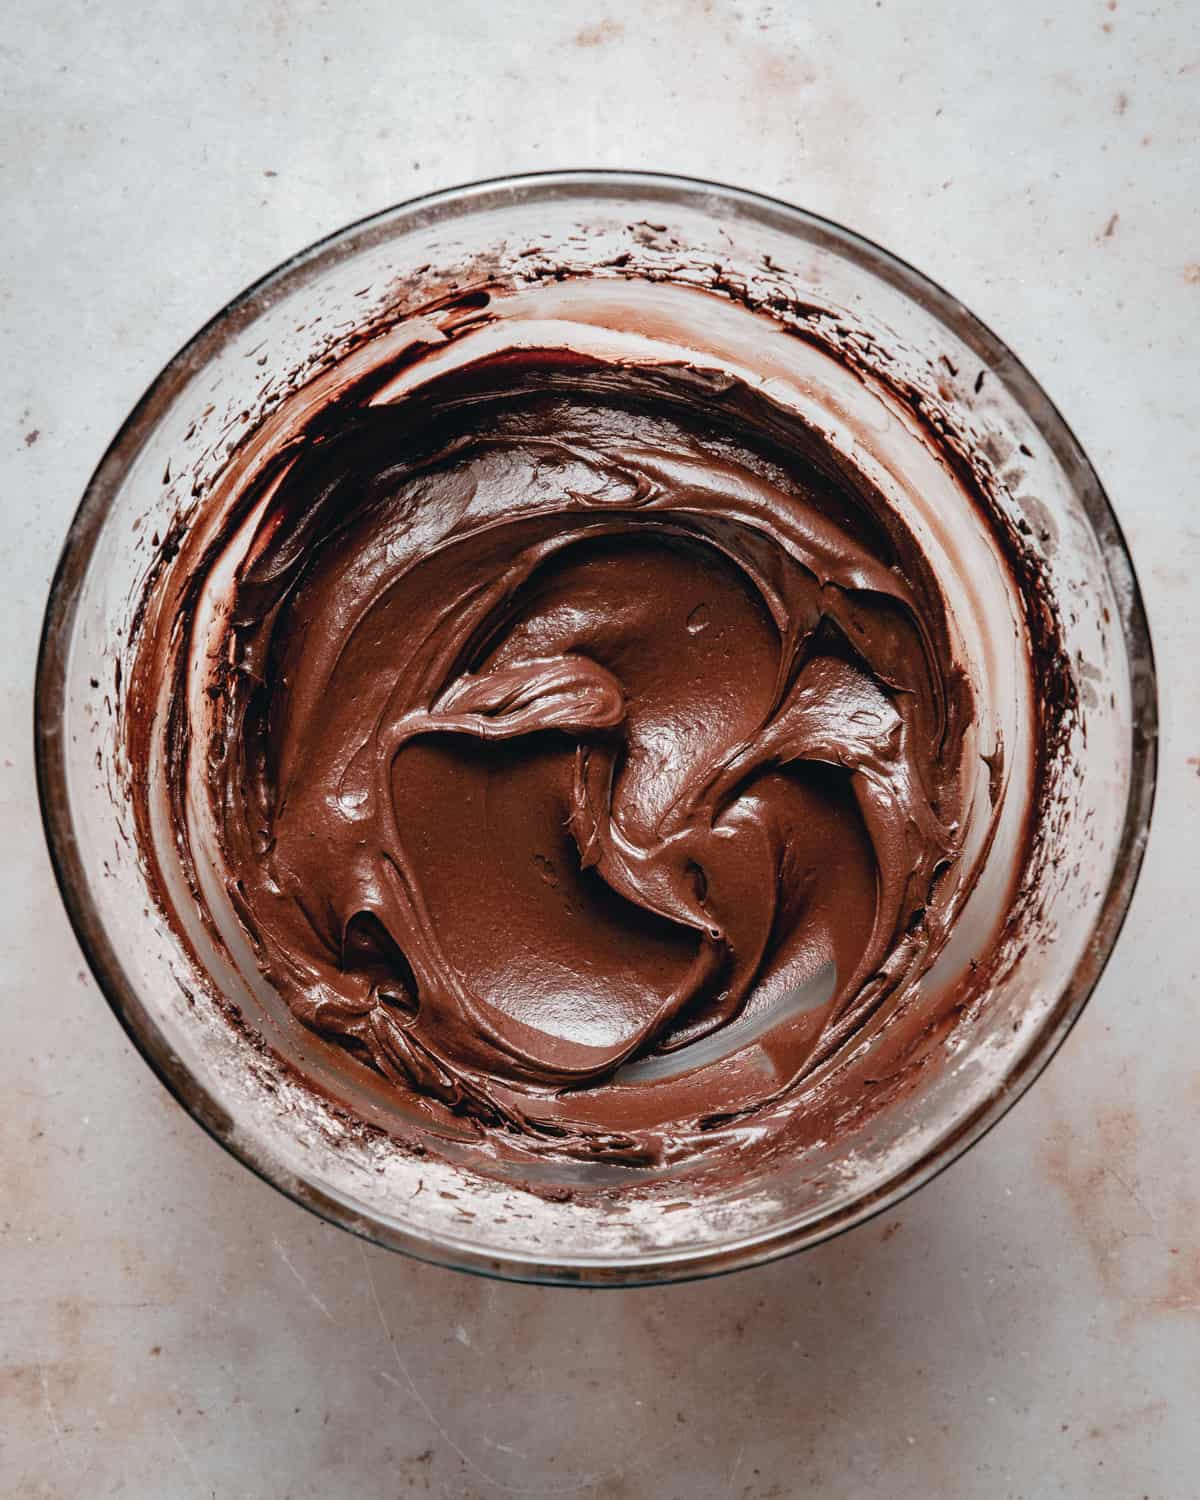
- Using a whisk, mix together the cocoa powder, powdered sugar and salt.
- Add in the softened butter along with hot water.
- Mix everything with an electric hand or stand mixer (whisk attachment) until fully incorporated and smooth. Add in the vanilla at this stage as well.
- The filling will be a bit soft, so put it in the fridge for 10-20 minutes (depending on how cold your fridge is) to firm up a bit.
Note: I found the absolute best flavor and texture with using Callebaut cocoa powder (not sponsored). Some other supermarket brands (like Lidl) were very good in terms of flavor, but because they often have things added to them (such as cornstarch) the final texture would sometimes be gritty which can be a bit annoying.
However, that might also be the case if you're not using pure powdered sugar. This is a reminder to check the food labels 🙂
Assembling brioche doughnuts
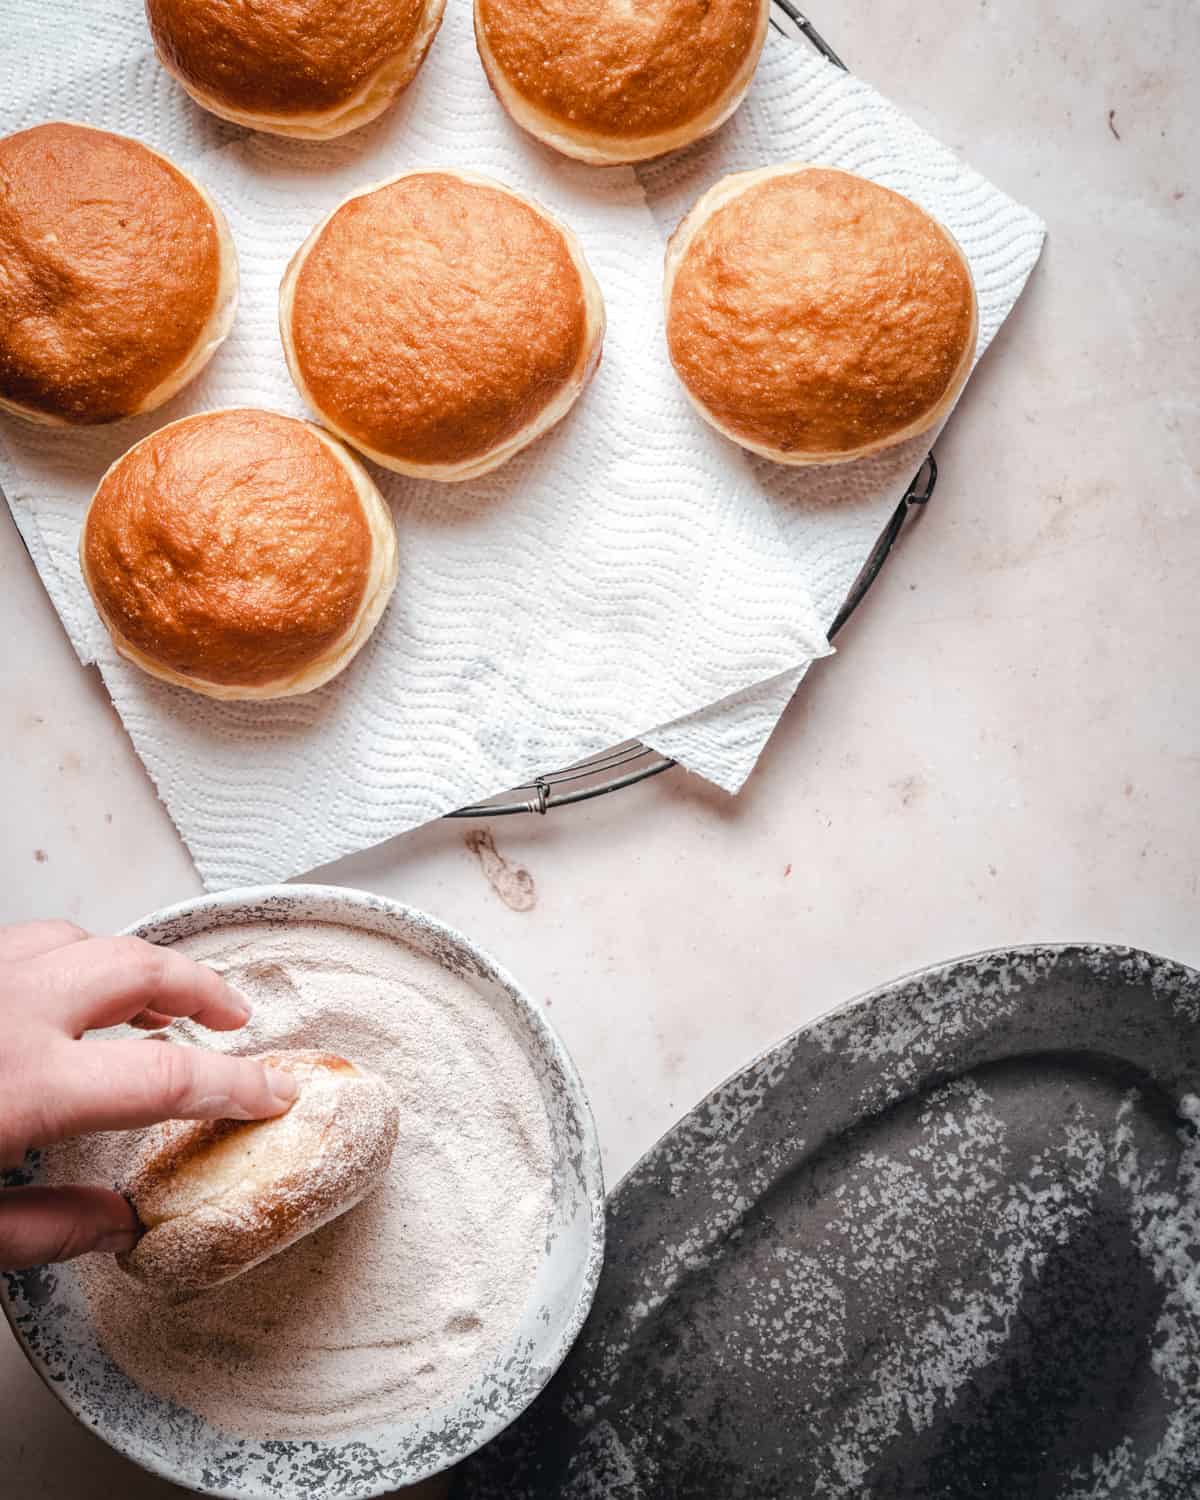
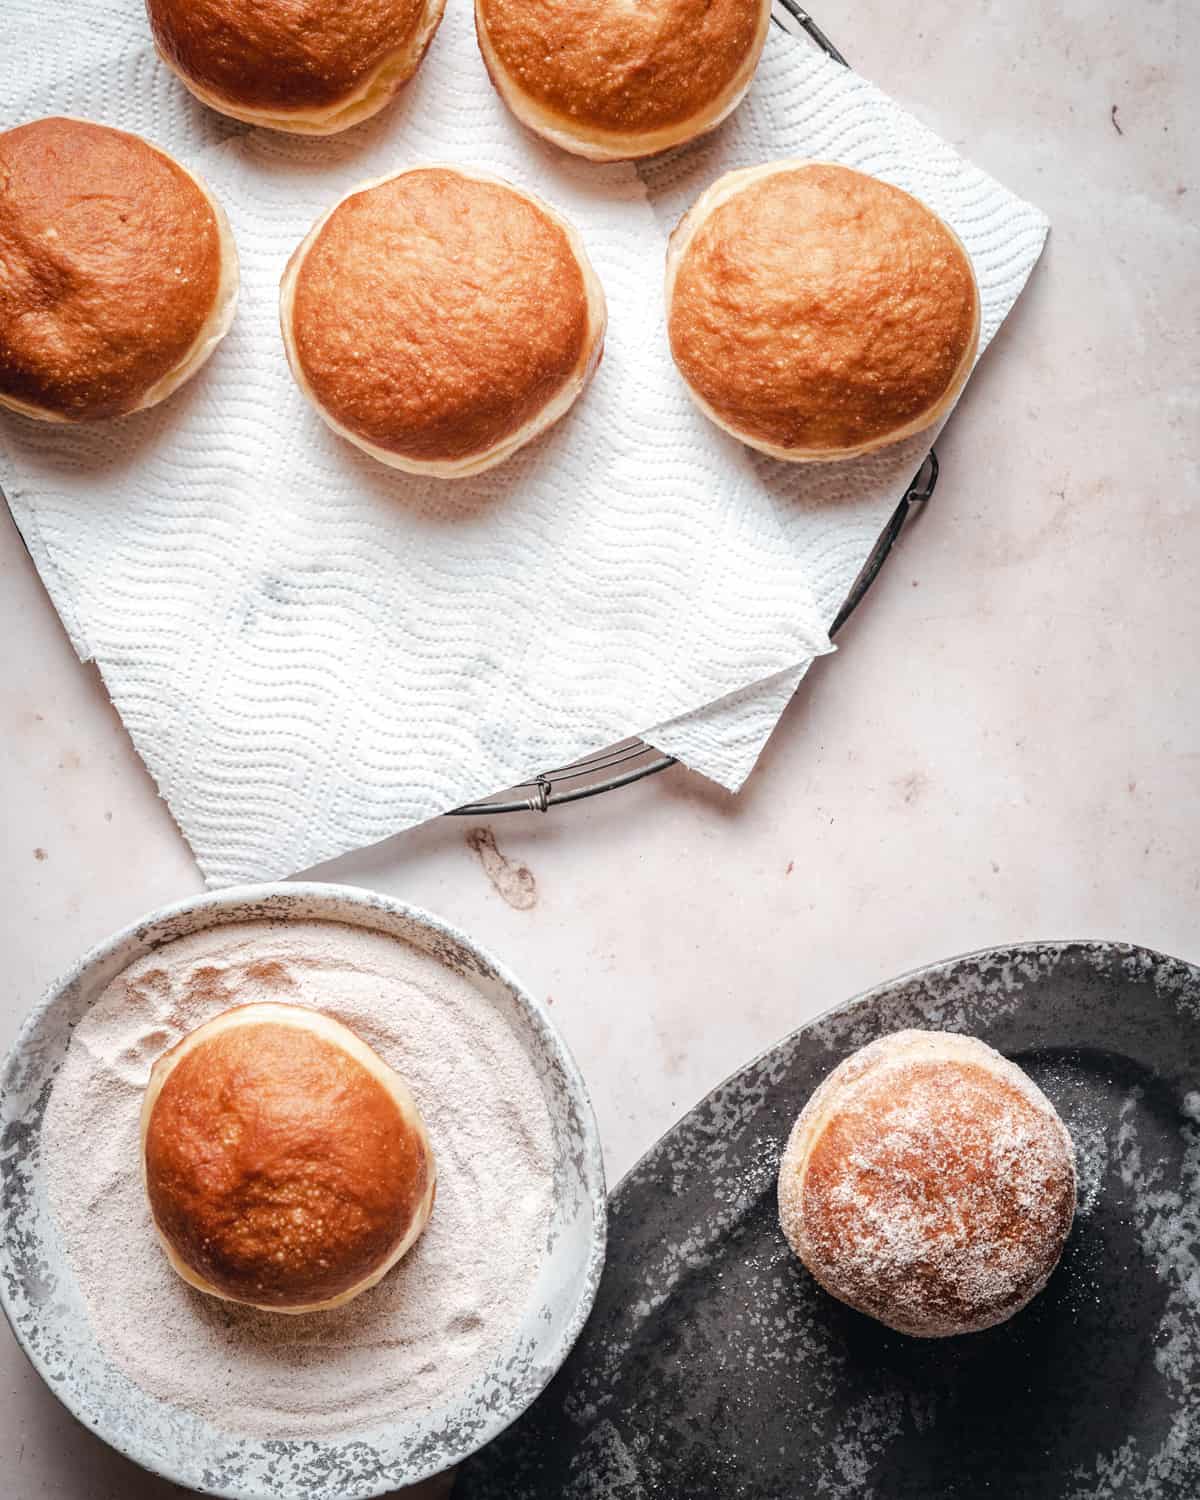
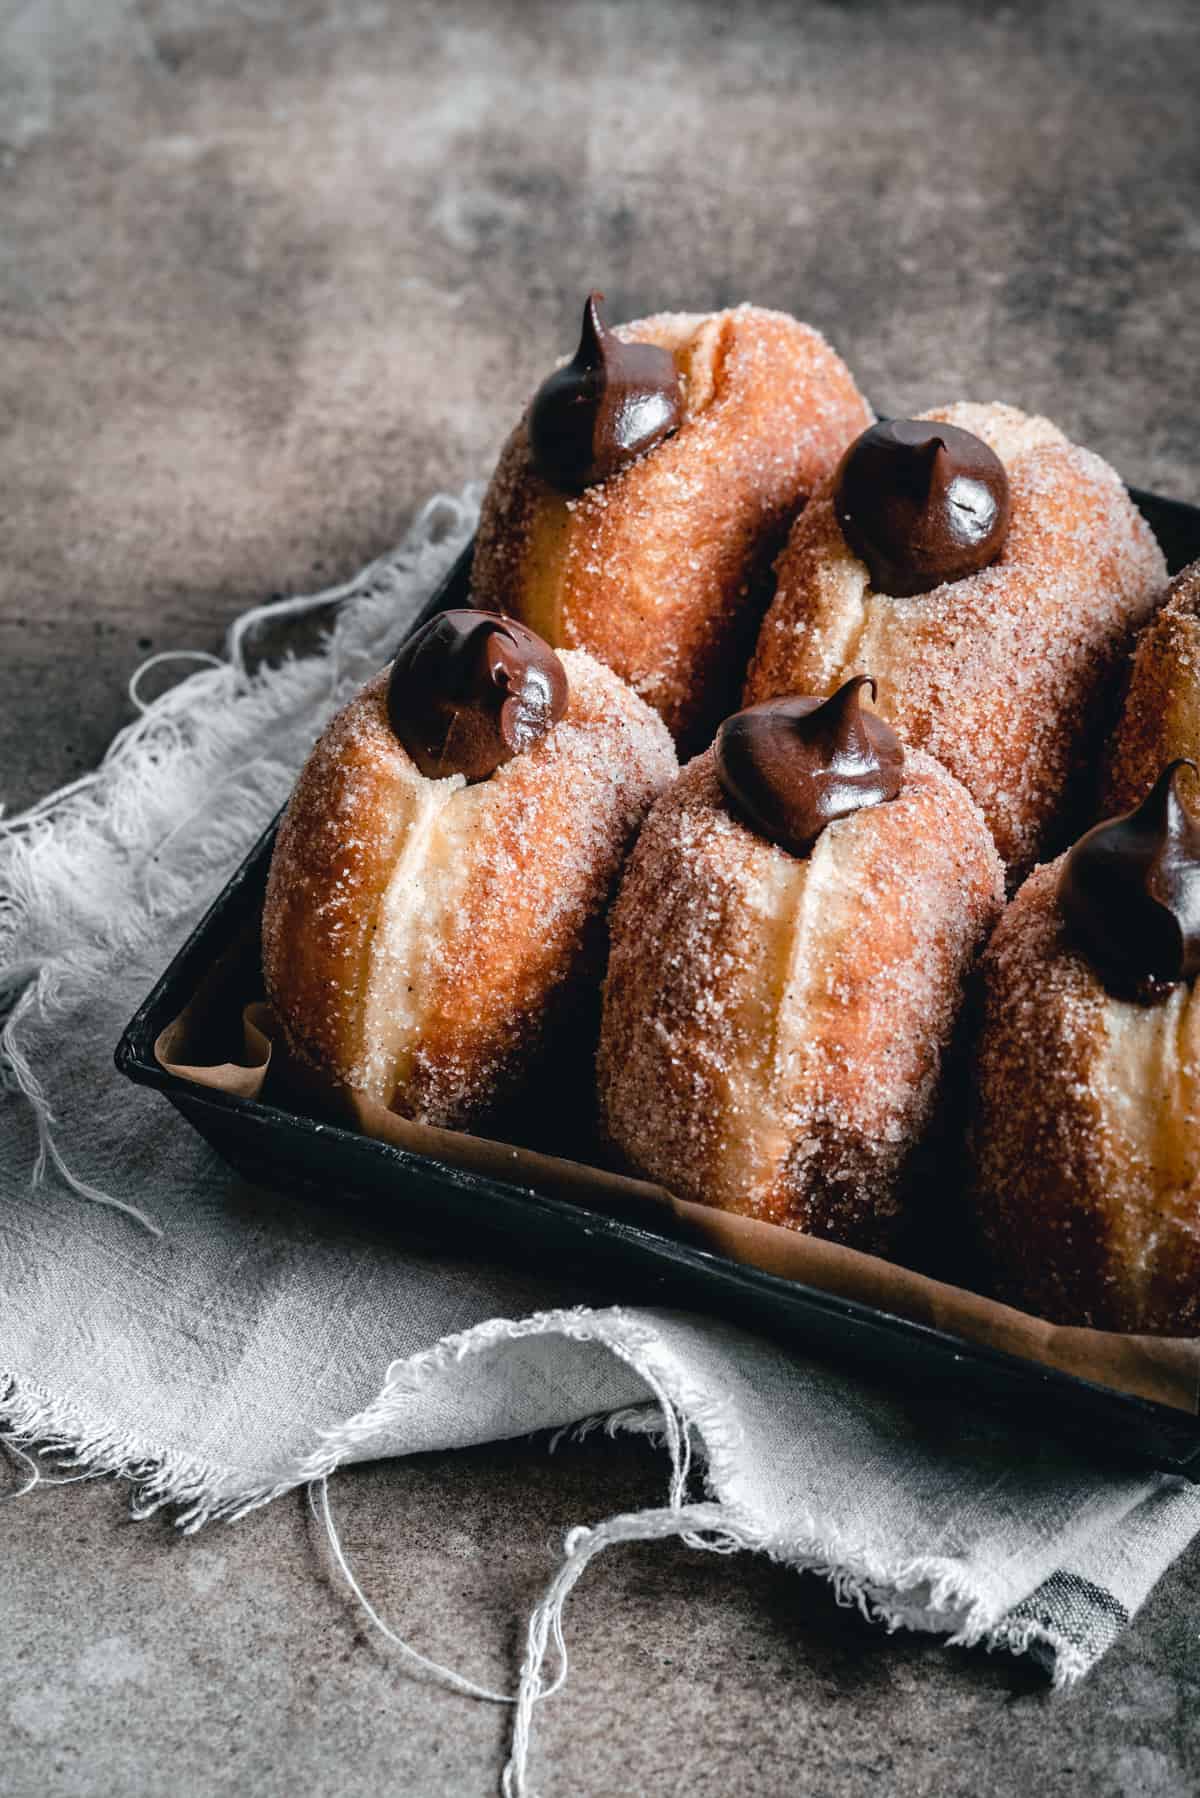
Coat the doughnuts in cinnamon sugar and place them vertically in a baking pan covered with baking paper.
Using a small knife or scissors, cut the doughnuts in the middle (where the white line is) to make space for the cream.
Fill with the prepared chocolate filling. You'll know you've filled them enough when they start expanding! However, since this is quite a rich filling, I'd have of a lighter hand. You can fill one and then open it as a test! 🙂
💡My top tips for success
- I highly recommend using a candy thermometer (or a digital thermometer) when frying. Doughnuts should be fried at a certain temperature. If the oil is too cold, the doughnuts will turn out too greasy. If the oil is too hot, the outside will cook much faster than the inside, so you'll likely end up with raw, doughy doughnuts that have a deep brown crust. For the best result, aim for temperatures between 170°C (340°F) and 180°C (355°F). That will give your doughnuts the perfect golden color and fluffy inside. Don't go below 165°C.
- Don't overcrowd the pot with doughnuts, because they need room to rise. Also, the more you put in, the temperature of the oil decreases which is where the thermometer comes in handy.
- Make sure the water isn't too hot, otherwise it will kill the yeast and your dough won't rise. When it comes to dry yeast, you can use either an instant yeast or active dry yeast, but the latter needs to be activated before use. You can also use fresh yeast.
- Doing an overnight proof not only helps with bettering the flavor, texture and digestibility of the doughnuts, but it makes it easier for you to organize and make better use of your time.
- Use your oven as a fermentation chamber of sorts. Preheat it to 30°C (85°F) and turn it off before placing the doughnuts to proof inside. A lot of people recommend just keeping the light on—unfortunately I haven't been able to test this because my light hasn't been working for the past 5-6 years. 😀 Depending on the temperature and humidity, the shaped doughnuts (second proof) will need anywhere from 2 to almost 4 hours to fully rise. It's a lot, but it's so worth it!
- Always transfer the fried doughnuts on a few pieces of paper towel to soak up any oil residue.
- Don't be tempted to add more flour in order to speed up the kneading process. It takes time for gluten to develop, but once it does, trust me—the dough will become shiny, smooth and not sticky at all. You will be able to handle the dough with your hands and not one piece of the dough will stick to your skin. Just be patient and let the mixer do its thing!
- If you don't have caster sugar, use your blender to pulse granulated sugar a few times and make it very fine, but not powdered. This kind of sugar works best for the cinnamon sugar coating.
- Be very gentle when transferring the doughnuts to the pan because you don't want to deflate them and lose all the precious air pockets. That's why I recommend placing the doughnut balls on an individual squares of baking paper before proofing. It makes the frying process so much easier and the doughnuts keep their perfect round looks!
- Slide the doughnuts from the baking paper upside down. The top of the doughnut should be the side to touch the oil first!
Yield and filling variations
This recipe makes 18-19 brioche doughnuts that weigh between 60-65 grams or 23 smaller doughnuts that weigh 50 grams.
As a counterpart to rich, chocolate doughnut filling, don't miss my light, vanilla Bavarian Cream Doughnuts filling! For a more classic flavor, I recommend my perfect homemade raspberry jam recipe. It's divine on its own or in combination with vanilla cream!
Storing
The doughnuts are best the day they're made, however, they will keep okay for a couple of days in an airtight container either at room temperature or in the fridge. Any longer than that and the dough will dry out and won't be as fluffy and beautiful as on the day made.
FAQs and Troubleshooting
You probably haven't kneaded it long enough. I know I've made this mistake before, but just keep kneading. It can take up to half an hour to properly knead it!
Generally speaking, the best oil is the one that has a neutral flavor, high smoke point and is available to you. For me, that's sunflower oil, in the US that would be canola oil.
The temperature of the oil is too low or the doughnuts are over-proofed, so they lack structure and stability and thus soak up a lot of the oil.
The frying temperature of the oil is too high and causes the outside to brown quickly, which leaves the middle uncooked because you don't want to eat burnt doughnuts. I advise you to buy a kitchen thermometer, it's a life saver!
Unfortunately, they've been over-proofed and lack the structure to hold the shape. The best way to know if your doughnuts are proofed (aside from visually doubled in size) is to lightly press them with your finger. If they hold the indentation and don't bounce right back, they're ready!

If you have any other questions that I didn't cover, please let me know in the comments section down below - I'd love to help you out!
And if you make these brioche chocolate filled doughnuts, tag me on Instagram @anasbakingchronicles so I can see it or feel free to e-mail me your pictures and thoughts! I love seeing your bakes!
Happy baking,
Ana
📖 Recipe

Brioche Doughnuts with Chocolate Filling
Description
ingredients
- 200 g lukewarm water
- 12 g dark rum (approx. 1 Tbsp)
- ½ teaspoon vanilla extract or paste
- 80 g granulated sugar
- 20 g fresh yeast (or 9 g instant dry yeast)
- zest of one lemon
- 150 g eggs (approx. 3 medium eggs)
- 600 g all-purpose flour
- ¼ teaspoon ground nutmeg
- 8 g fine sea salt
- 150 g unsalted butter (room temperature)
- 1.5 liters sunflower or canola oil (for frying)
- 200 g caster sugar*
- 2 teaspoons ground cinnamon
Chocolate filling
- 400 g powdered sugar
- 125 g unsweetened cocoa powder
- ¾ teaspoon fine sea salt
- 200 g unsalted butter (room temperature)
- 120 g hot water
- 1 teaspoon vanilla extract or paste
Instructions
To make the dough:
- In the bowl of a stand mixer, add the lukewarm water, sugar, yeast, lemon zest, rum, vanilla extract and eggs. Give it a stir with a fork or a whisk.If you're using active dry yeast, make sure to firstly activate it by combining with water and a teaspoon of sugar. Leave for a few minutes until the top is frothy, then proceed adding the other ingredients per instructions.
- Fit the stand mixer with the dough hook and add the flour, salt and nutmeg to the bowl. Knead the dough for approx. 5-8 minutes, on low-medium speed, until it becomes smooth, shiny and doesn't stick to the sides of the bowl.
- Next, add in the butter, one cube at a time, with the mixer still going at medium-low speed. It will seem like it's not incorporating together, but don't worry, just keep adding it, and it will eventually start coming together, creating a sticky dough.
- Once you've added all the butter and the dough is combined, but sticky, continue to knead it on low-medium speed for another 5 to 10 minutes, or until it becomes smooth and elastic again, and starts pulling away from the sides.
- Transfer the dough to a large bowl that you've previously floured or lightly greased so it doesn't stick. Cover with cling film and put in the fridge to proof overnight.
- Once your dough is ready, punch it to deflate it, transfer it on a clean, lightly floured surface and give it a brief knead. Portion the dough into approx. 18 pieces that weigh between 60 to 65 grams. (I always use a kitchen scale for this)Roll each piece of dough until you've got a smooth ball and place on a baking sheet with individual baking paper squares. Cover with a clean tea towel or plastic wrap and let them rest and rise for another 2 to 4 hours. (The exact time will depend on how warm and humid is the space you're letting them proof.)
- You don't want to overproof your doughnuts, otherwise they will become hollow inside and soak up a lot of oil. When the dough is ready, heat approx. 1.5 liters of vegetable oil in a heavy-bottomed pan. The oil should be between 170 and 180 degrees Celsius. That's around 340 to 350F.
- Fry 3-4 doughnuts at a time for a couple of minutes on each side or until golden. Take them out to a plate covered with paper towels. Let them cool completely before filling and covering with sugar.
To make the chocolate filling:
- In a medium-sized bowl, whisk together the powdered sugar, cocoa powder and salt until evenly combined.
- In a small saucepan bring the water to a boil.
- Add the softened butter and the water to the cocoa mixture and mix with an electric hand mixer (or a stand mixer with whisk attachment) until completely smooth and incorporated. Add the vanilla extract at this point as well and mix well.
- The mixture will be a little on the loose side, so place it in the fridge for 10 to 20 minutes until it's spreadable and creamy.
- Place the chocolate filling in a disposable piping bag and snip the end off before using. There is no need for a piping nozzle.
Assembly:
- Coat the doughnuts into a cinnamon-sugar mixture and place them vertically on a baking tray. Using a small knife or scissors, cut the middle (where the white line is) to create a hole for the filling. Fill with the prepared chocolate filling. You'll know you've filled them enough when they start expanding! However, this is a pretty rich filling so I advise not to overfill the doughnuts. 🙂
Notes
- If you don’t have a stand mixer, you can use an electric hand mixer with dough kneading attachments, a wooden spoon or your hands!
- If you still don’t own one, I advise you to buy a kitchen scale – they’re cheap and easy to use, and always guarantee the same results in baking! 🙂
- Please check the post for extra tips and information!
IMPORTANT
All the recipes are developed and tested using only metric measurements and a kitchen scale. The U.S. cup and spoon measurements are provided for your convenience, but I highly recommend getting a digital kitchen scale and measuring in metrics. It's easy and always guarantee the same results in baking!
Nutrition
The nutritional information and US conversions are calculated automatically. I cannot guarantee the accuracy of this data. If this is important to you, please verify with your favourite nutrition calculator and/or unit conversion tool.




Diana taylor
they look amazing i will be trying this for sure and let u know how they are thanks for sharing
Caitlin Romero
Hi there. I have a question. I am having a hard time shaping the balls. I read your tip, but mine seems to turn out weird. I wish I could send a picture to show you. They rise differently as well. ANy suggestions?
Ana Zelić
Hi Caitlin,
you can certainly send me images either via my Instagram or e-mail. Since you didn't give me enough information on what is "weird" and what exactly you're having issues with, I encourage you to send me the images or write in more detail what troubles you. 🙂
On top of my head, I suspect that your dough might be too soft to work with?