This San Sebastian Cheesecake is a crustless, deliciously creamy cheesecake, with a distinctive burnt top that gives it a beautiful caramel flavor. Using a handful of simple ingredients and defying all the baking rules, this is a failproof recipe perfect for a novice baker!
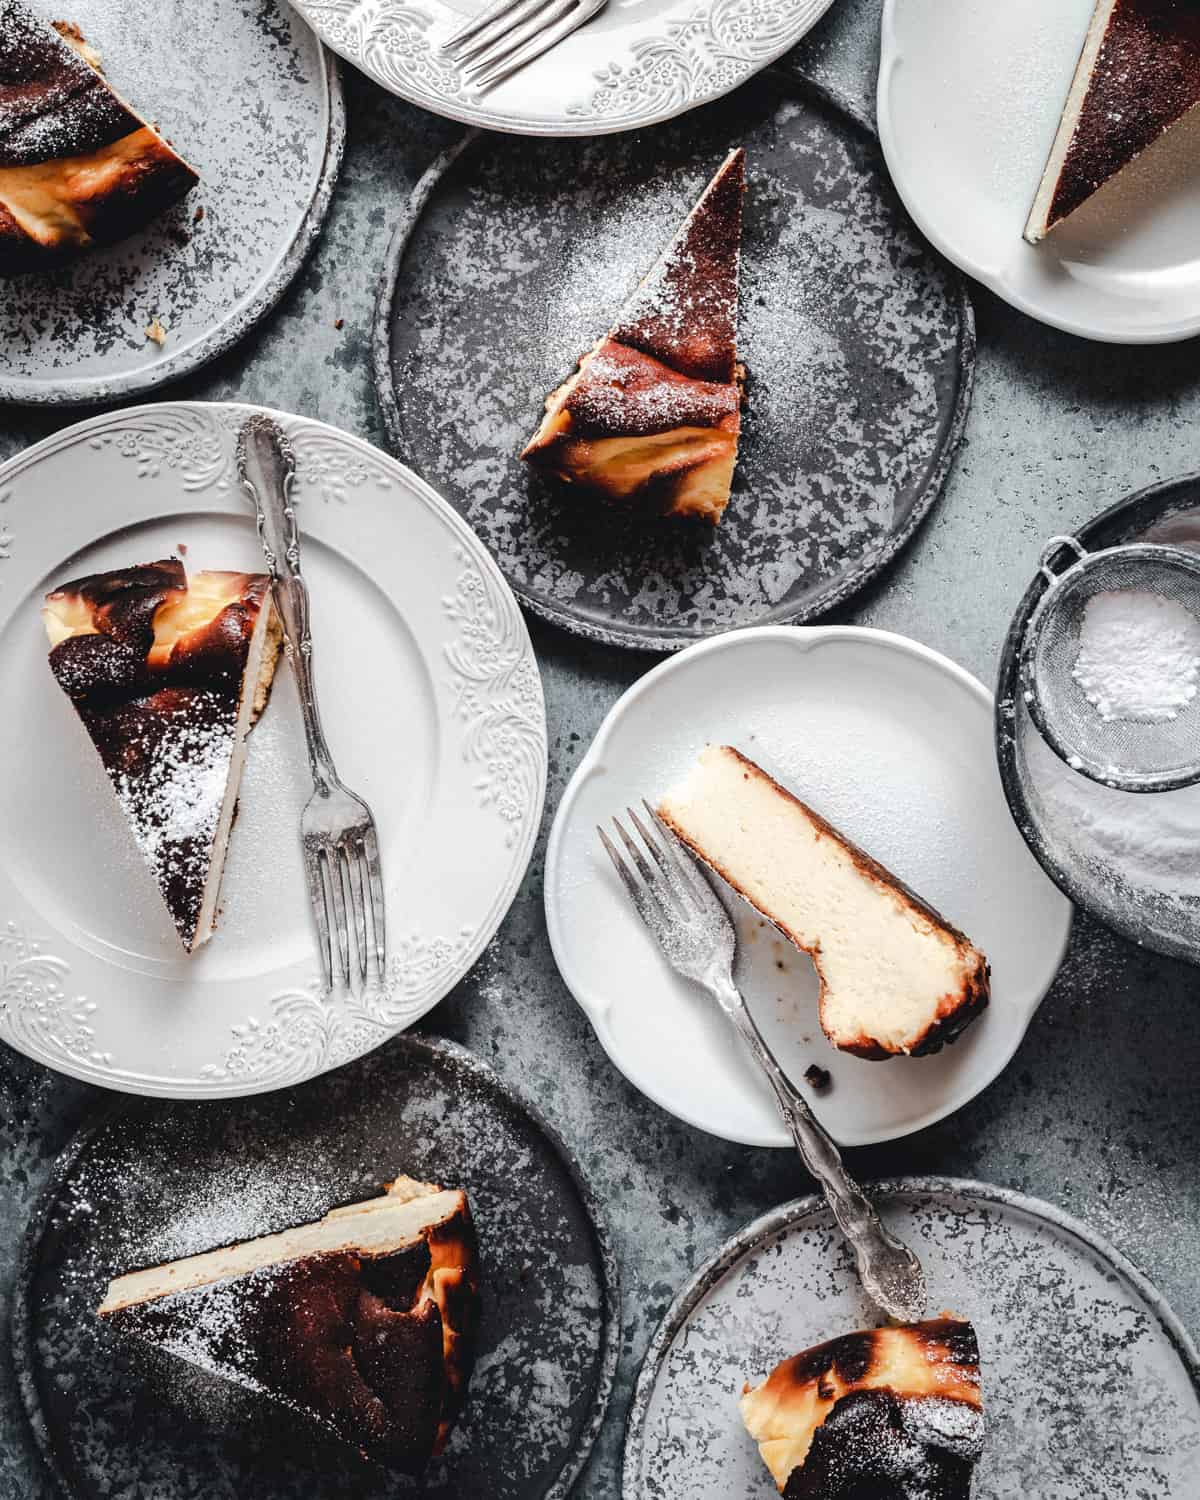
I've been a long-time lover of cheesecakes and I'm especially partial to baked cheesecakes, such as my Perfect Lemon Cheesecake. But having tried this Basque-style cheesecake, I might have a new favorite!
Jump to:
What is a San Sebastian cheesecake?
With a characteristic burnt crust around the whole cake and a lack of a traditional biscuit base, this Spanish cheesecake originates from the restaurant La Viña in the town of San Sebastían, situated in the north of the Basque region.
If you ever get the chance to visit the restaurant, you'll find it under the name Tarta de Queso or Cheese Cream Cake.
After gaining tremendous popularity in the last few years, it has become known as the Burnt Basque Cheesecake in the States and on the internet. However, those who know the origin of this delicious cheesecake call it San Sebastian cheesecake, as it has become a staple of modern San Sebastian cuisine.
This delicious cheesecake is made by breaking most of the cheesecake baking rules you've heard before. You know: pay attention to the temperature; use a water bath so it doesn't crack... well, not this time!
You need to bake the cheesecake at a high temperature, burn it, let it expand and crack and allow it to cool, so it deflates a bit thus creating higher edges. How easy does that sound? Not to mention, incredibly delicious.
One of my favorite things about this recipe is that the burnt top with the creamy inside gives the cheesecake almost a crème brûlée flavor. So, so good!
Why this recipe works
- The combination of cream cheese and heavy cream create a beautifully rich, creamy and dense texture.
- The burnt exterior brings the caramelized flavor that is reminiscent of a crème brûlée, which contrasts the sweet cream cheese filling perfectly.
- With the step-by-step images and metric measurements, you have everything you need to nail this San Sebastian cheesecake recipe!
Ingredient notes
- Cream cheese: for this recipe I use full-fat Philadelphia cream cheese that comes in a plastic tub/container or a similar Croatian brand I love. I understand that in the US there's such thing as block cream cheese that has less moisture. I don't recommend using that variety because I haven't tested it and it could make the cheesecake too dense.
- Heavy cream: I use heavy cream that has at least 36% fat. It helps with the creaminess of the cheesecake and full flavor.
- Eggs: San Sebastian cheesecake is uses a lot of eggs for a custard-y feeling. I use large eggs (cca 60g per egg without the shell).
- Vanilla: I like to add some vanilla paste to the batter to accentuate the taste and reduce possible egginess that some people with sensitive tastebuds can experience.
How to make San Sebastian cheesecake (step-by-step)
Note: You have the fully written recipe with measurements and detailed instructions at the end of the post. However, I advise you to read all the helpful tips and FAQs.
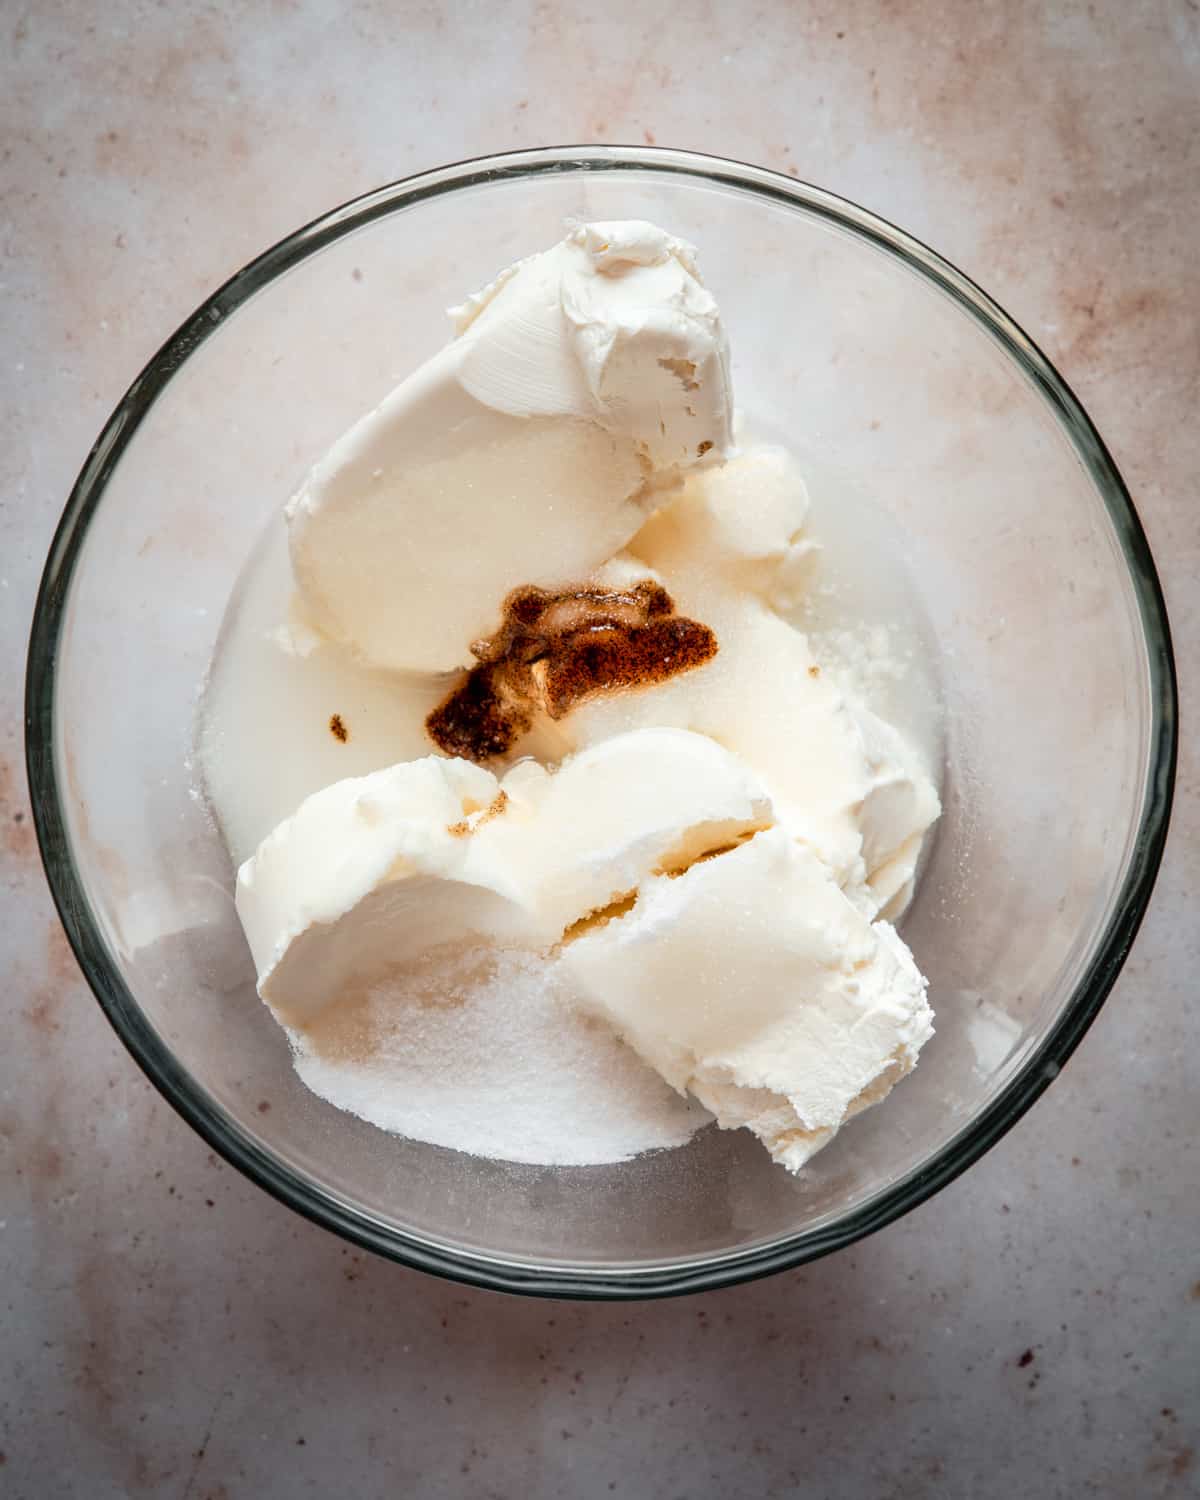
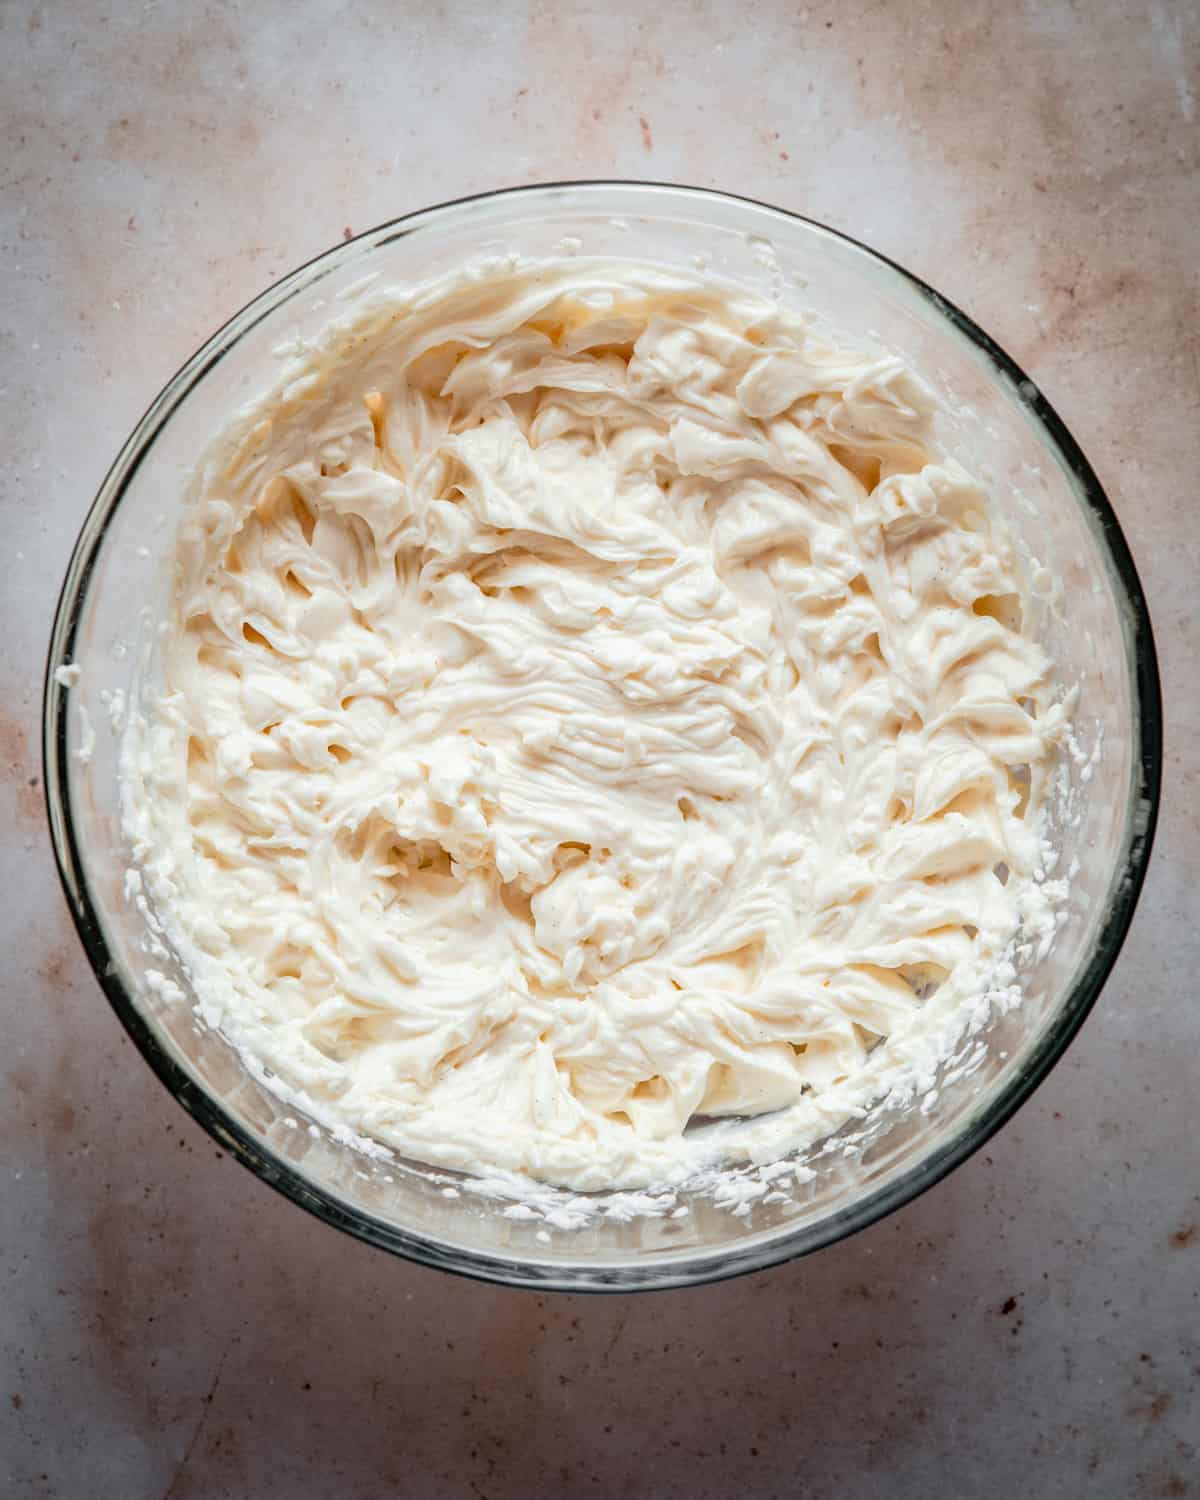
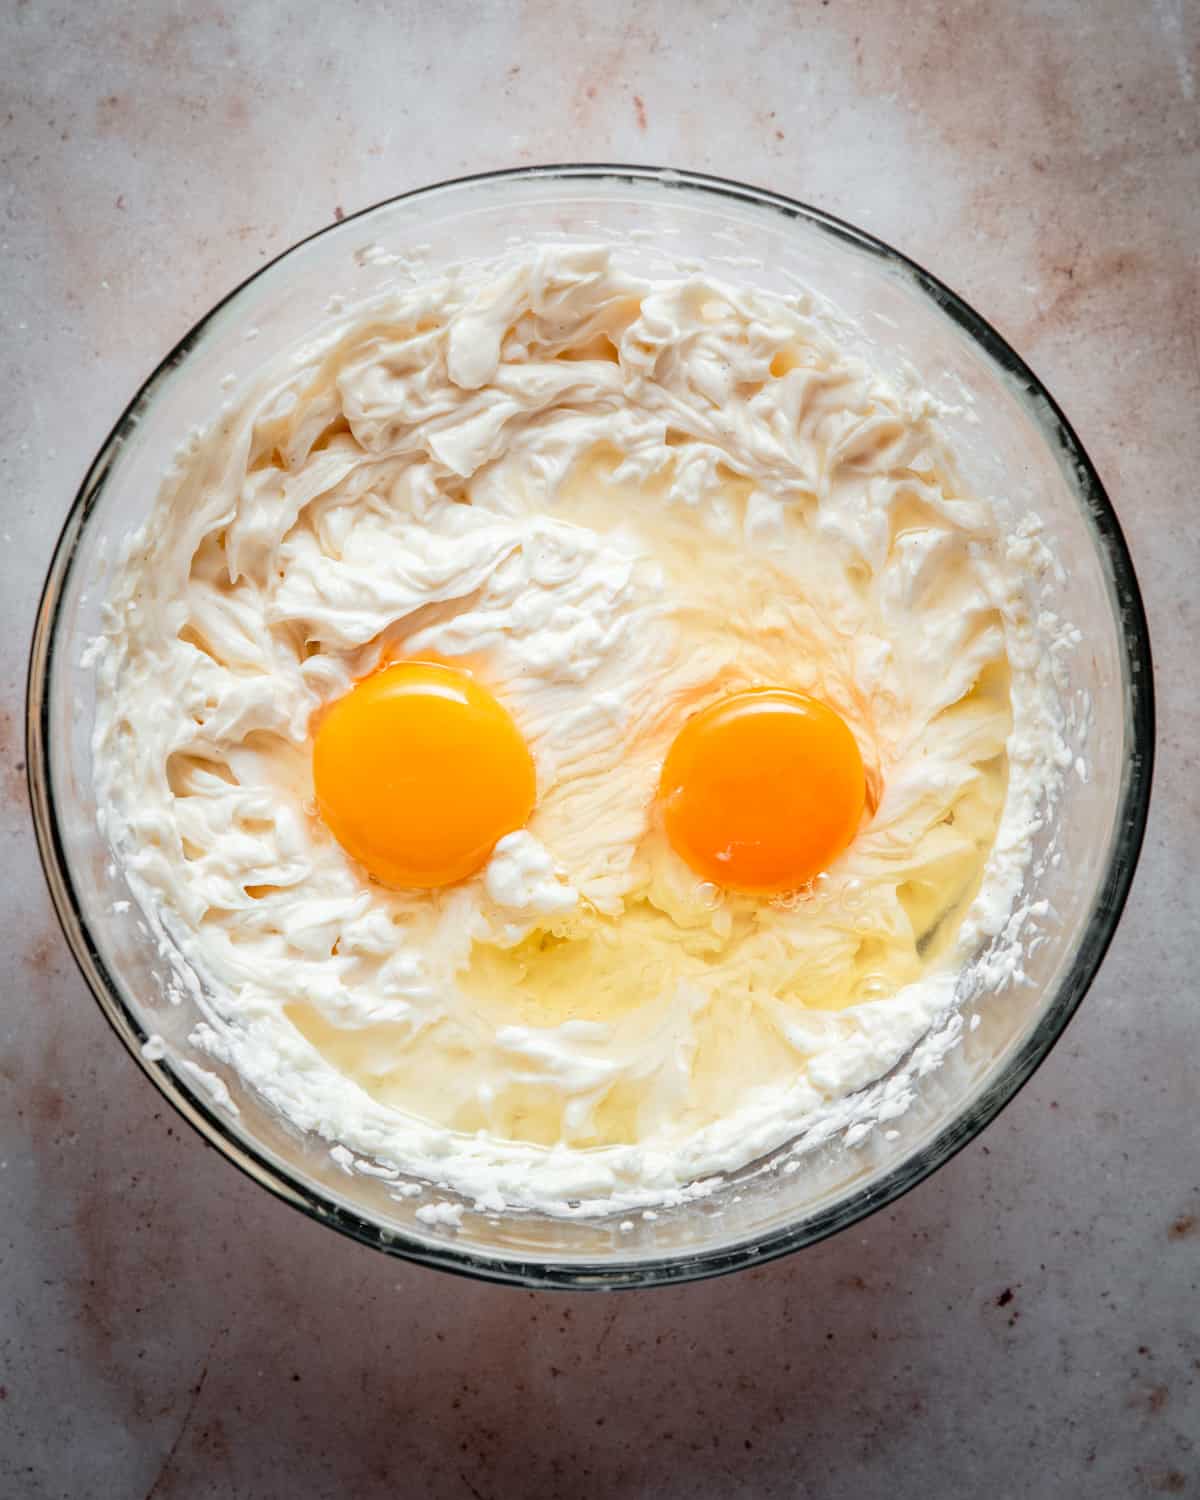
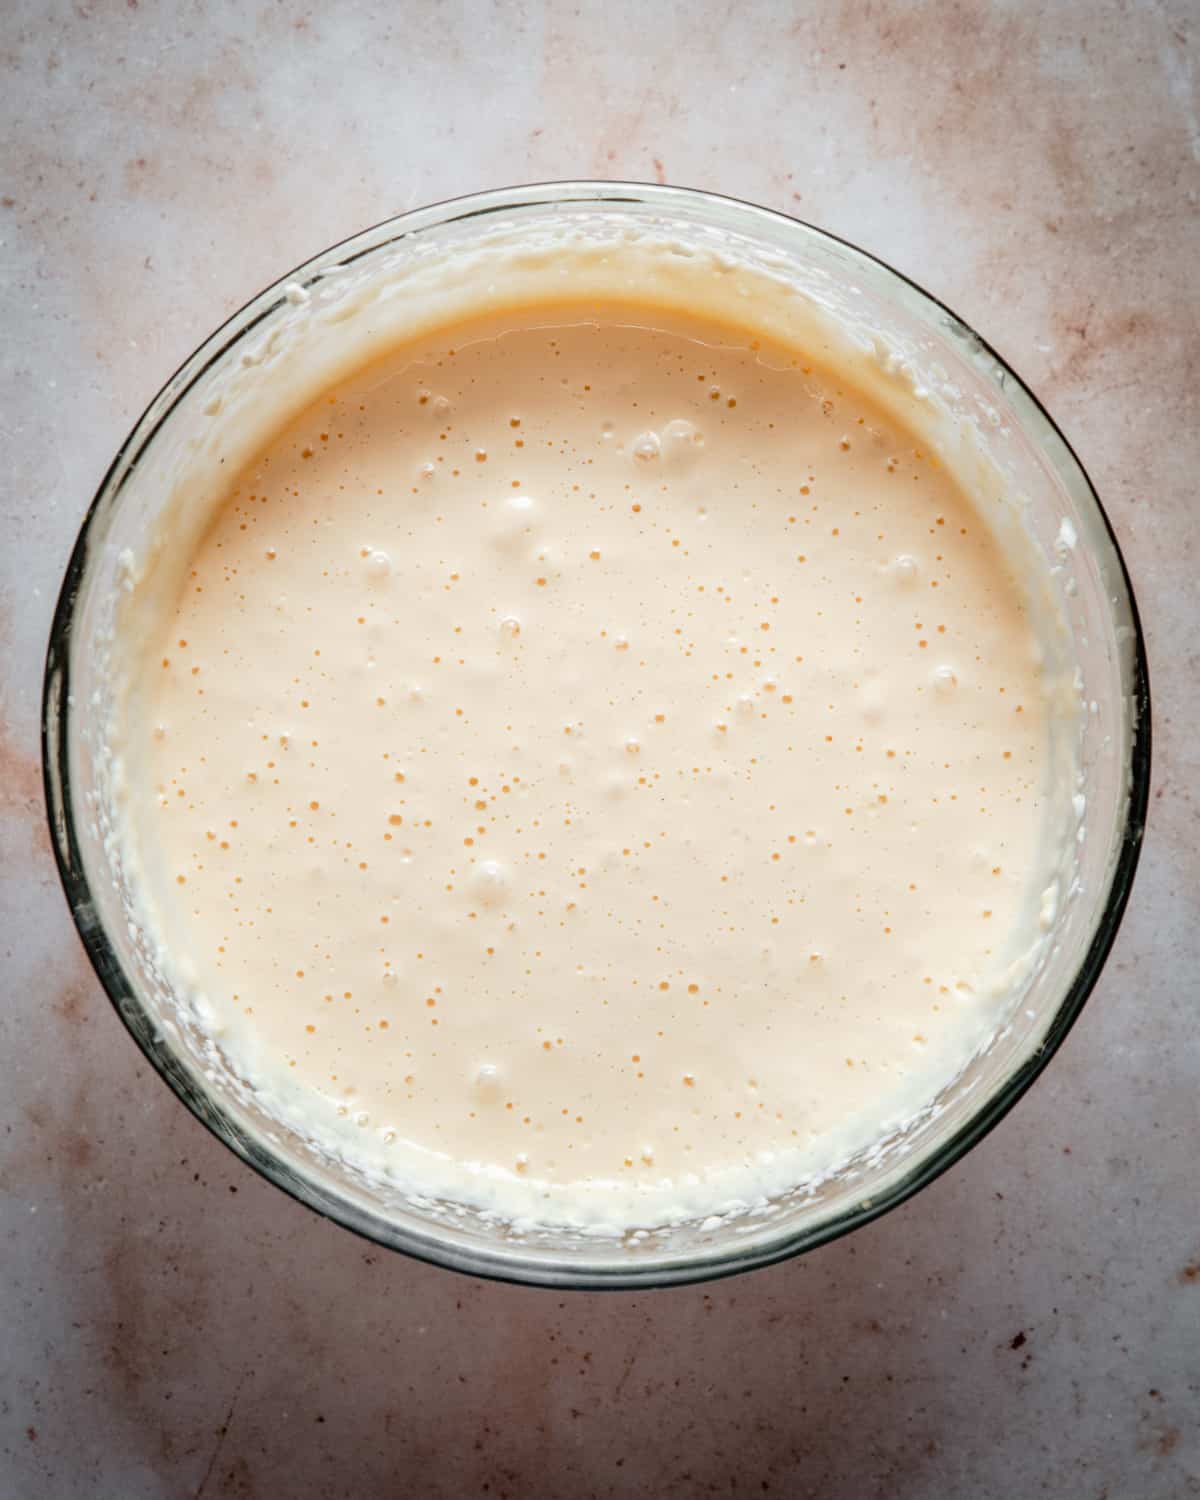
- In a large bowl, add the cream cheese, sugar, vanilla and salt and mix to combine with a an electric hand mixer.
If you're adding any flavorings, such as lemon juice and zest, this is the step to add it.
- Add the eggs, 1 by 1 (I had two egg yolks in 1 egg), and mix until each is thoroughly incorporated before adding the next, until you get a smooth batter.
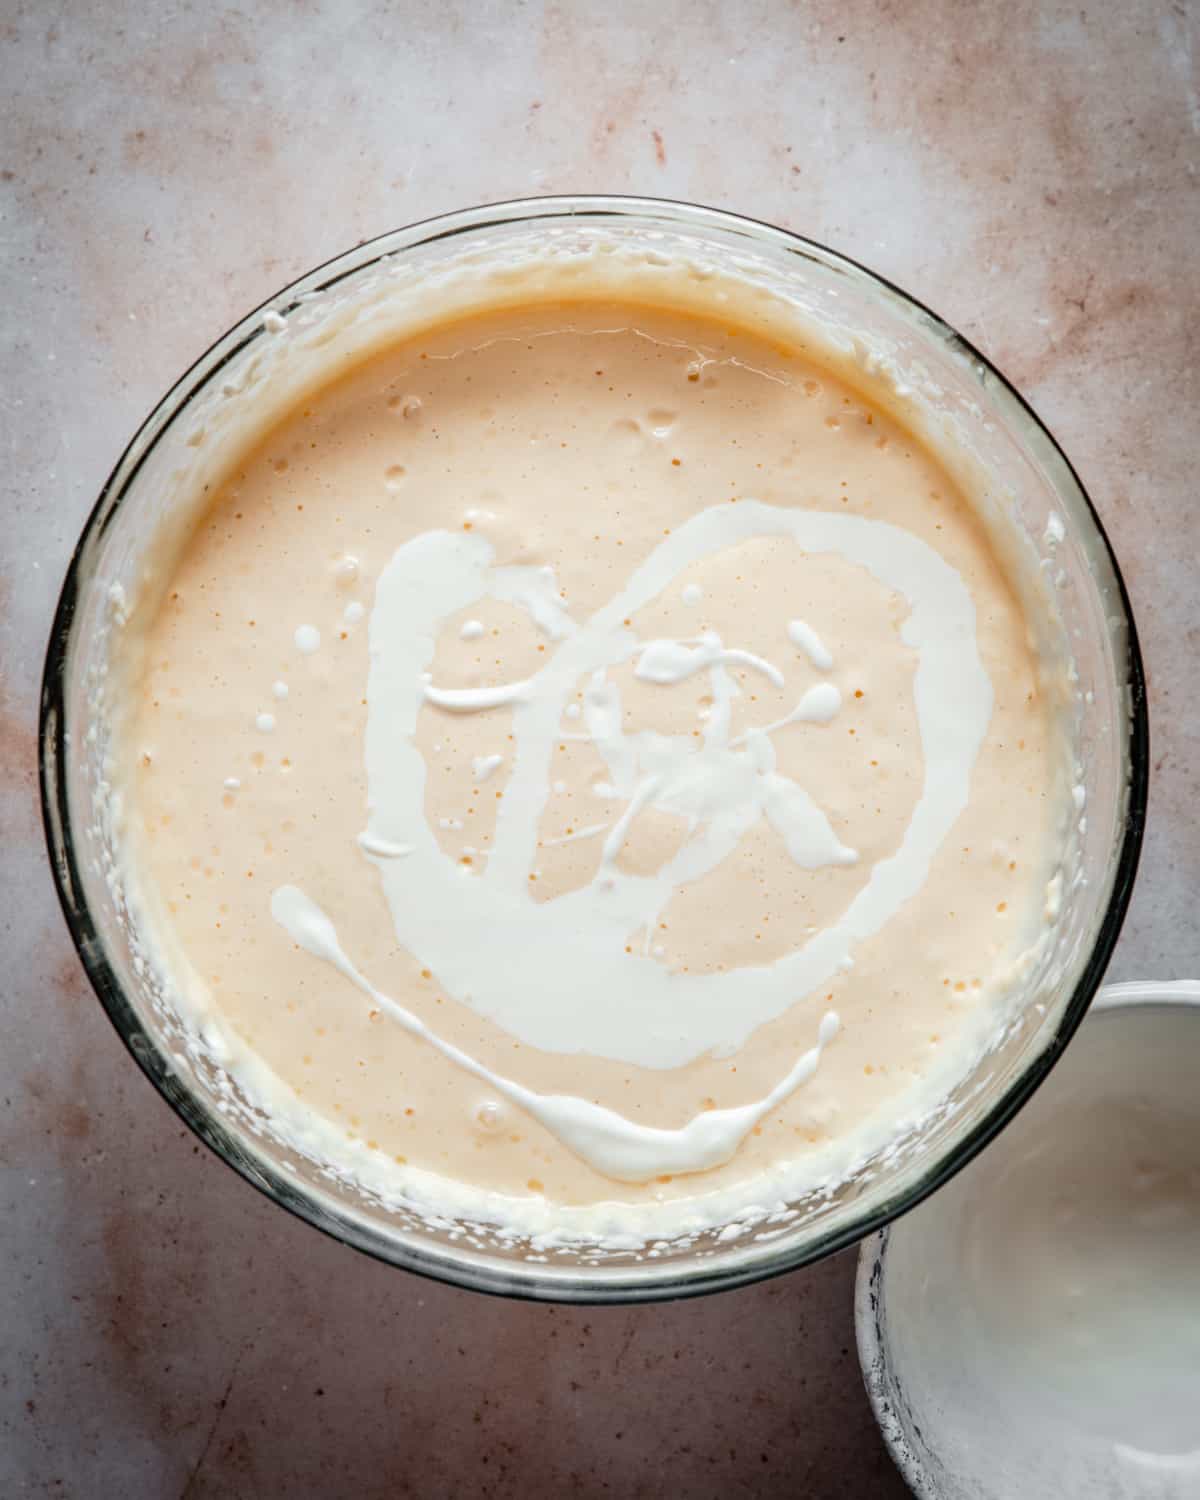
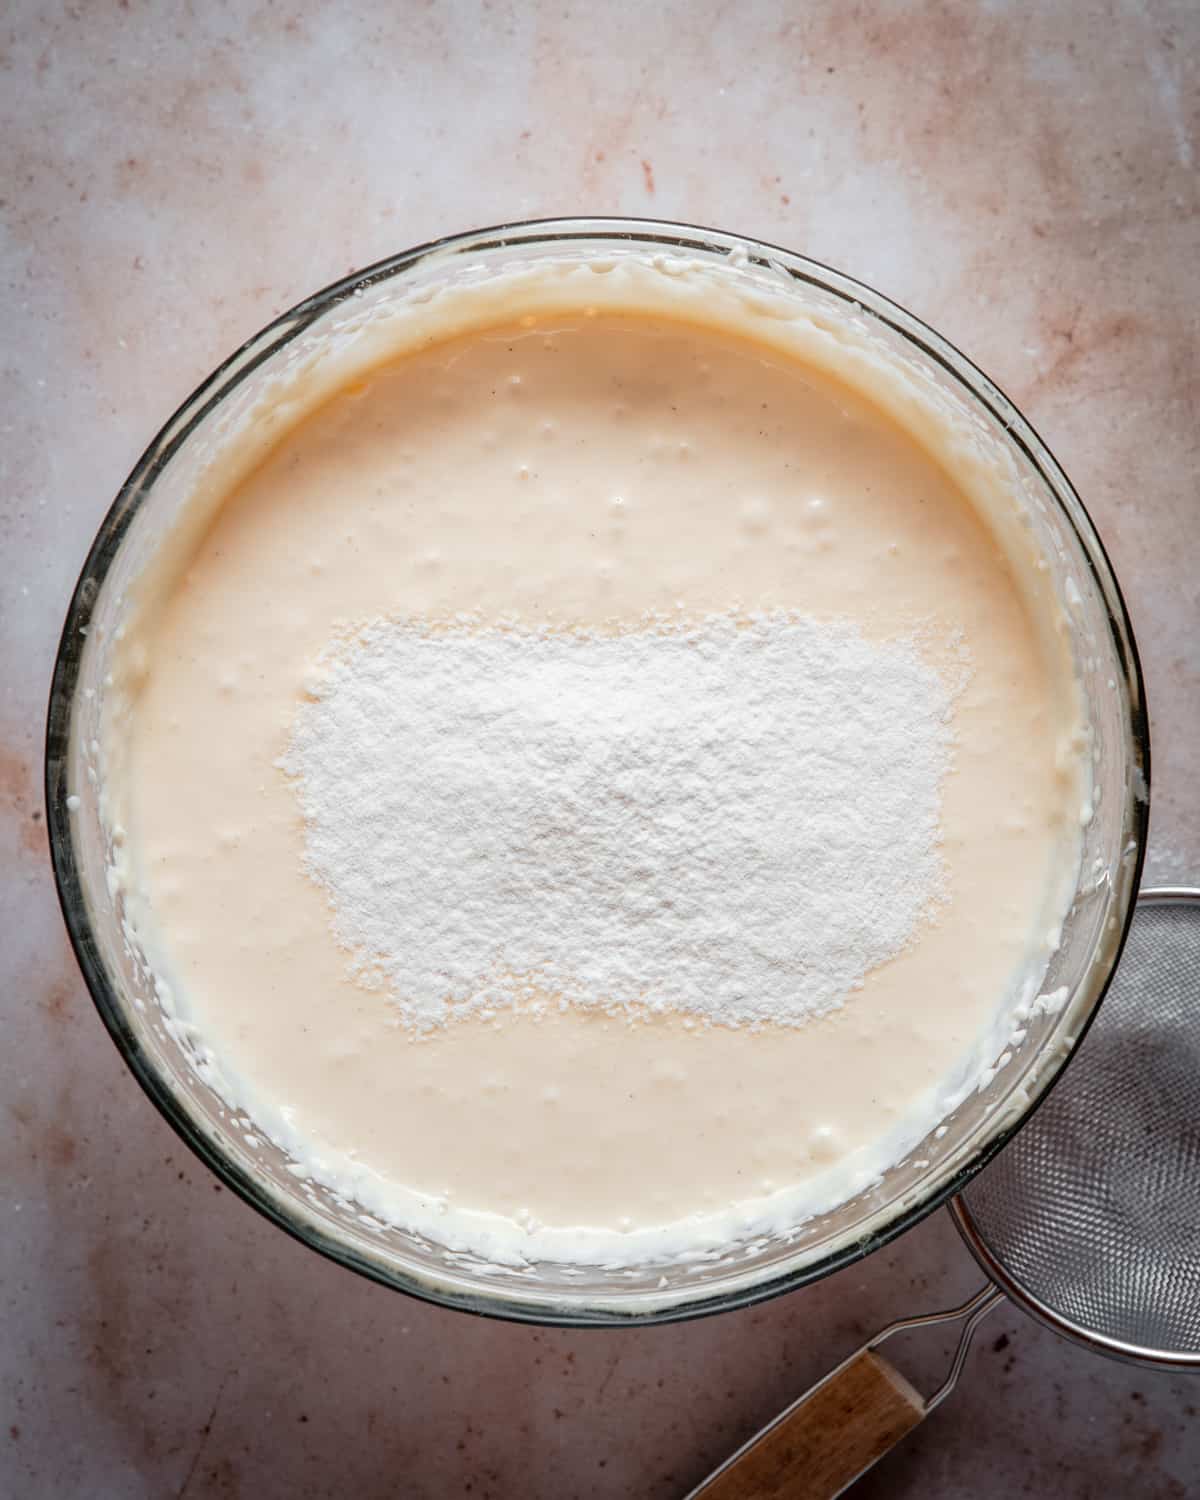
- Add the heavy cream and mix until incorporated.
- Sift the flour directly into a bowl and mix until thoroughly combined.
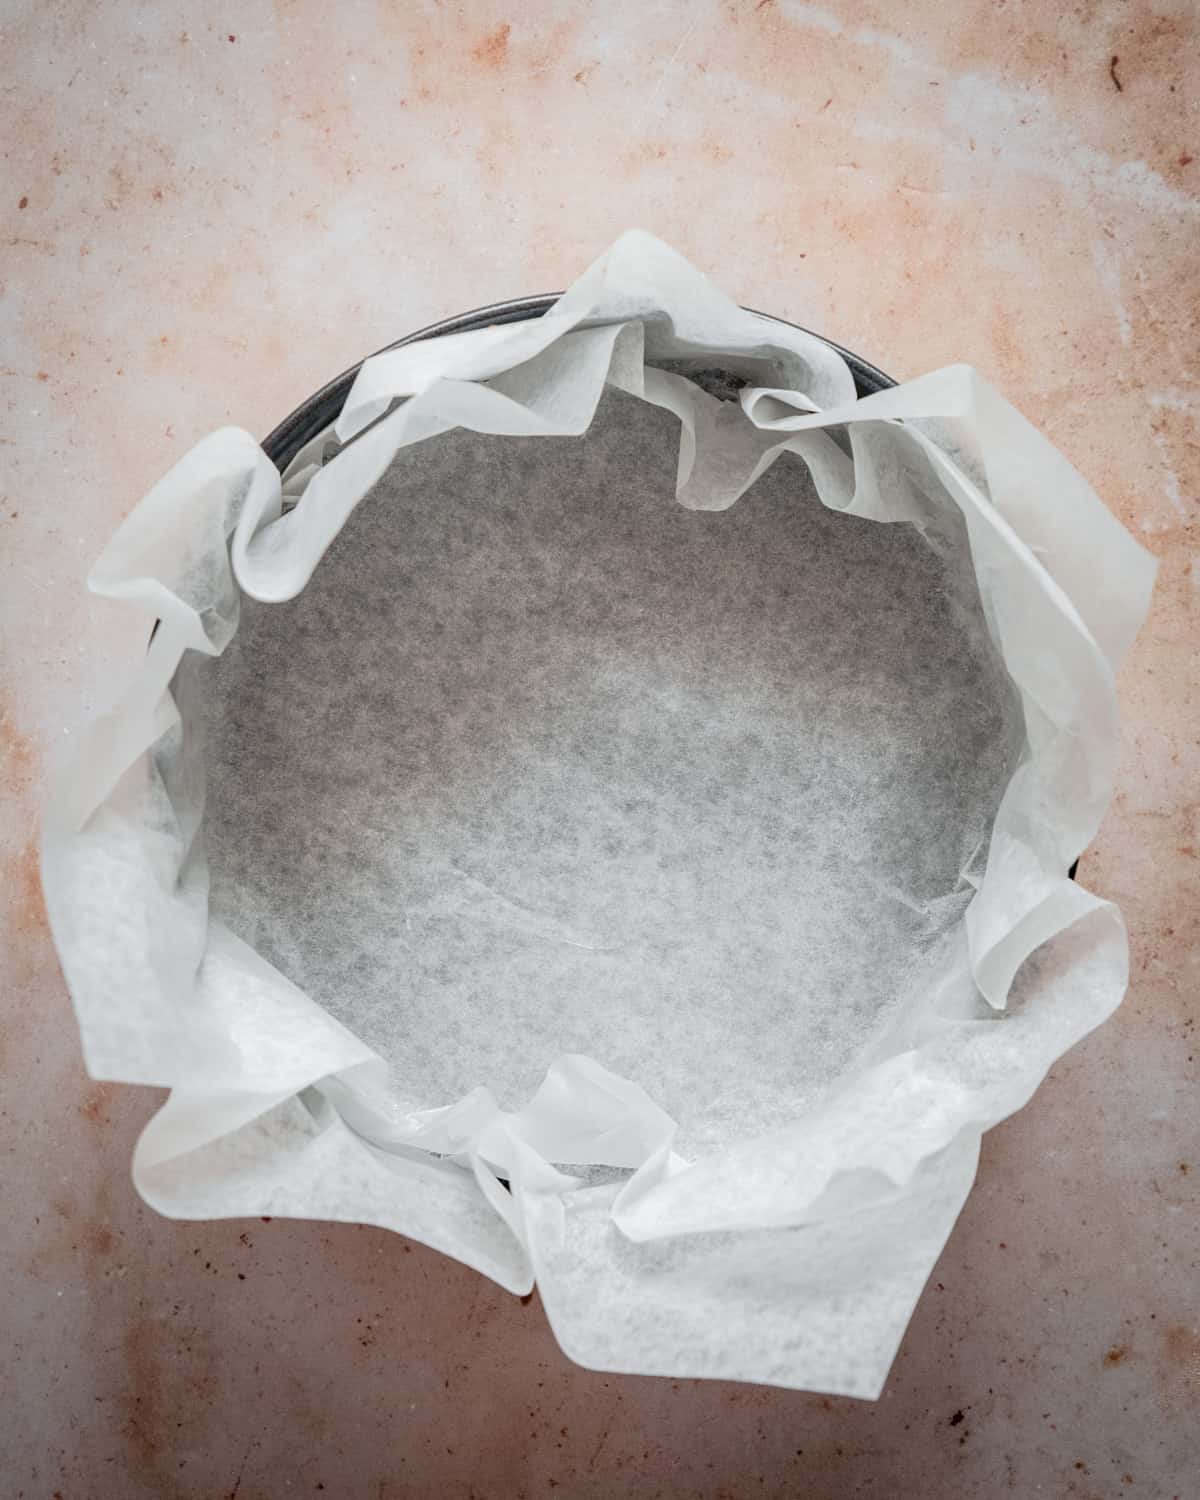
- Line the springform pan with two parchment papers on top of each other, so that every part of the pan is equally covered. For easier adherence, you can spray the pan and the paper with some cooking oil.
Since the cheesecake rises substantially while baking, don't trim the excess parchment paper, but let it stay straight up, higher than the edges of the pan.
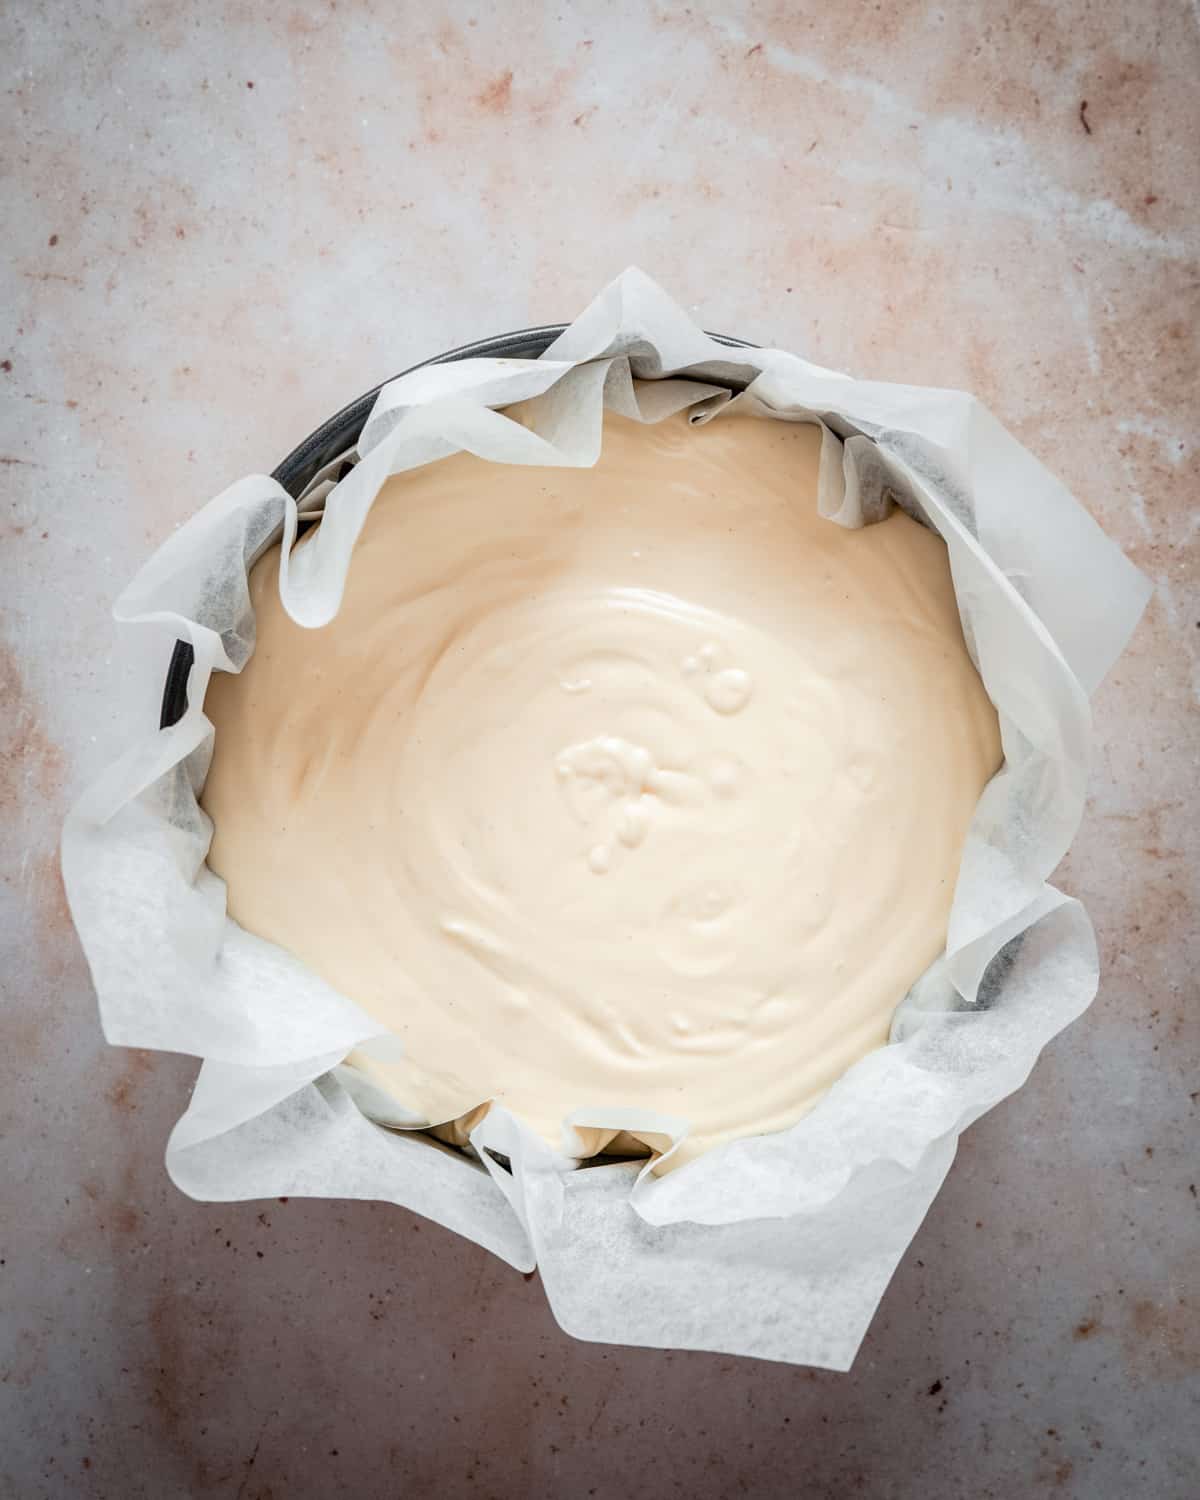
- Pour the cheesecake batter in the pan and give it a shake so it spreads evenly.
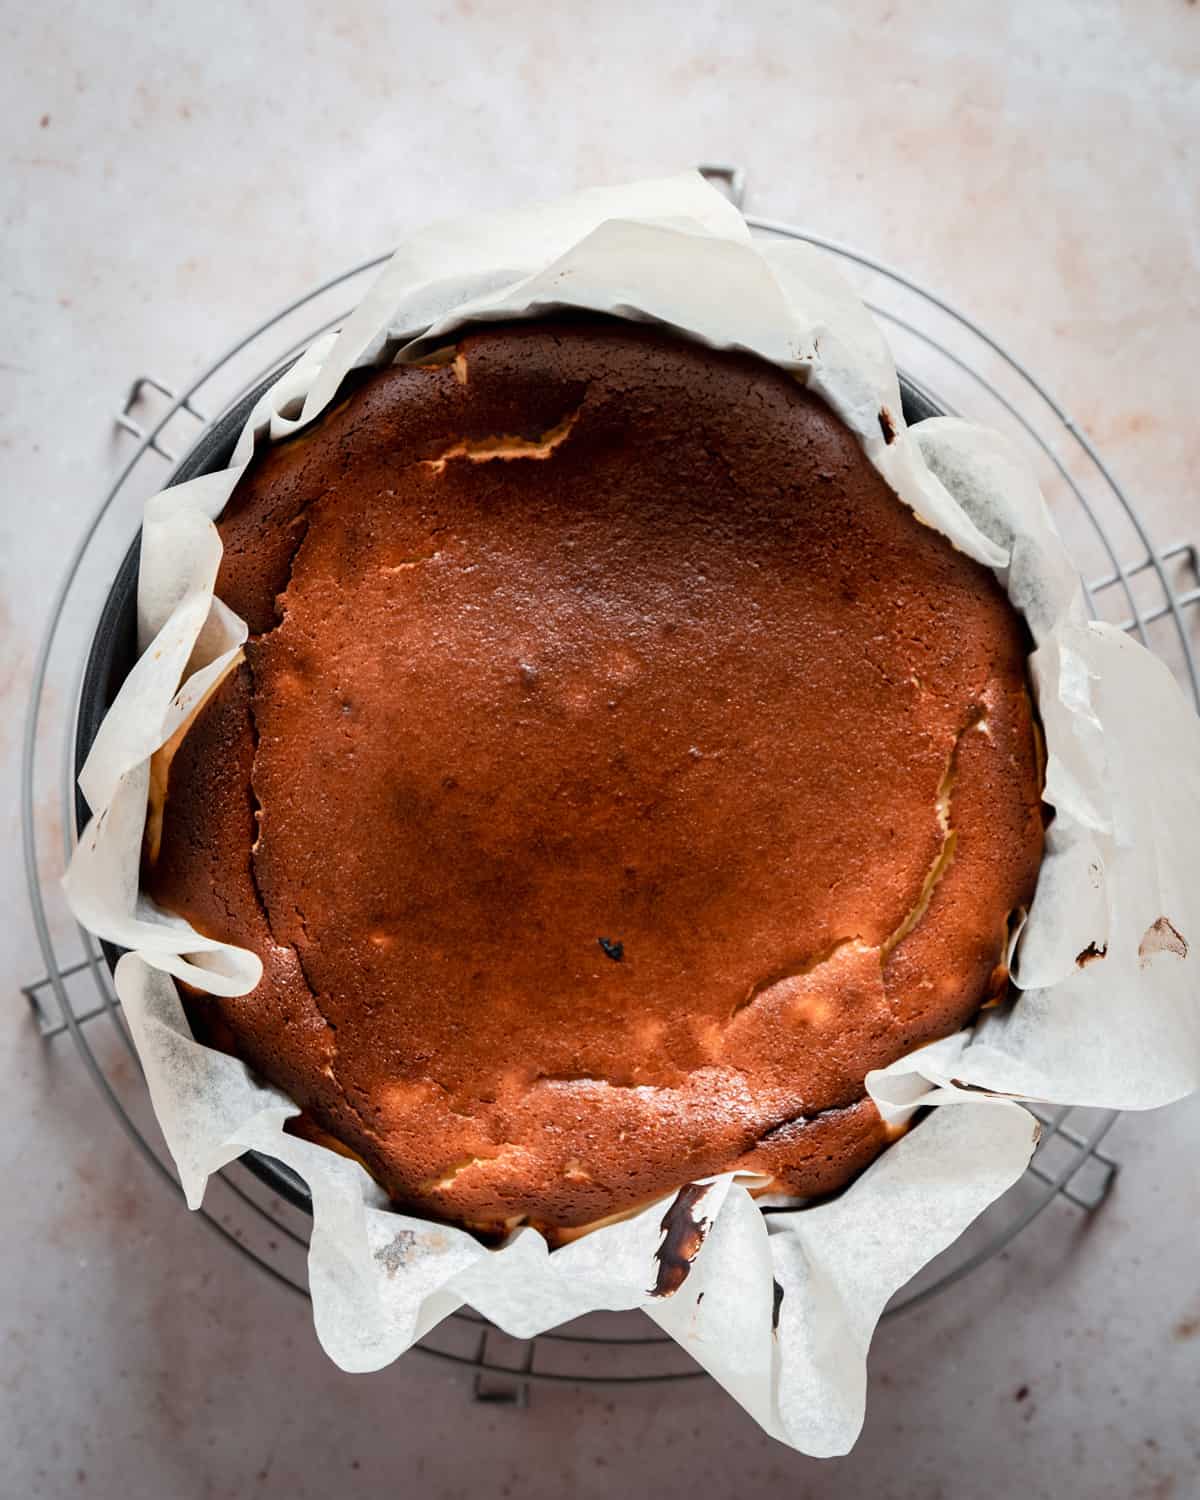
- Bake in a preheated oven for about 40 minutes, or until it's expanded, burnt on the top, set on the edges and wobbly in the middle. For a rawer creamy inside, bake it less.
- When done, leave it in the pan on a cooling rack, at room temperature, to set and cool gradually before placing it in the fridge to cool completely.
Yield and serving
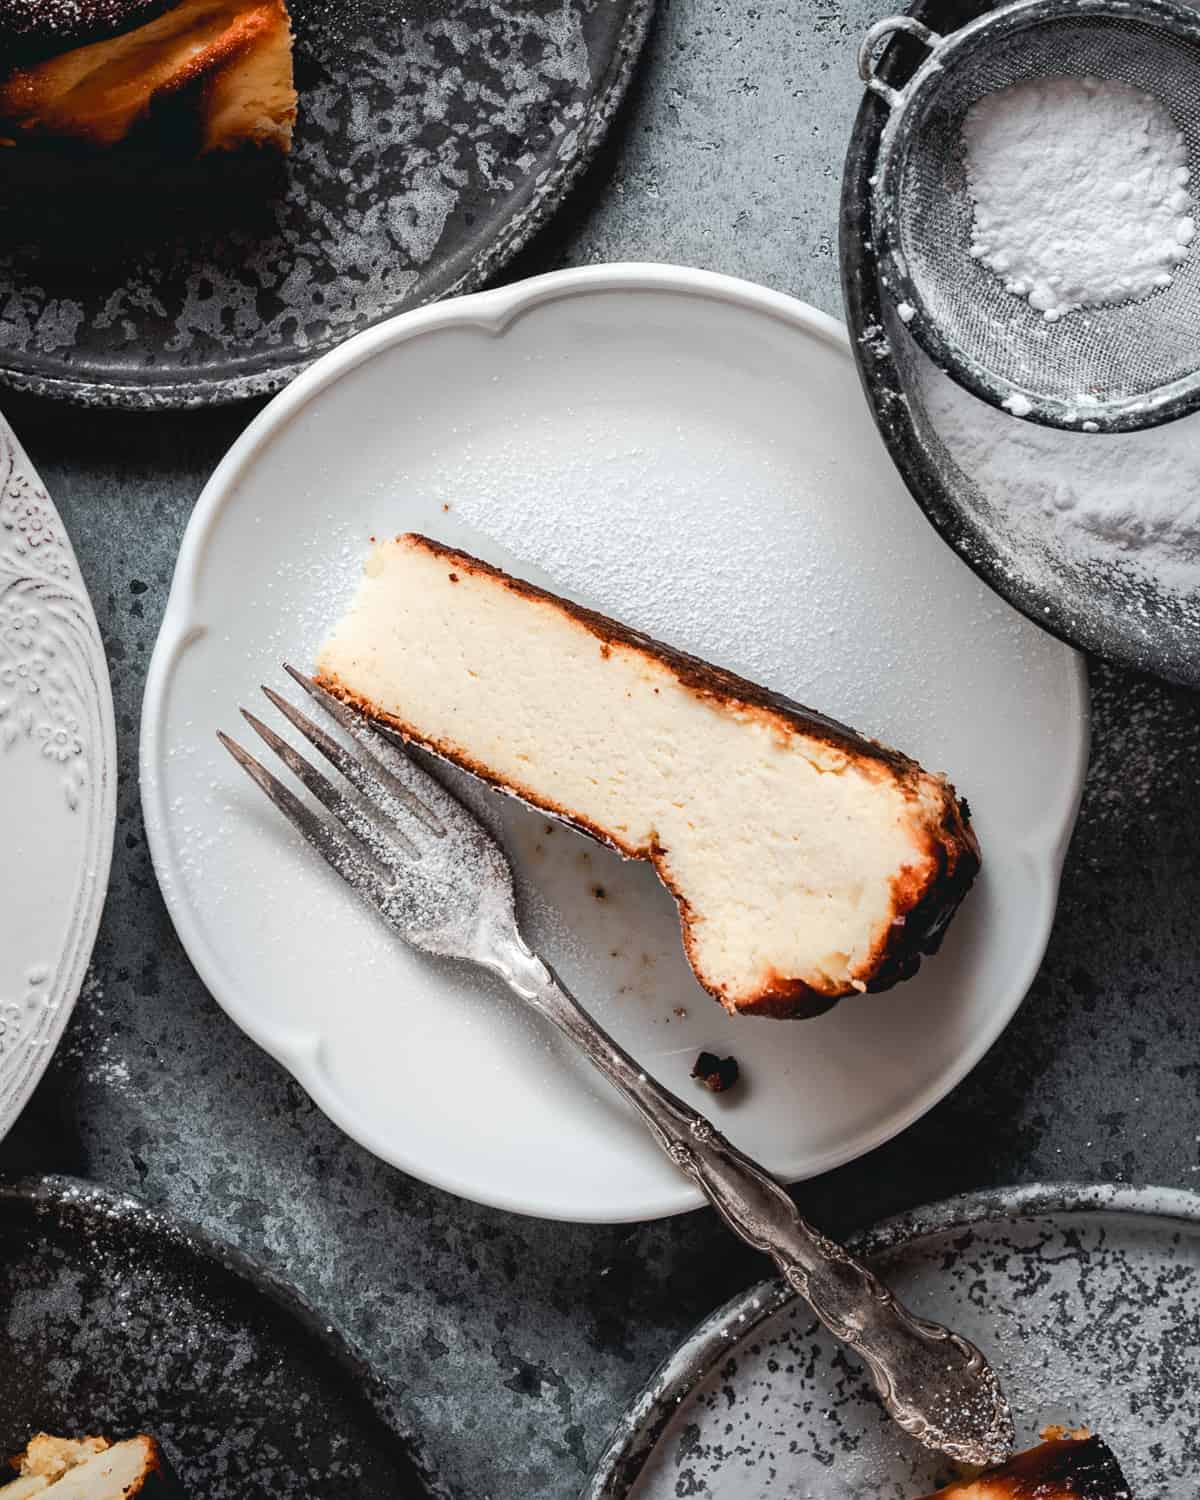
This recipe makes enough to serve 10 or 12 people, depending on the thickness of your slices.
You can serve it just barely warm after letting it cool and set at room temperature, or completely cold after letting it chill in the fridge for a few hours. I prefer the cold version, but you do you!
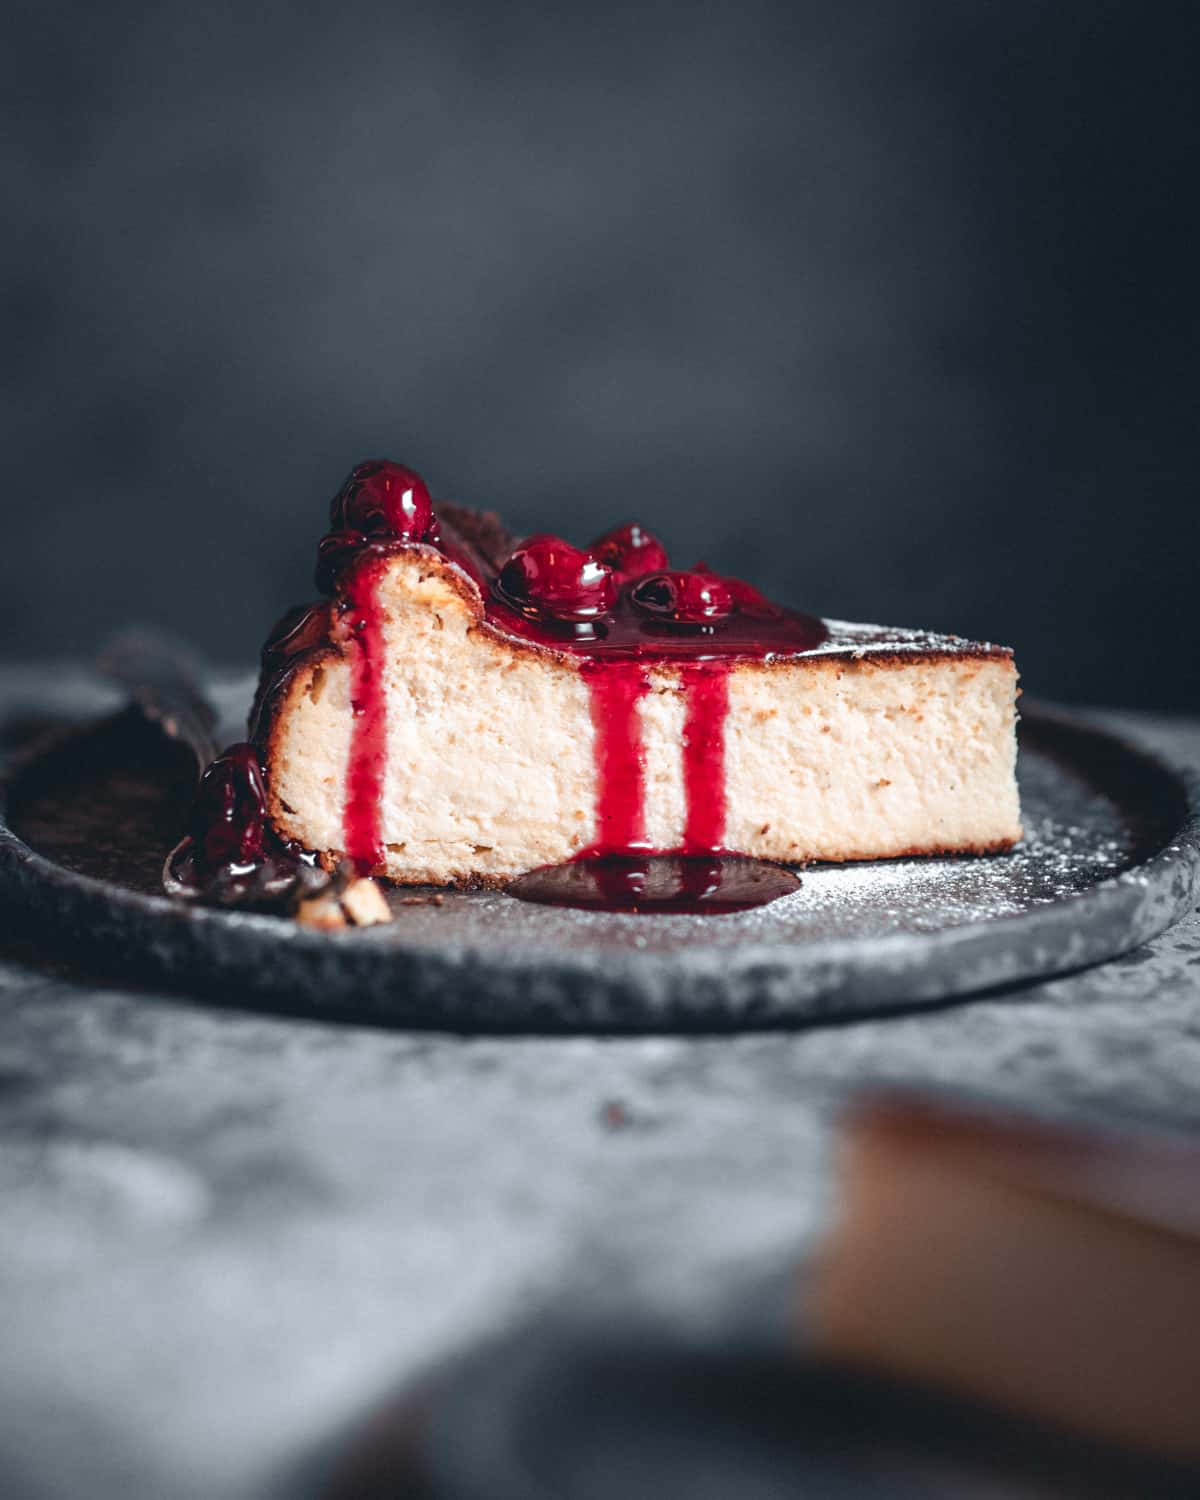
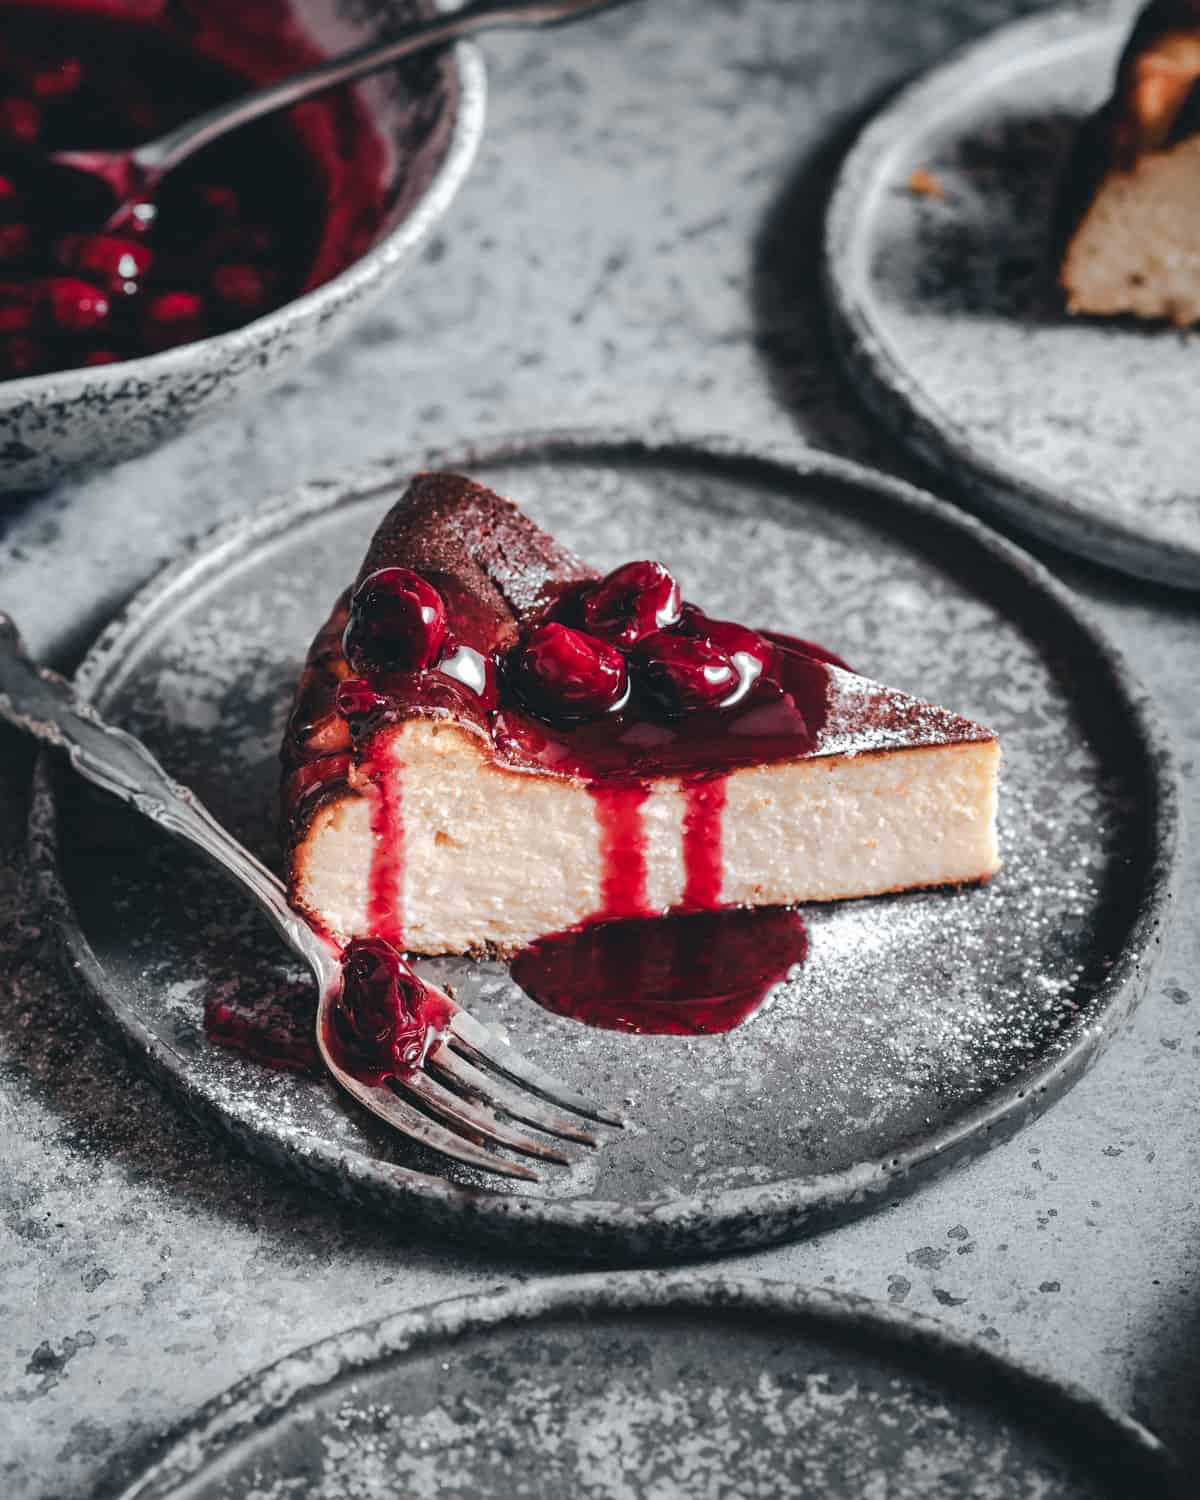
I love serving San Sebastian cheesecake with some fruit, like the sour cherry sauce you see in the picture, but it's also very delicious on its own!
When it comes to drinks, pair the cheesecake with Spanish sweet sherry wine (made from white Pedro Ximénez or Moscatel grape) or maybe Tinto de verano (a mixture of red wine and soda).
💡Tips and tricks
- Make sure all your ingredients are room temperature prior to mixing. It reduces the chance of lumps and helps to emulsify all the ingredients seamlessly.
- Please use full-fat cream cheese and heavy cream. It's what gives the cheesecake a rich flavor and creamy texture.
- Use a springform pan for easier releasing later. But if you don't have one, a regular round pan that's at least 3-inches (7.5-cm) high is also a good choice.
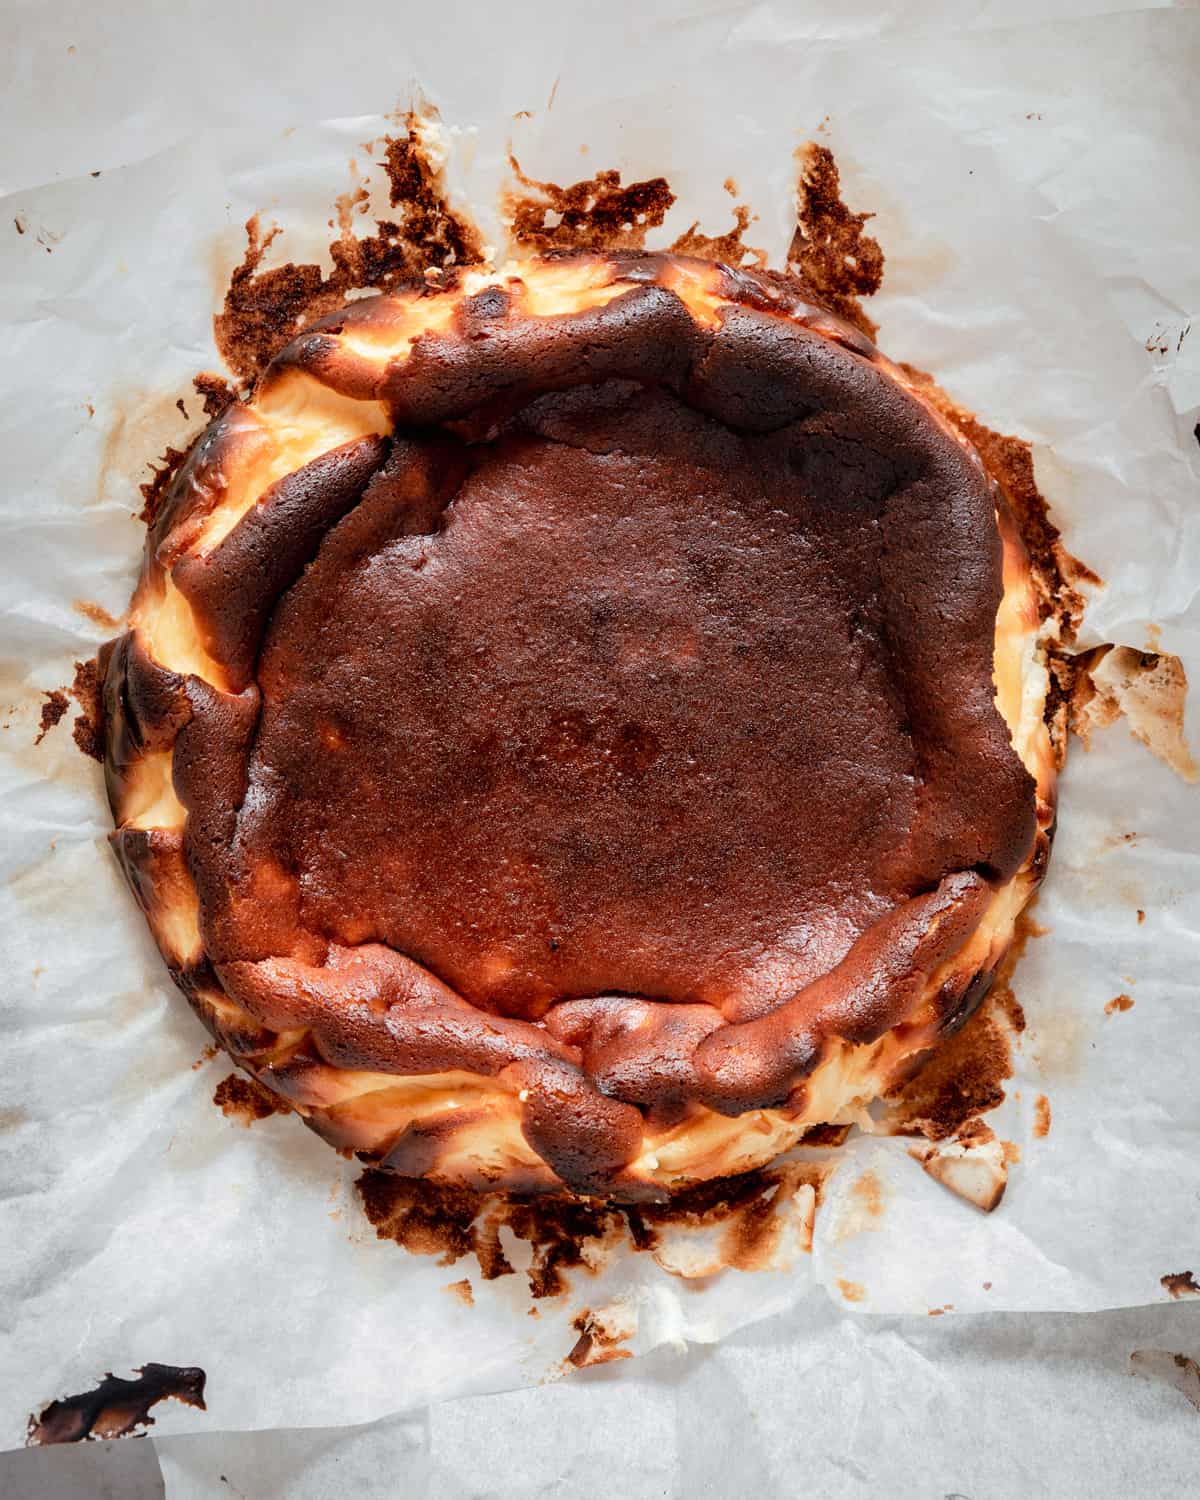
- Don't skip the double parchment paper lining because it's what gives the San Sebastian cheesecake its signature, rustic look. (see image 7)
- Don't overbake the cheesecake, otherwise it might have an overly eggy taste. The cheesecake is done when it still jiggles in the middle, but it's set on the edges.
- Cracks are a normal occurrence because the cheesecake is baked at a very high temperature, so it rises very quickly. Once it sets and deflates a bit, the cracks won't be visible at all. (see images 9 and 10)
- If your cheesecake starts burning before it's properly baked inside, then your oven might be running hot. Try decreasing the temperature and cover the top with a parchment paper to reduce the burning.
- If your cheesecake is done baking, but doesn't have a burnt top, don't just prolong the baking time. Instead, place the cheesecake on a top rack and use a broil or a grill option to get a burnt top in a short amount of time. This way you're avoiding overbaking the cheesecake.
Substitutions and flavor variations
To make this San Sebastian cheesecake gluten-free, you can use cornstarch instead of flour or just omit the flour altogether.
For a bit more tang, I love adding some lemon zest and juice. It's not the traditional way of doing San Sebastian cheesecake, but if you love your cheesecake on a more refreshing side, I recommend adding the zest and juice of one lemon.
Another excellent flavor option is adding a little bit of cinnamon to the batter for a warm, cozy feeling. Especially if you're making this recipe during the colder months. Cinnamon also pairs wonderfully with the sour cherry sauce.
If you're looking for a more grown-up version, why not try adding some rum or whiskey to the batter, or rum-soaked raisins? I adore rum in desserts and it would work perfectly with this cheesecake!
Storing
Keep the cheesecake in the fridge, in an airtight container for 5-7 days. However, it's so good that I doubt it will last that long!
FAQs and Troubleshooting
You'll know your cheesecake is done when it's a little puffed up, with the edges set and the middle jiggles a little bit when you shake the pan lightly. Don't worry, once it cools it will be nicely set and creamy.
Yes, though it might be better to halve the recipe and bake in a smaller, 7-inch pan if you're afraid of having leftovers.
To freeze San Sebastian cheesecake, let it cool completely in the fridge then slice it, double wrap each slice with cling film and freeze.
To defrost, place the cheesecake in the fridge overnight to thaw gradually.
Your oven might be running cold. Instead of just extending the baking time, place the cheesecake on a top oven rack and use a broil or a grill option to get a burnt top in a short amount of time. This way you're avoiding overbaking the cheesecake.
If you have any other questions that I didn't cover, please let me know in the comments section down below - I'd love to help you out!
⭐️ And if you make this San Sebastian cheesecake, please consider leaving a star review and tag me on Instagram @anasbakingchronicles so I can see it or feel free to e-mail me your pictures and thoughts! I love seeing your bakes!
Happy baking,
Ana
📖 Recipe
San Sebastian Cheesecake
Description
ingredients
- 800 g cream cheese (room temperature)
- 5 large eggs (room temperature)
- 250 g granulated sugar
- 1 teaspoon vanilla paste
- pinch of fine sea salt
- 300 g heavy cream (room temperature)
- 20 g all-purpose flour
Instructions
- Preheat your oven to 205˚C (400˚F) or 190˚C (375˚F) if you're using a fan-assisted oven (like I do). Line the 9-inch (23-cm) springform pan with two pieces of parchment paper for a signature San Sebastian cheesecake look.
- Add the cream cheese, sugar, salt and vanilla to a large bowl. Using an electric hand mixer, mix it until smooth and combined.
- Next, add the eggs one by one and mix well until each is thoroughly incorporated before adding another egg.
- Pour the heavy cream into the mixture and mix it until combined.
- Sift the flour into the bowl and mix until just combined.
- Pour the batter in a prepared pan and shake the pan a little bit so the batter spreads evenly. Bake for approx. 40 minutes or until the top is deep brown (burnt), the edges of the cake have set, but the middle still jiggles a little bit when you shake the pan.
- Remove from the oven, place on a cooling rack and leave to cool gradually at room temperature before placing in the fridge to cool completely.Serve as is or with fruit-based sauces, fresh fruit or chocolate sauce.
Notes
- I advise you to read all the helpful tips with step-by-step images in the blog post!
IMPORTANT
All the recipes are developed and tested using only metric measurements and a kitchen scale. The U.S. cup and spoon measurements are provided for your convenience, but I highly recommend getting a digital kitchen scale and measuring in metrics. It's easy and always guarantee the same results in baking!
Equipment
Nutrition
The nutritional information and US conversions are calculated automatically. I cannot guarantee the accuracy of this data. If this is important to you, please verify with your favourite nutrition calculator and/or unit conversion tool.

Comments
No Comments