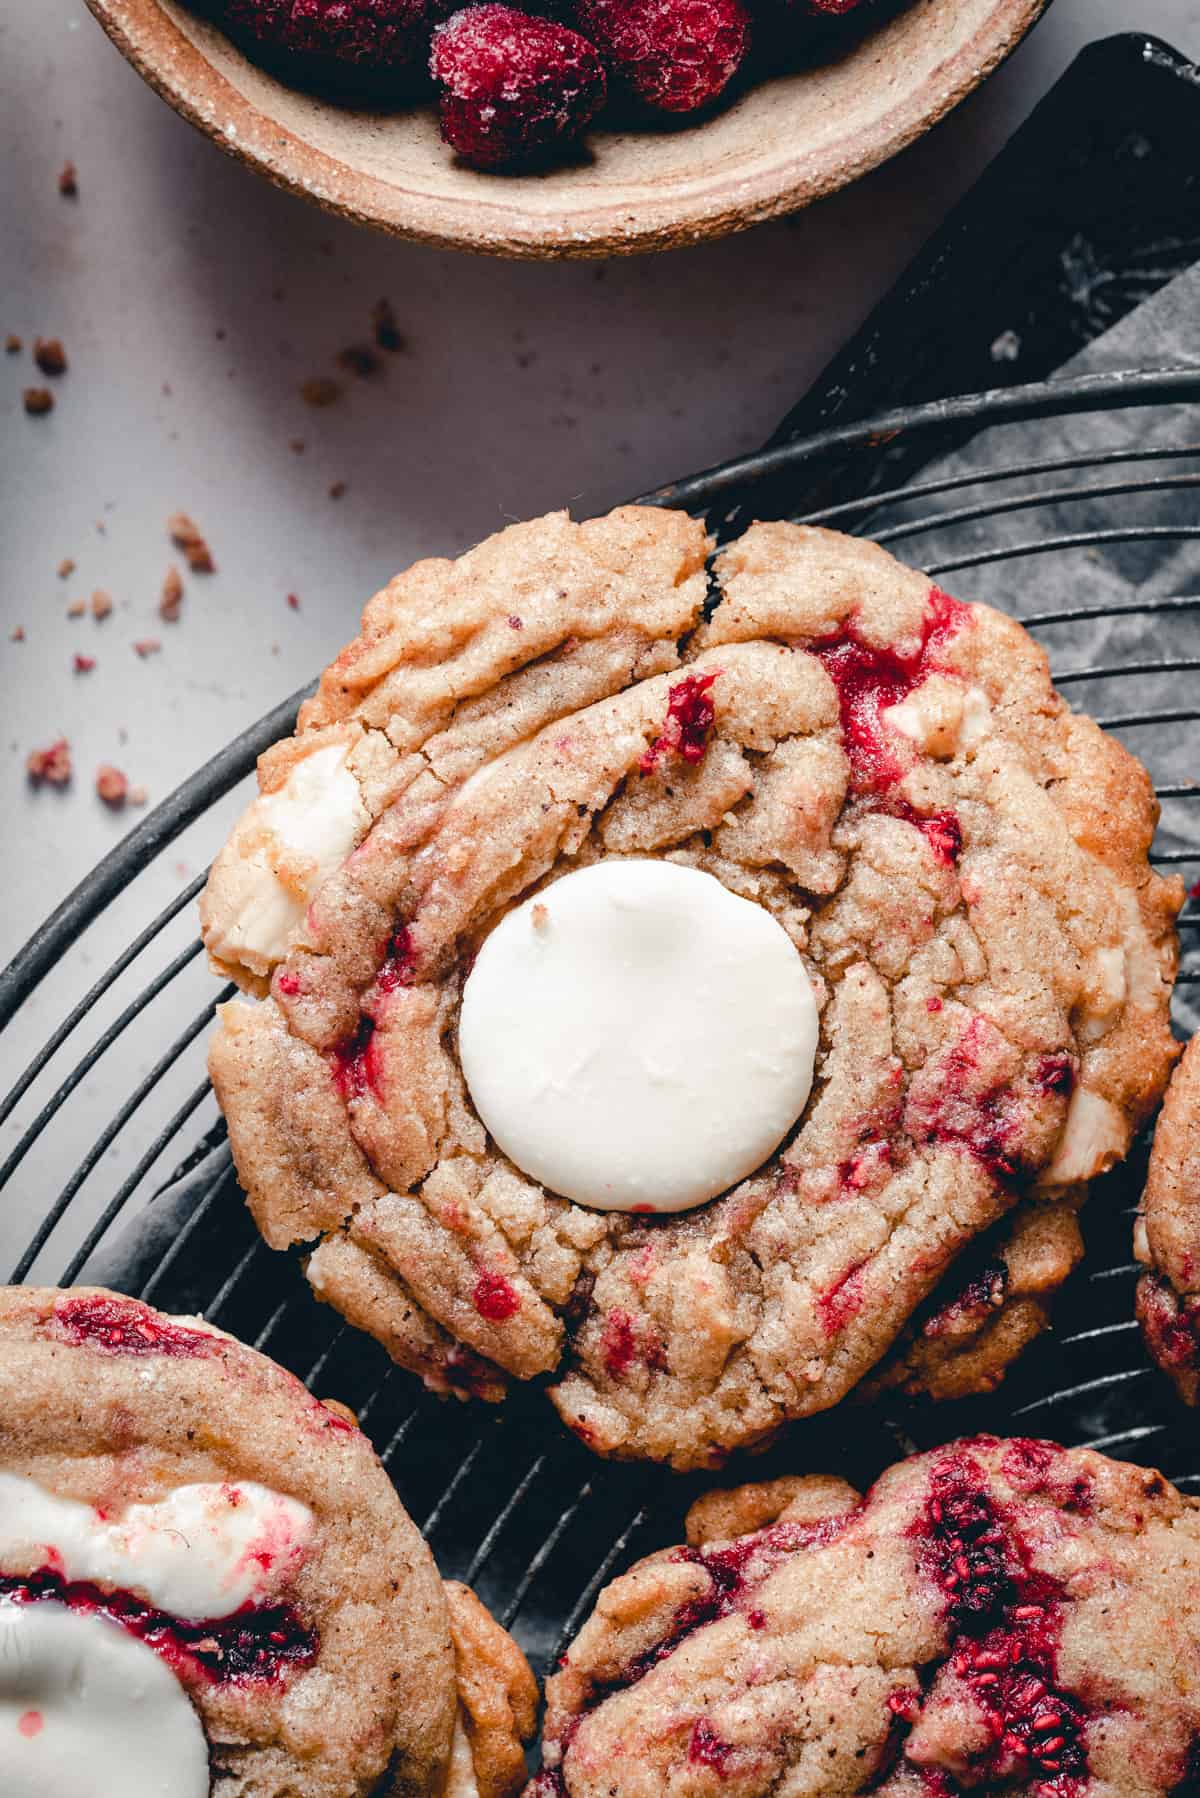
These delicious Raspberry White Chocolate Cookies are soft, chewy and incredibly easy to make, even for a beginner baker! Reminiscent of a thick, bakery-style cookie, these cookies don't require chilling time and have the perfect balance of sweet and tart. You'll love them!
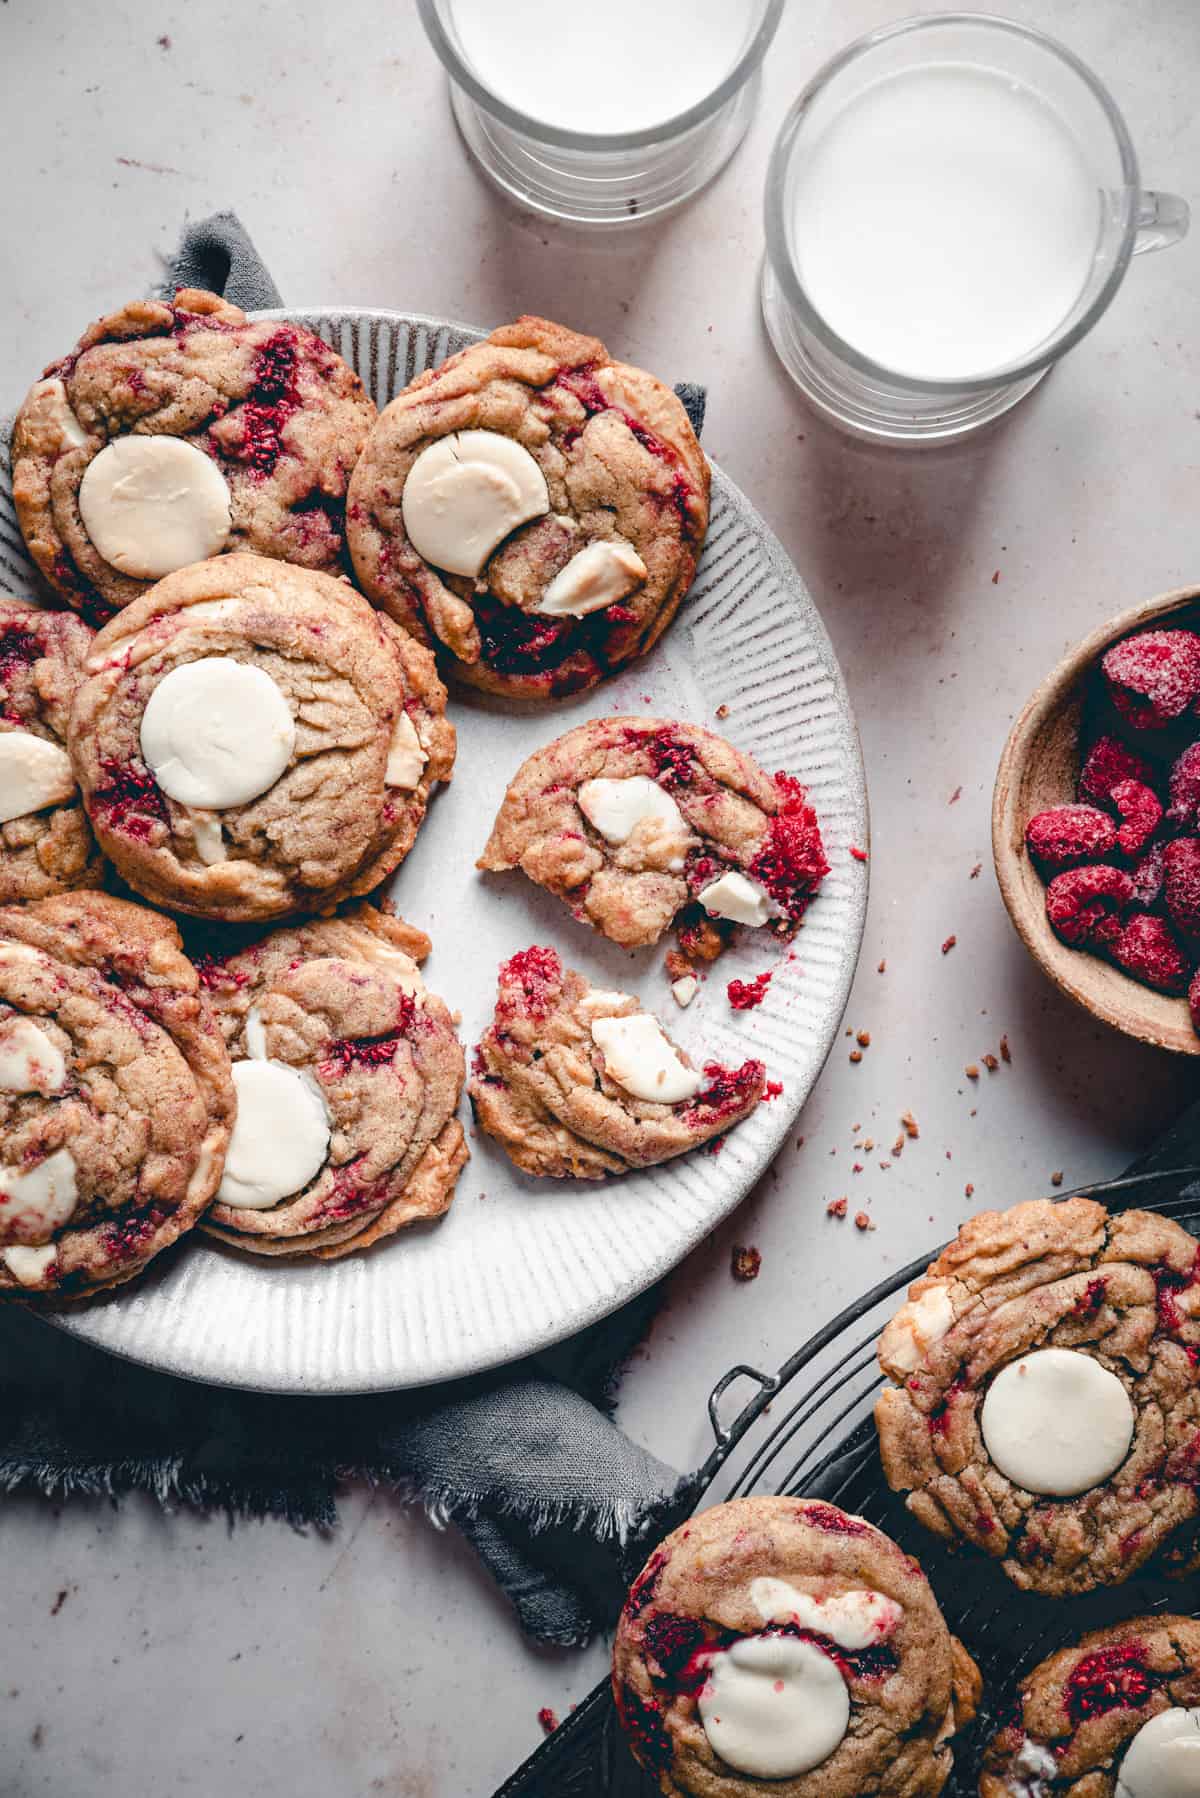
I've been developing an obsession with cookies for the past two years after I tried recreating the delicious Ben's cookies recipe I tried while visiting Bangkok. They were so good and are a hit on the blog!
I'm big on zesty, tart flavors, so I really wanted to develop a cookie recipe that's the perfect combination of sweet and zingy. Cue these Raspberry White Chocolate Cookies!
If you're a raspberry lover like I am, don't miss my Raspberry Vanilla Cake which my readers adore or Pistachio Raspberry Cream Puffs—so good!
Jump to:
Why you'll love this recipe
- The addition of lemon zest and warm cinnamon really elevates the whole cookie
- BROWN BUTTER! I adore using brown butter in recipes because it has the most beautiful nutty aroma and it's so easy to make
- it's so easy to make because it doesn't require chilling the dough
- you need frozen raspberries which means you can make these cookies anytime
- you can make the cookie dough in advance, freeze it and bake it when ready to serve
Ingredient notes
Raspberries: I tested the recipe using both fresh and frozen raspberries and I prefer the frozen ones. Why?
Raspberries are incredibly delicate, you can easily turn them to mush just by washing them. Trying to fold fresh raspberries into the cookie dough turned into a messy job resulting in discolored, grey cookie dough.
On the other hand, frozen raspberries are firm and cold and don't make any mess. Furthermore, they are available all year round! Further more more, frozen fruit usually undergo the freezing process when at the perfect ripe stage, so I've only ever got perfect-tasting raspberries.
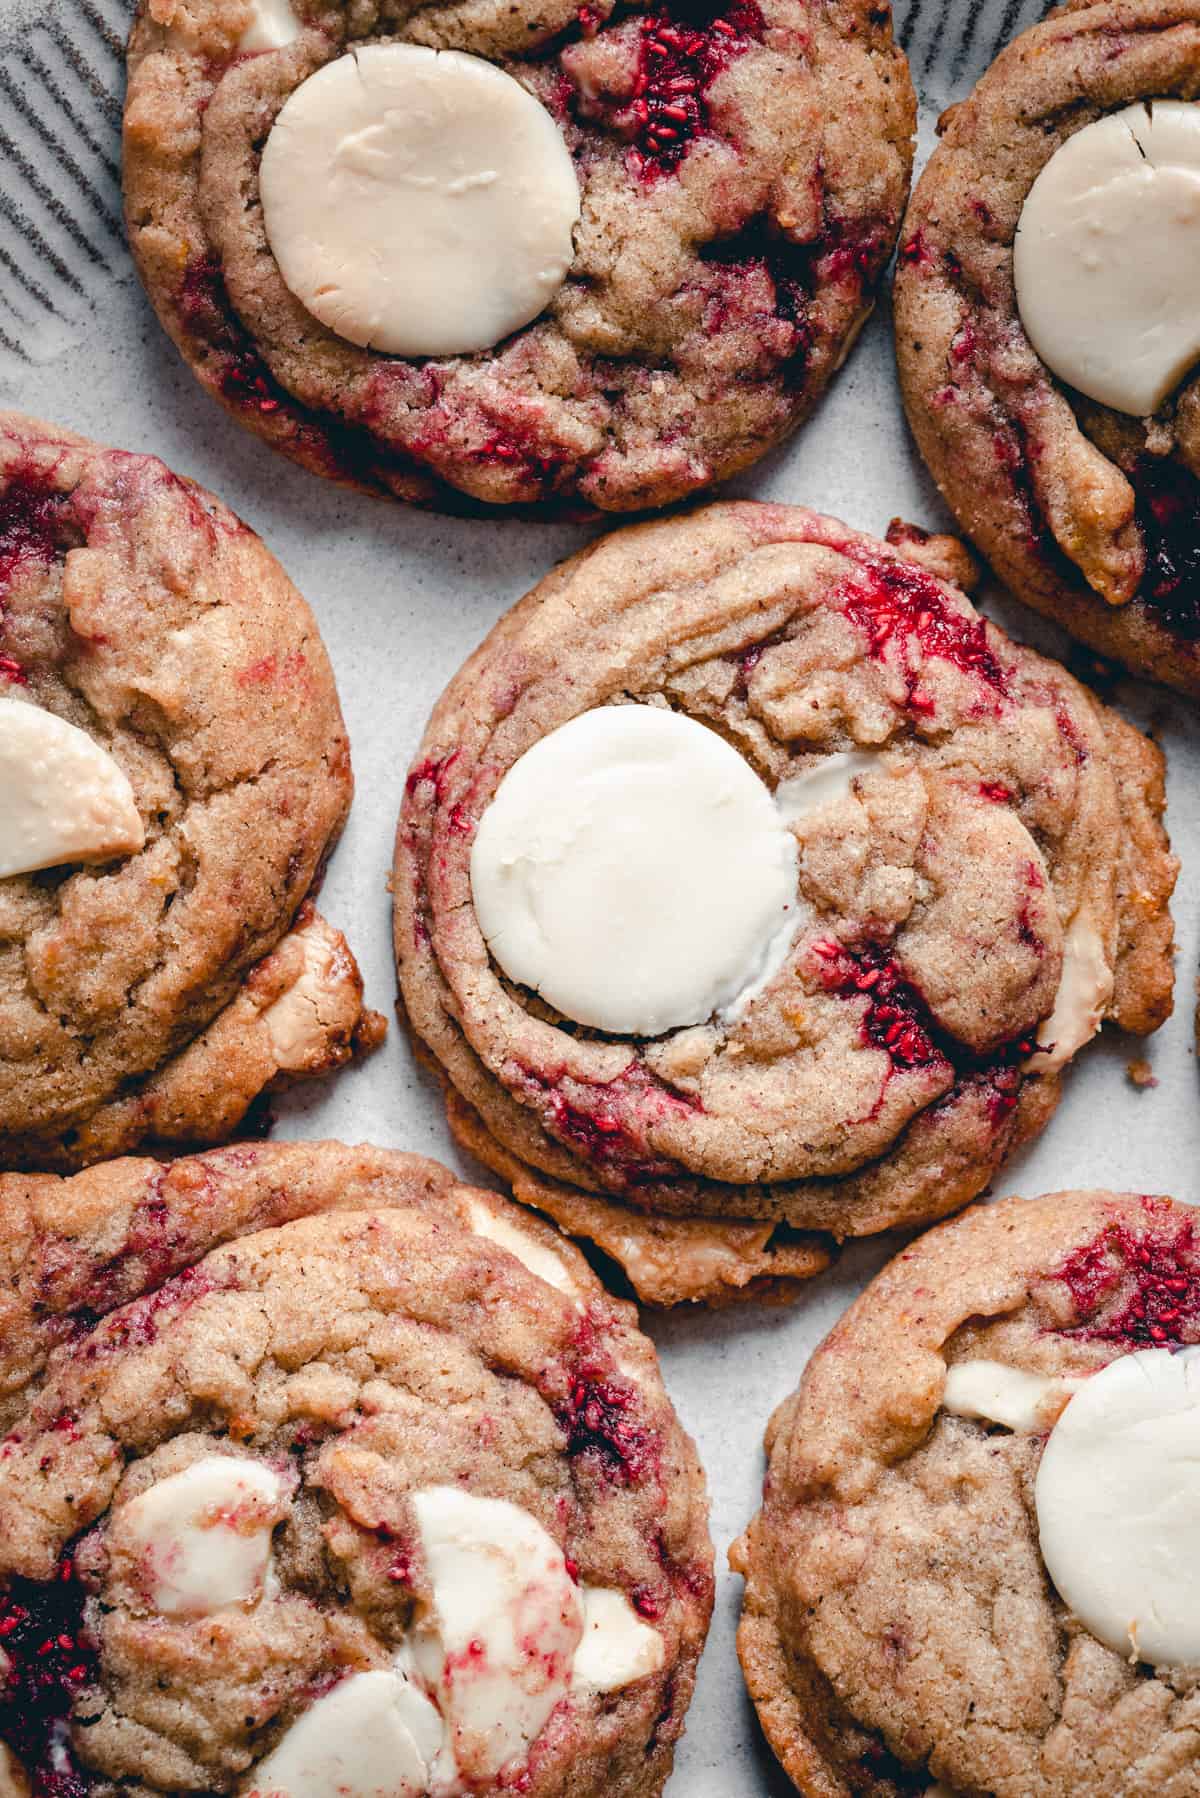
Leavening agents: I had to find the perfect balance of leavening agents and acidic ingredients in the recipe.
When I tried using only baking soda, the raspberries turned the baked dough around them to a blue color. Not very appealing. So reducing the baking soda and adding some baking powder was a perfect solution.
I suggest not changing their measurements or substituting one with another. Here's an interesting article describing the difference between baking soda and baking powder.
How to make raspberry white chocolate cookies (step-by-step)
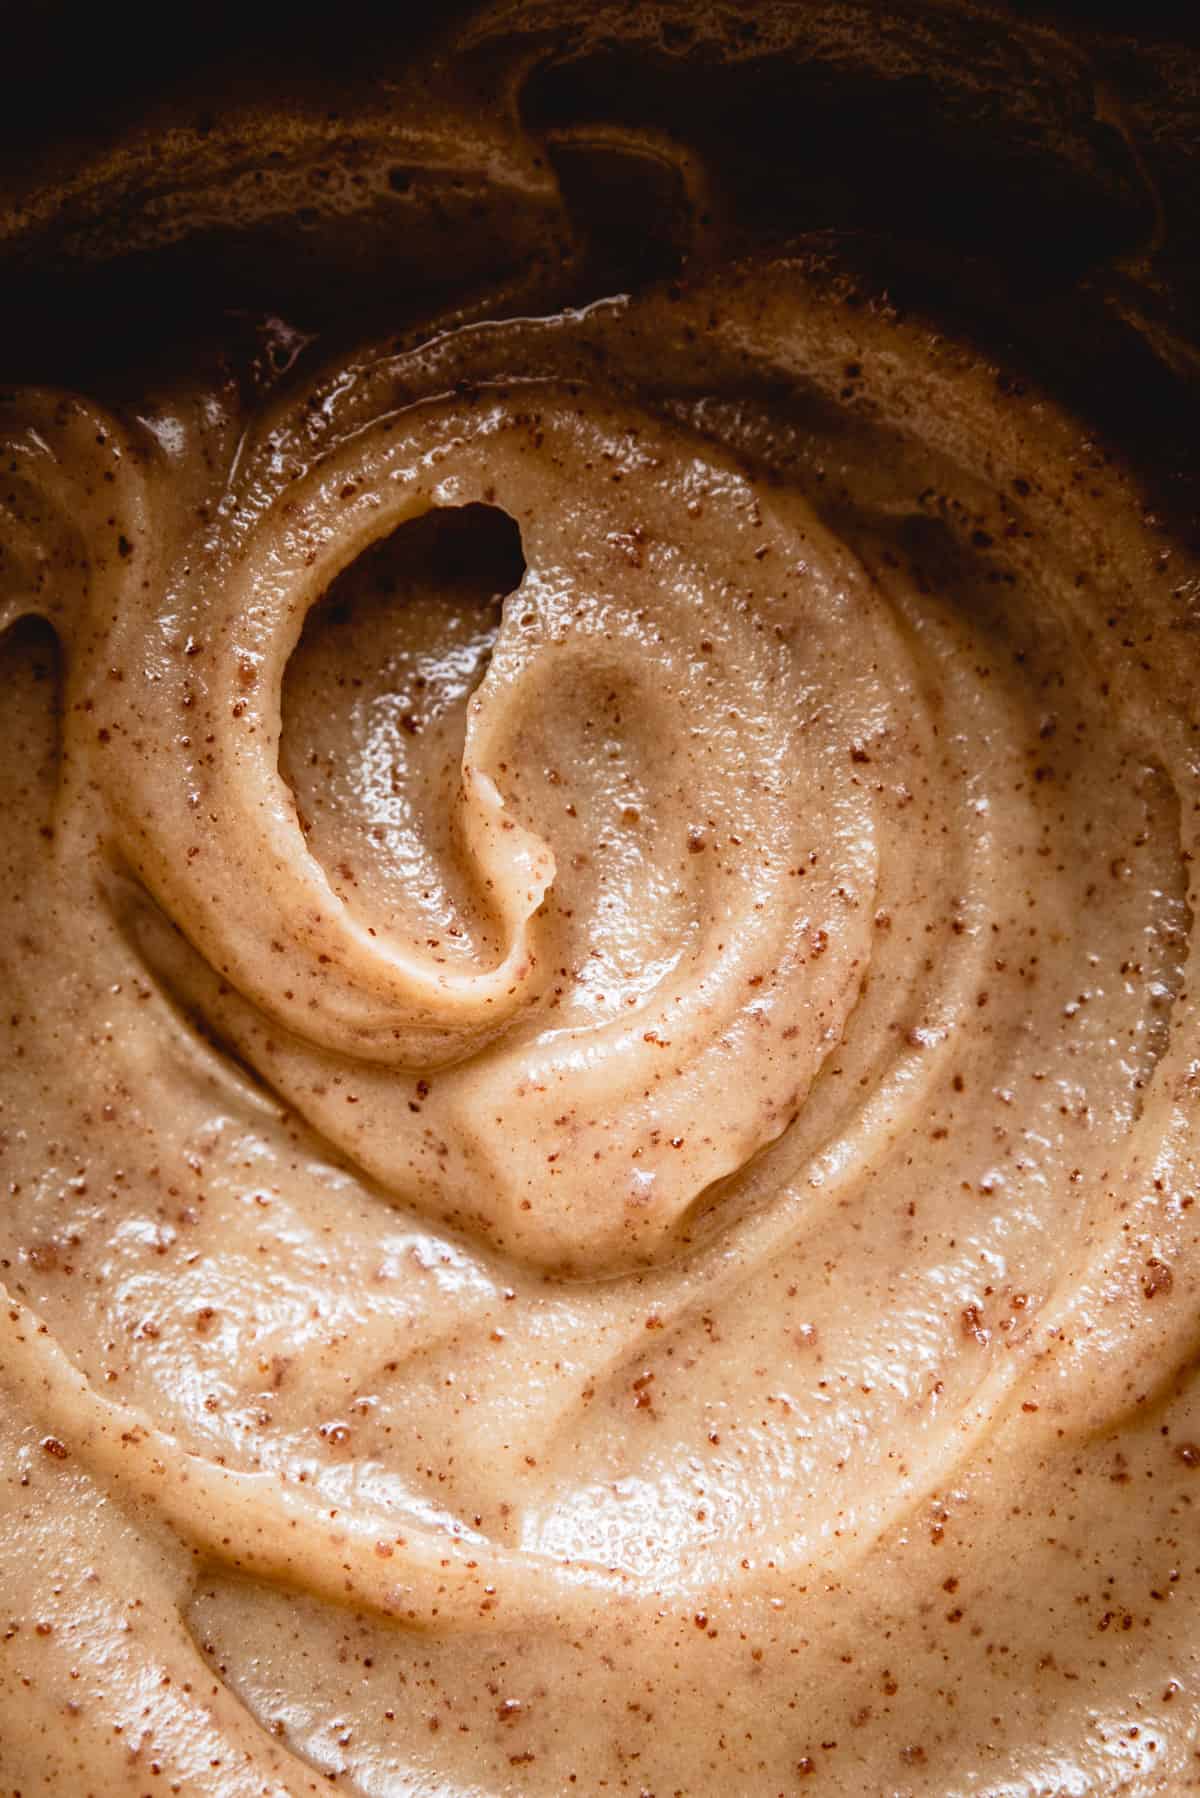
Before an official step 1, you need to brown the butter. It takes about 8-10 minutes and then you need to let it cool before using it (pictured below). Check the video instructions to see the consistency you're looking for!
Remember: You have the fully written recipe with detailed instructions at the end of the post, but I advise you to read all the tips and FAQs before making this recipe!
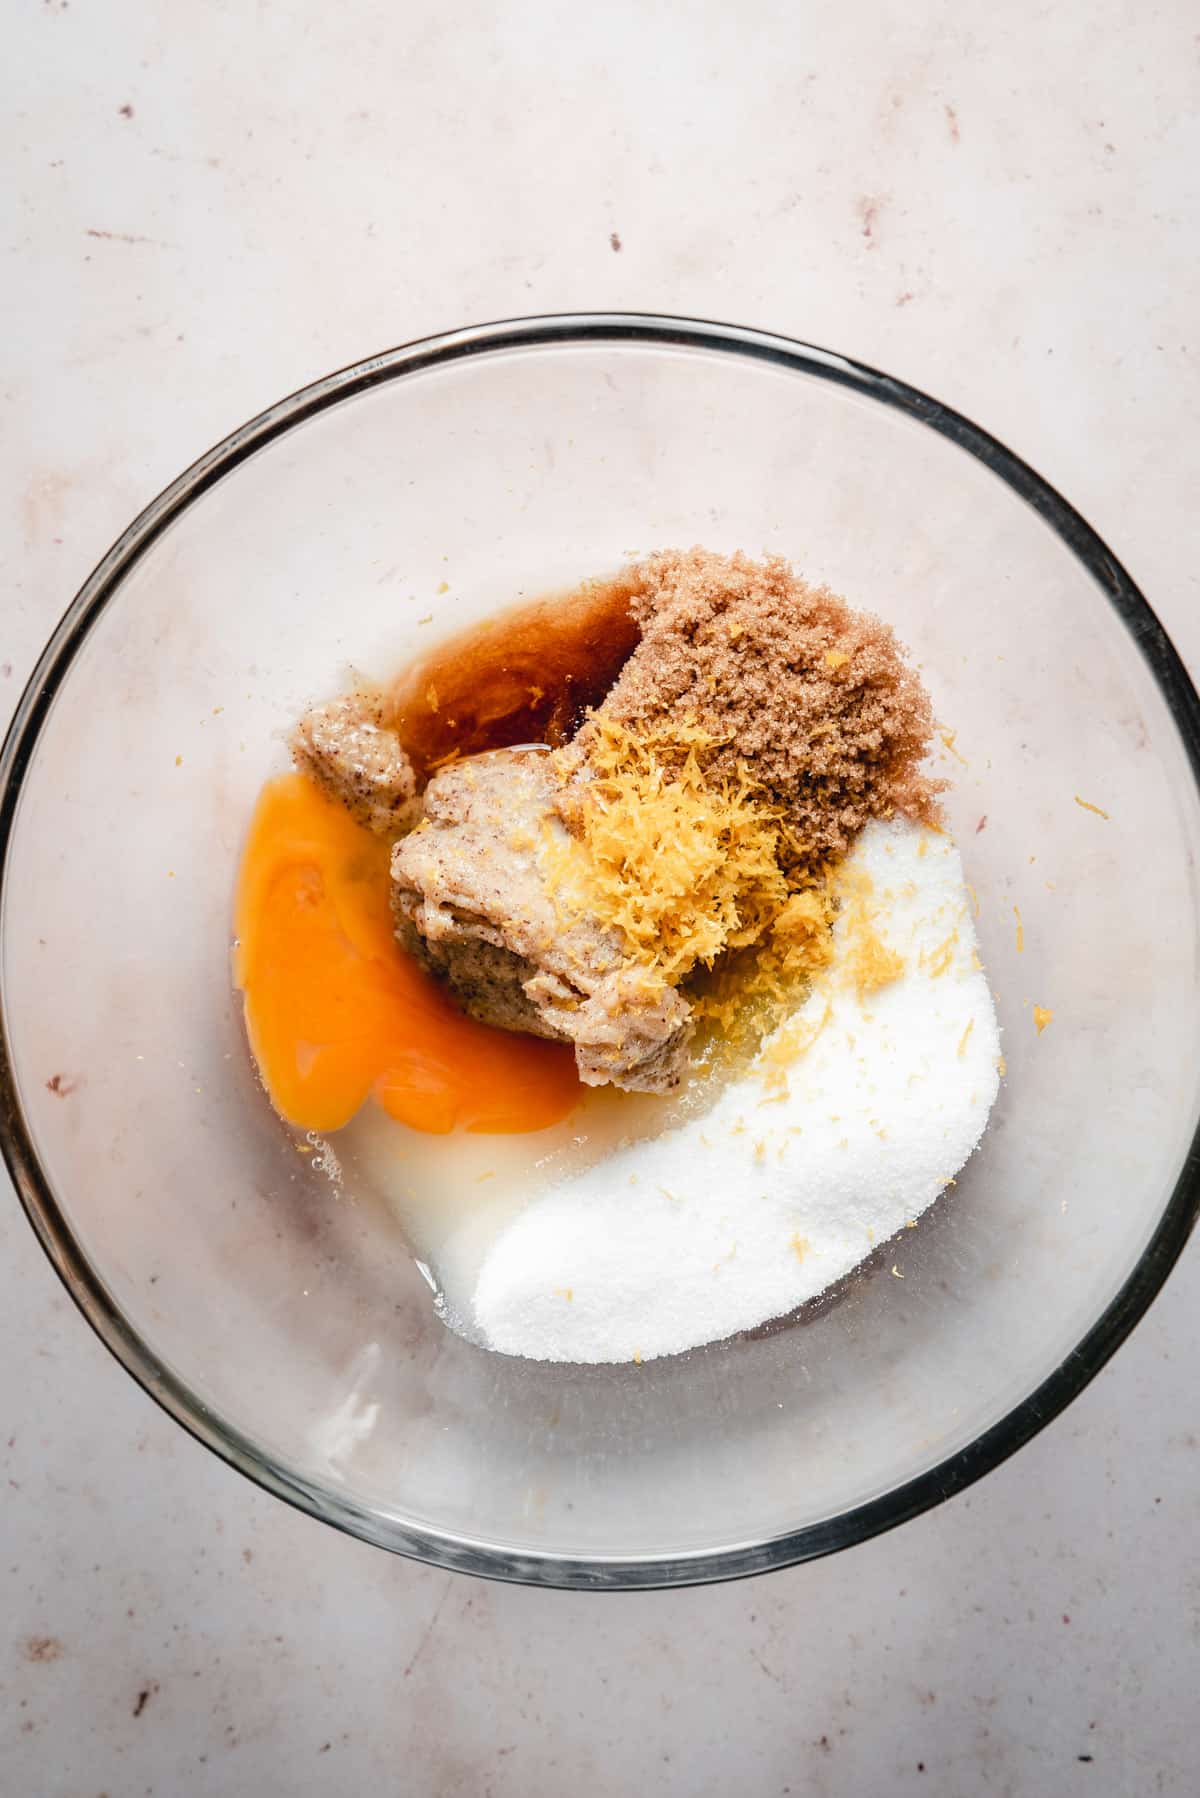
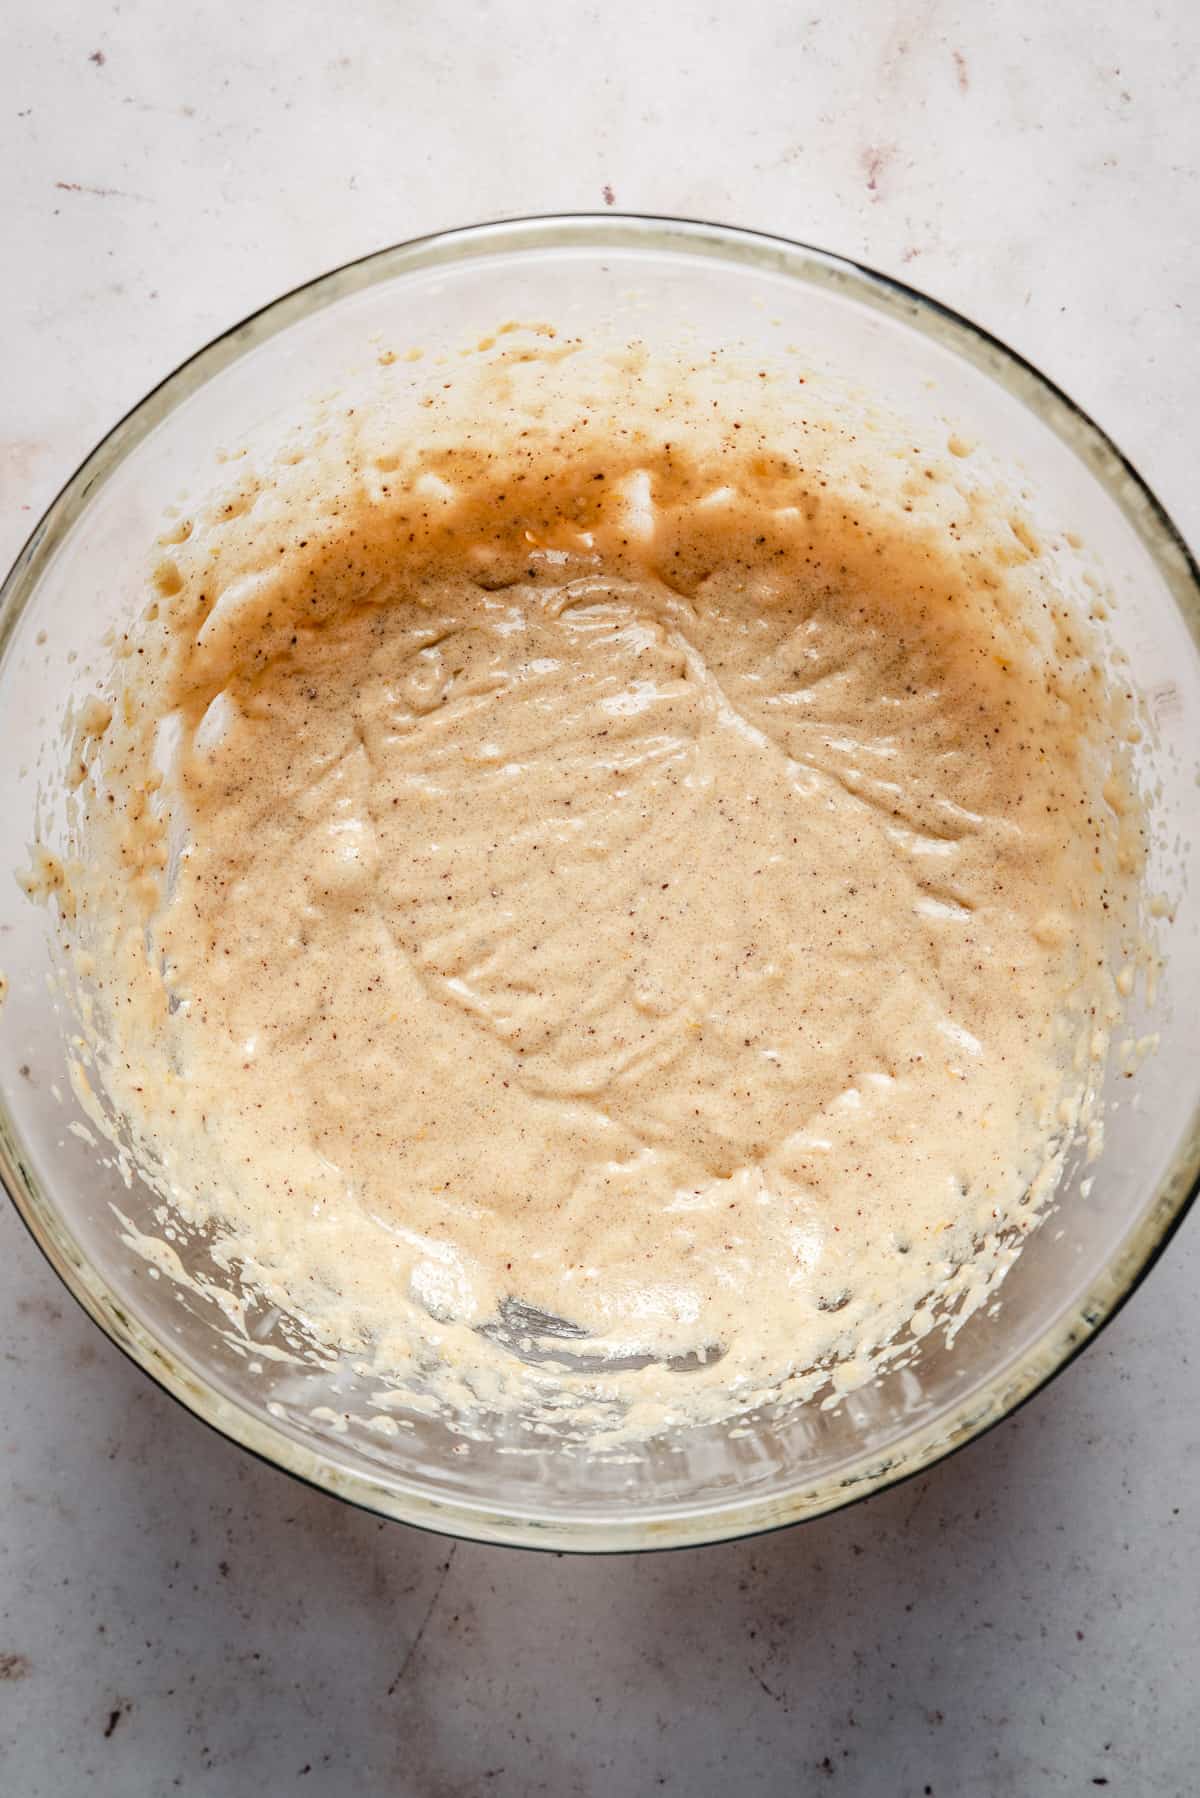
- Place all the wet ingredients into a big mixing bowl.
- Using an electric hand mixer or a whisk, beat it until paler in color and thoroughly incorporated.
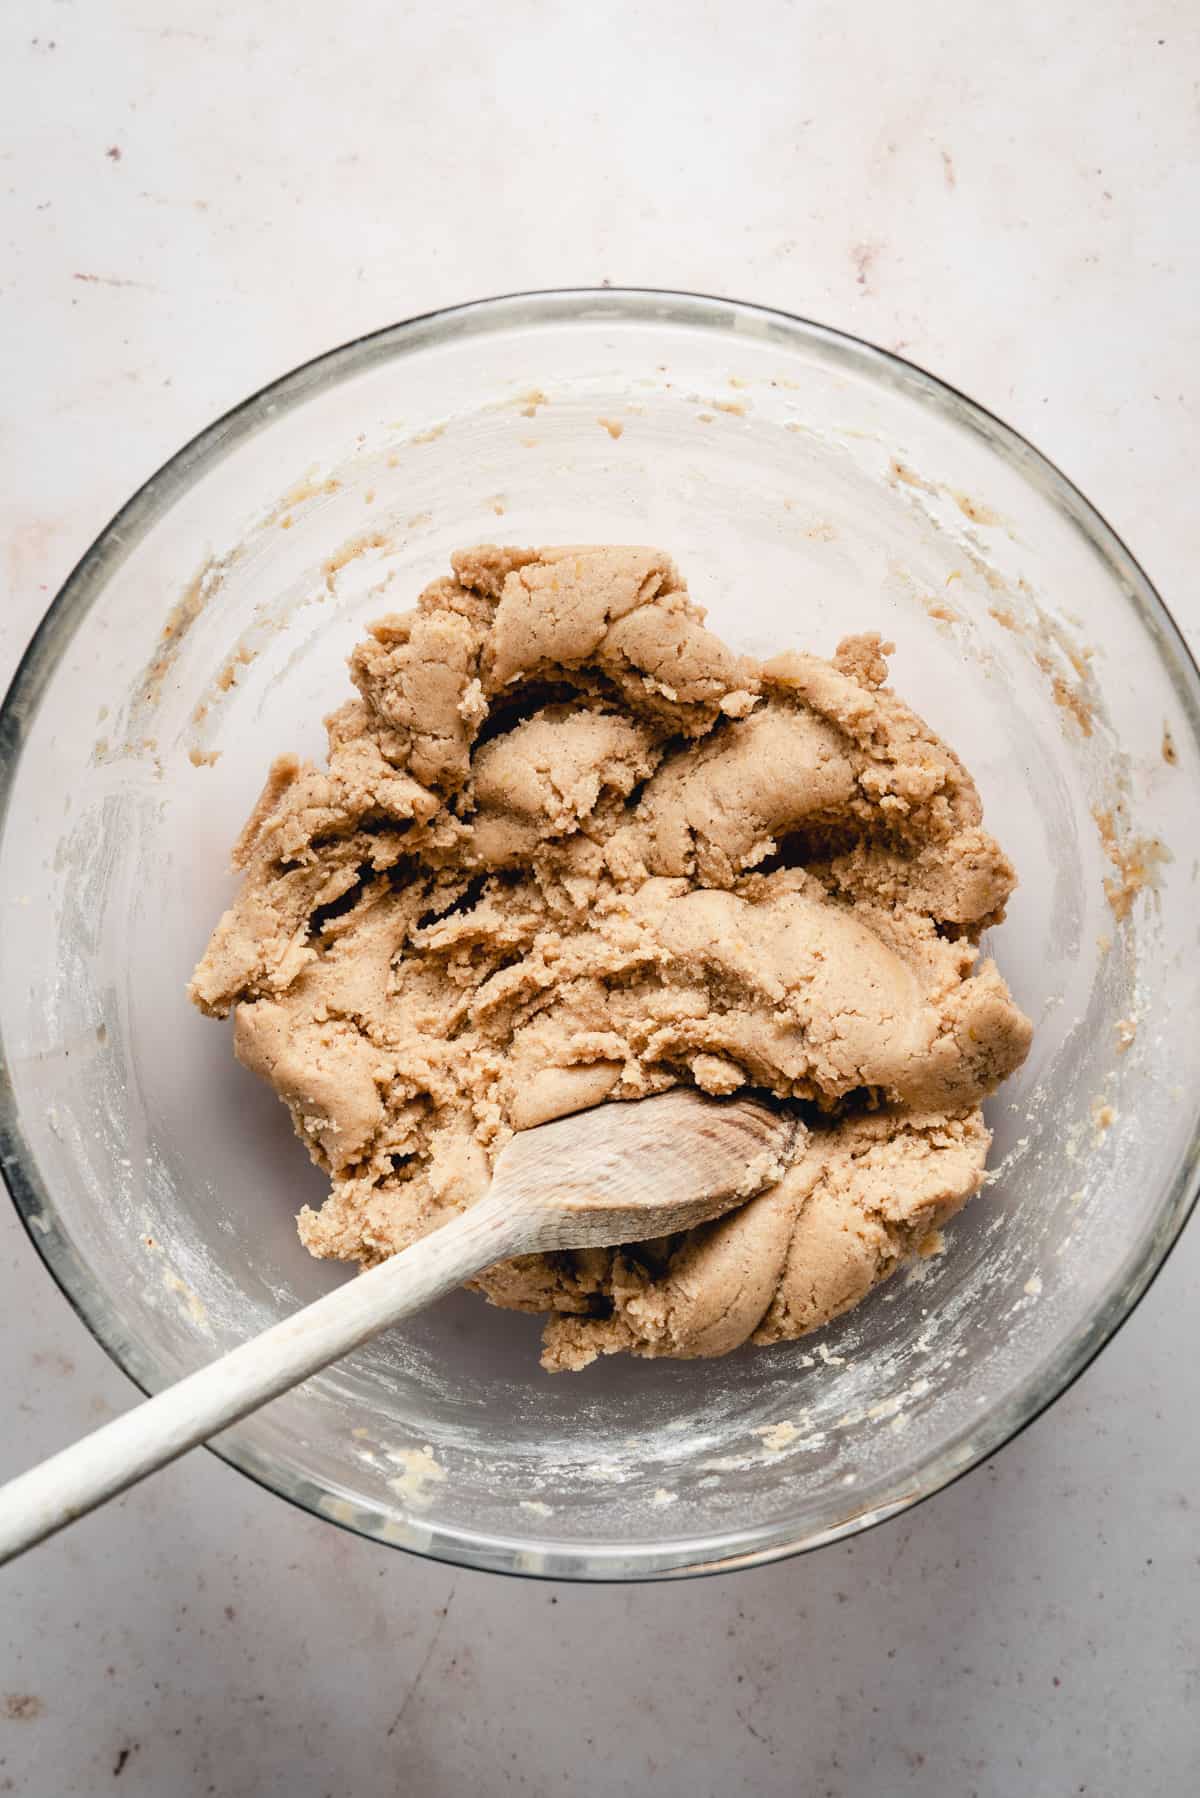
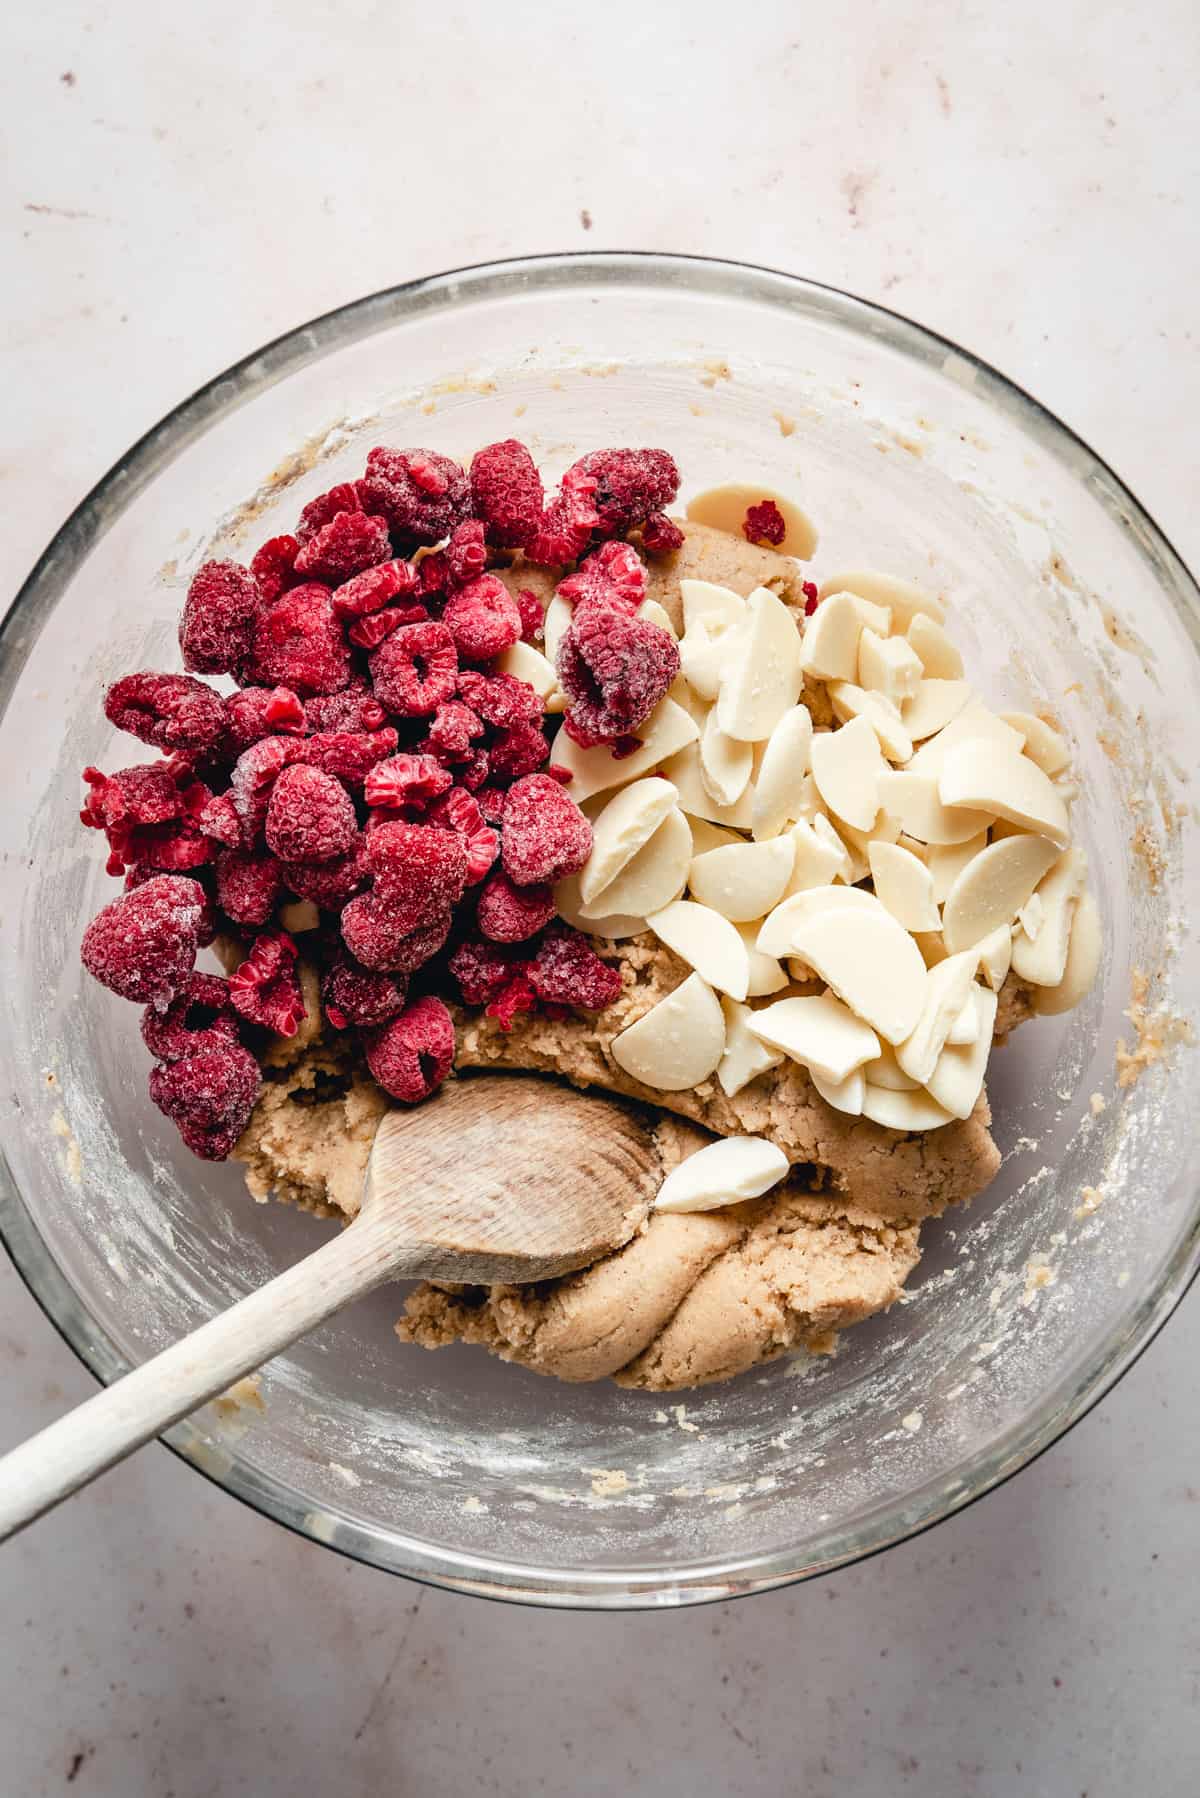
- Combine the dry ingredients (flour, baking soda, baking powder and cinnamon) and add to the dough in two batches. You can use either an electric hand mixer or a wooden spoon. Make sure not the overwork the dough. Mix just until there are no visible traces of flour.
- Add the roughly chopped white chocolate and frozen raspberries to the cookie dough and gently combine it together using a wooden spoon.
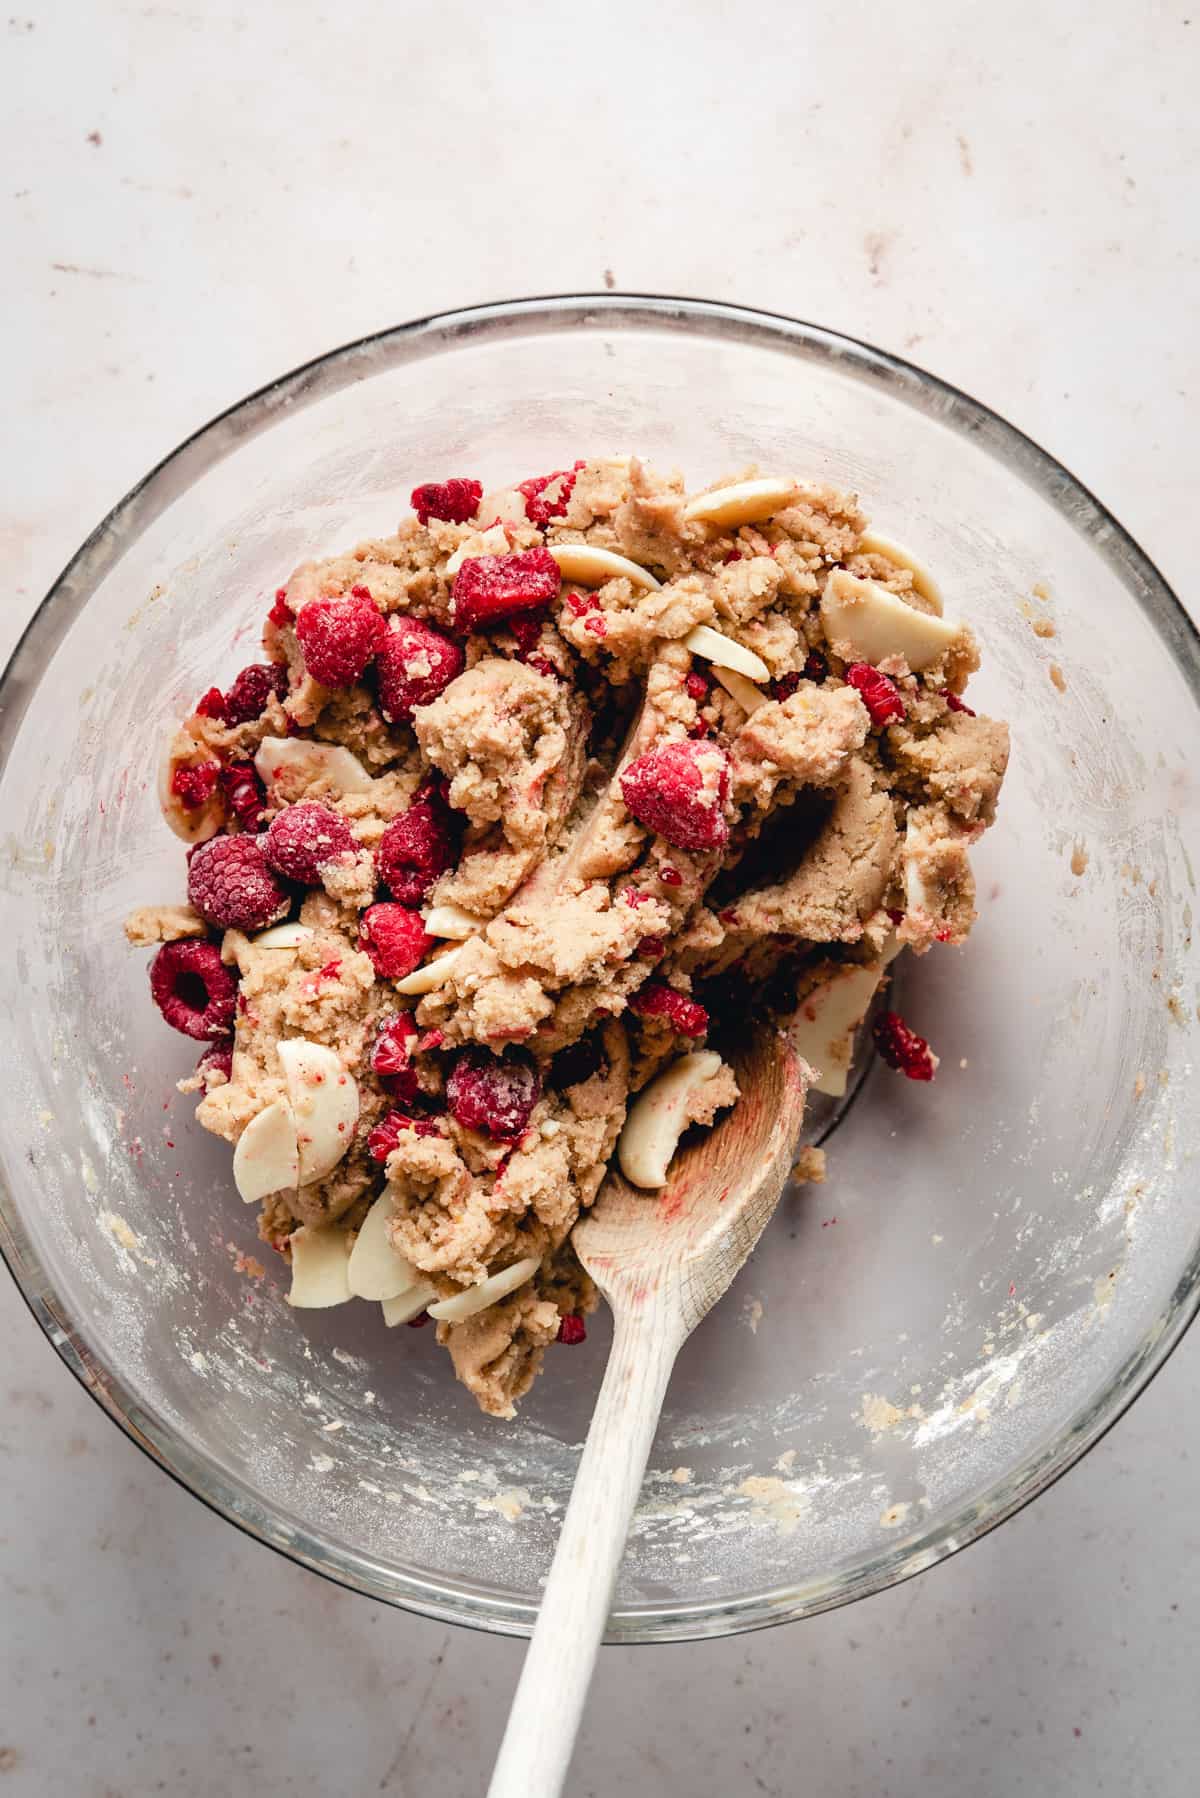
Be gentle when adding the chocolate and raspberries to the dough, but also work quickly. Don't defrost the raspberries, add them to the dough straight from the freezer.
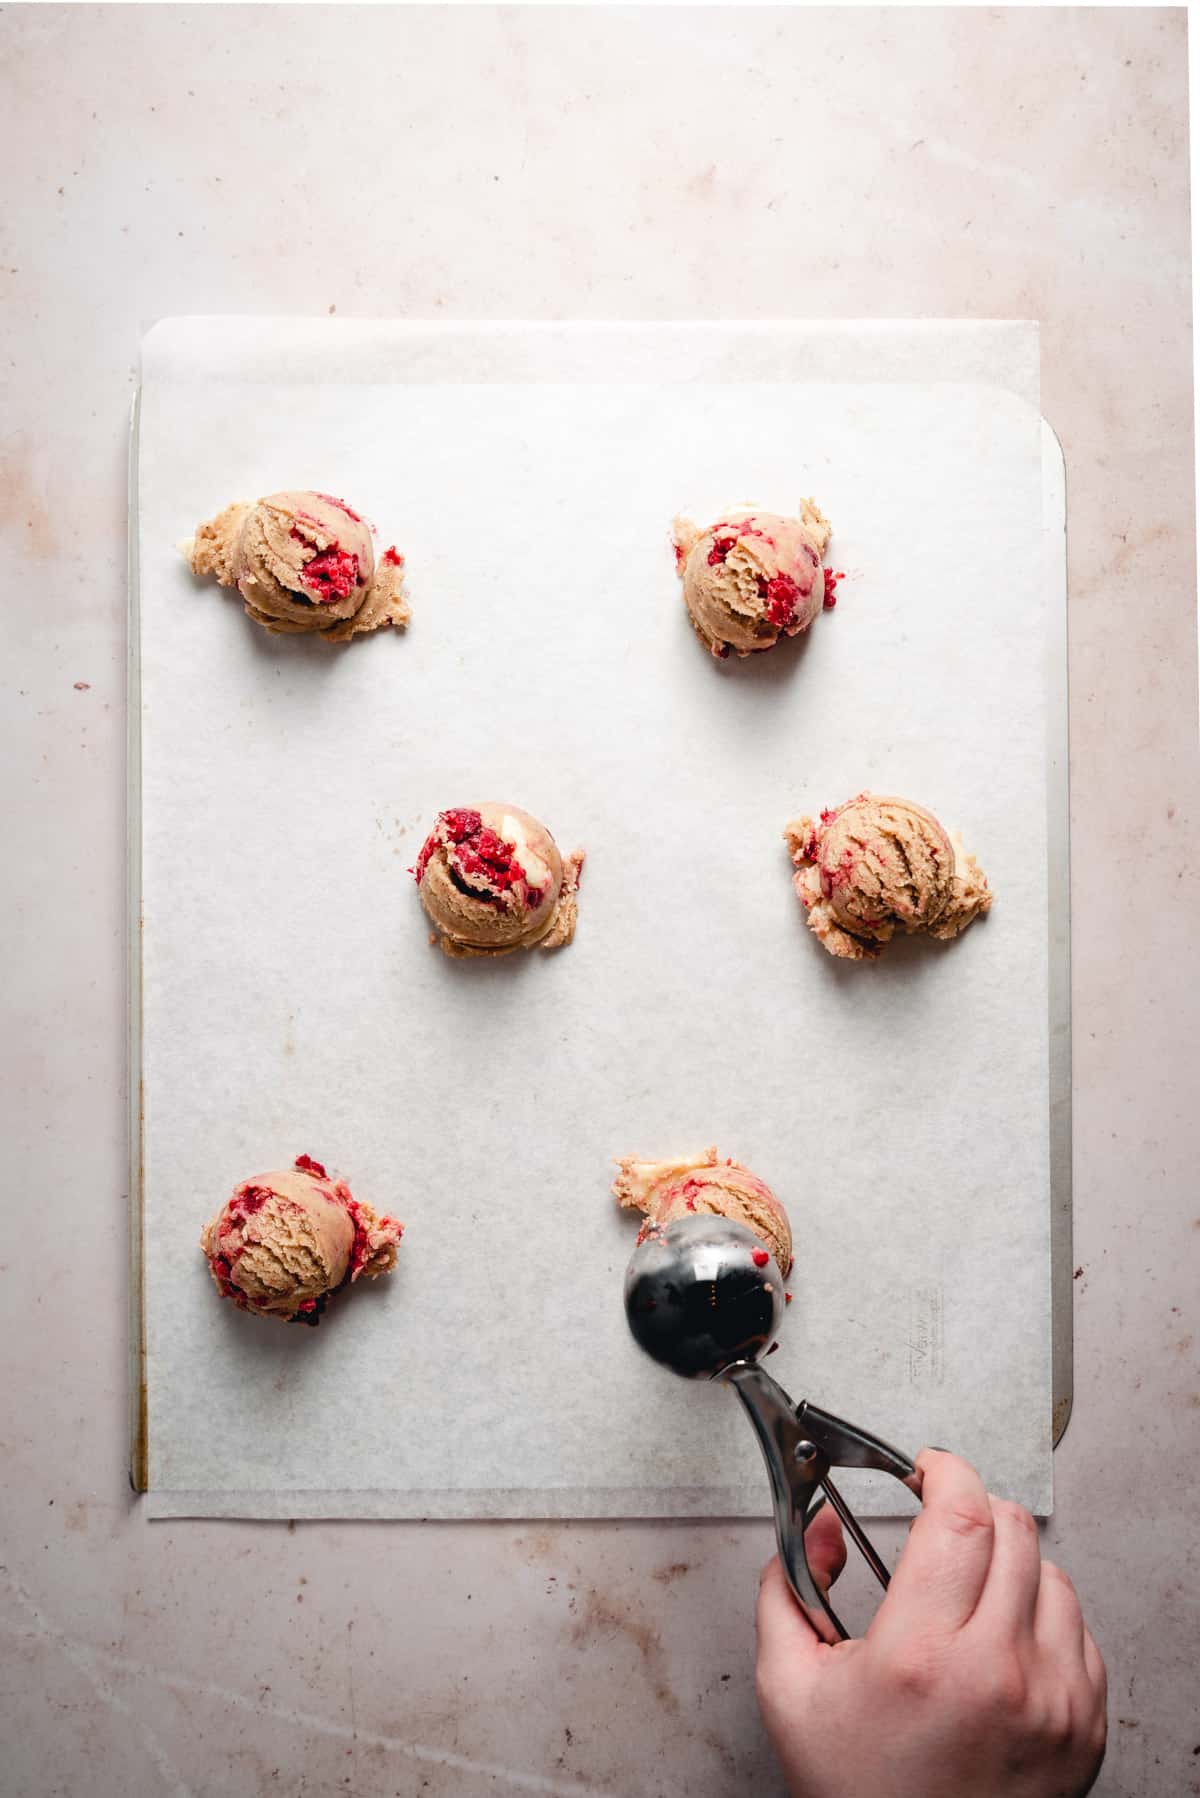
- Scoop out the cookie dough balls on a baking sheet lined with parchment paper. Leave enough space in between each for spreading.
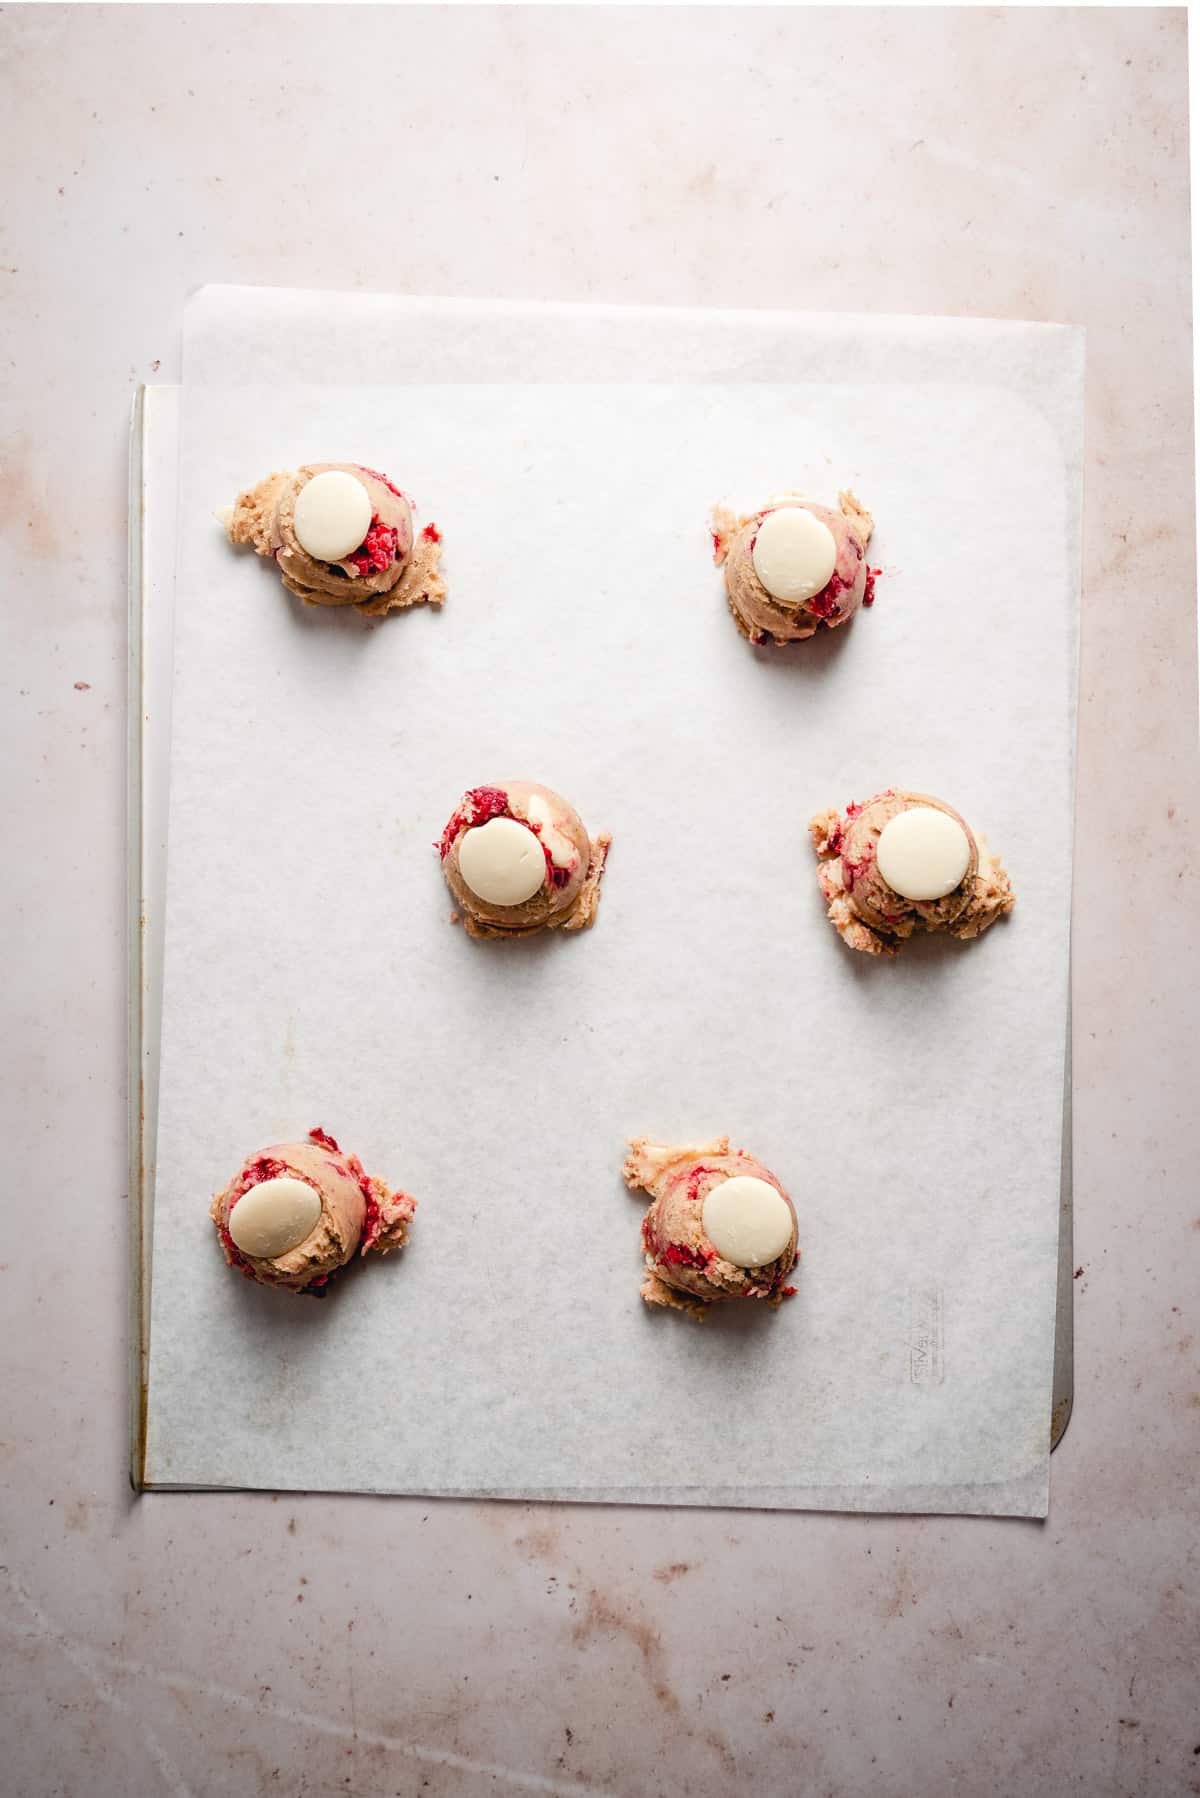
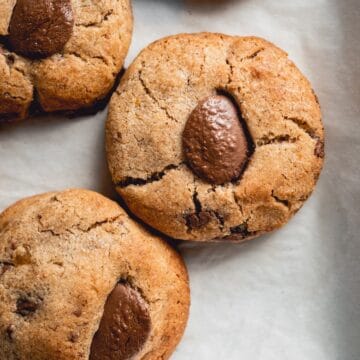
- Top each cookie dough ball with a white chocolate disc. Bake for 9-10 minutes. Check the tips and full recipe for doneness cues!
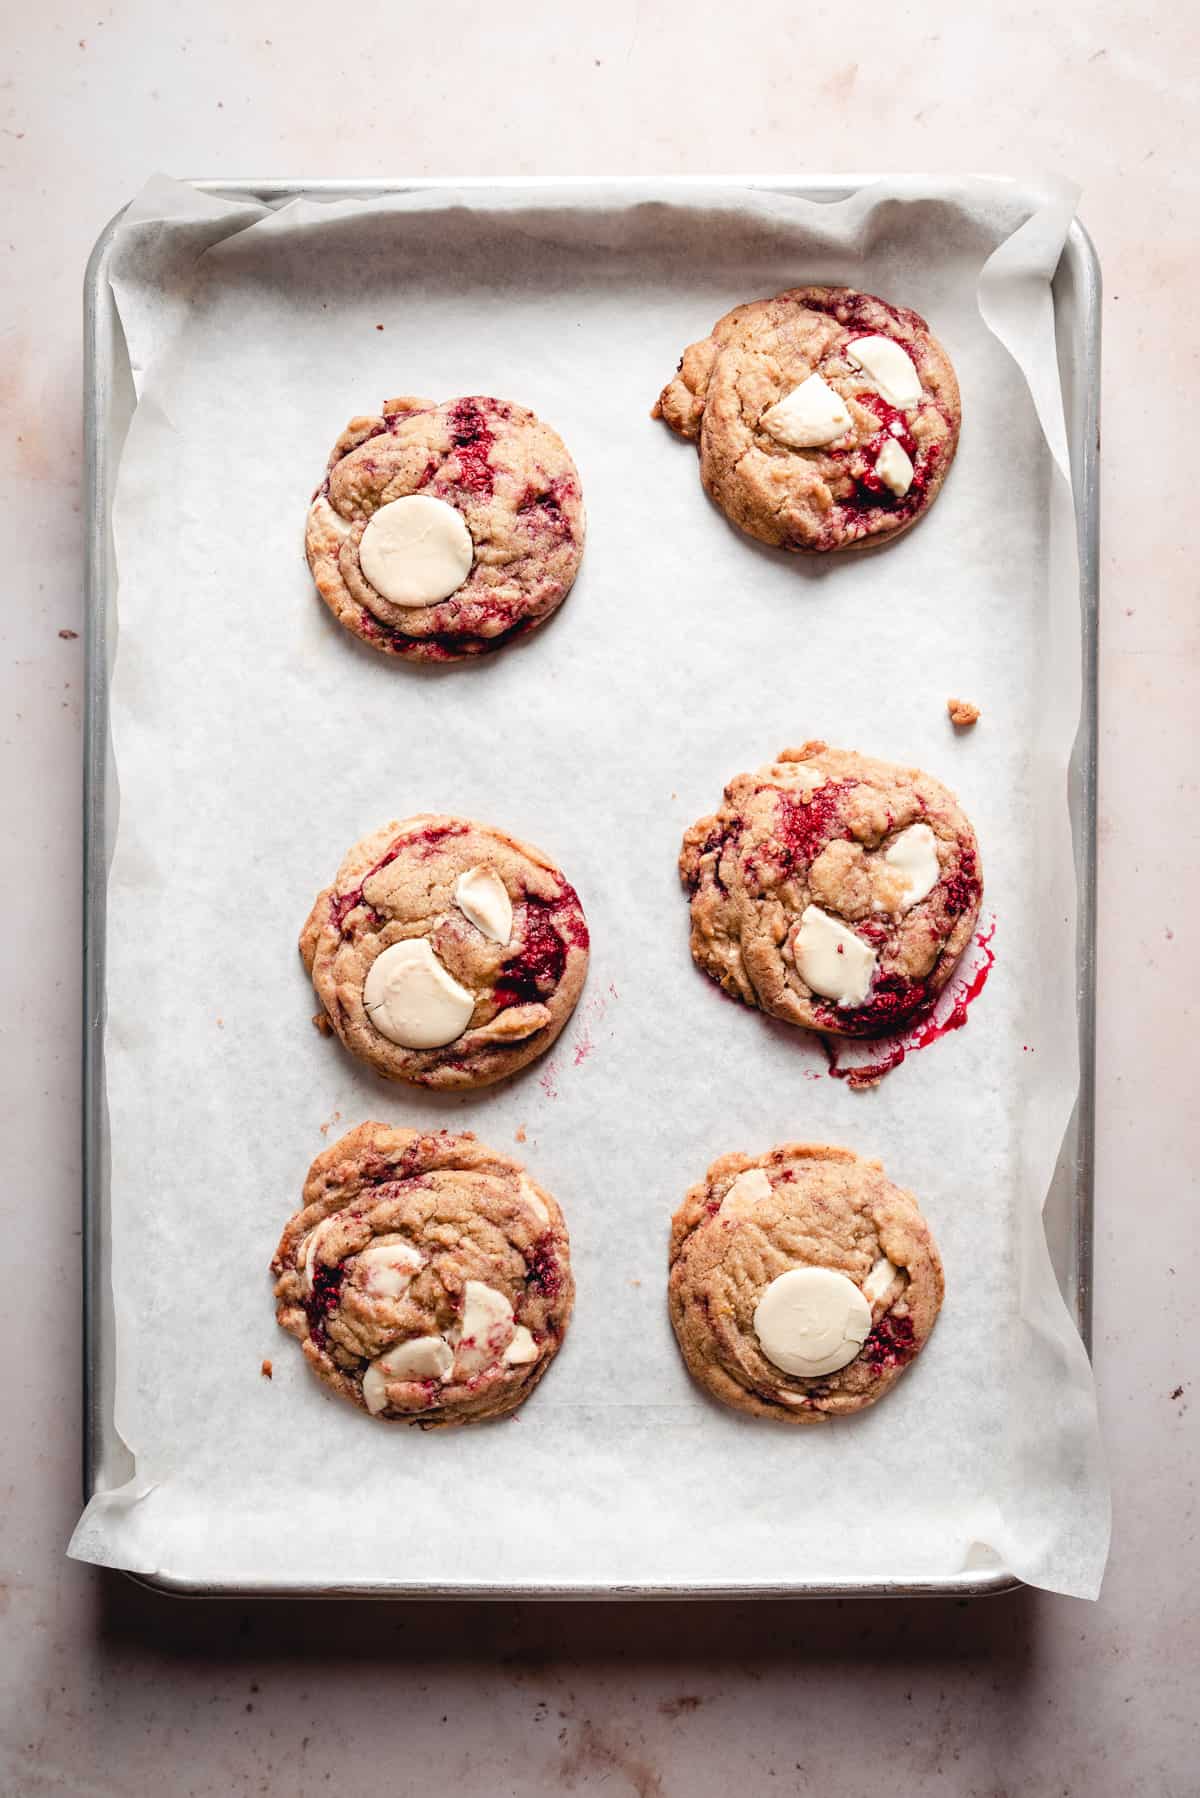
- When the cookies are done, leave them on the baking sheet for a few minutes to firm up and then transfer them to a wire rack to cool completely or just barely warm. Perfect for consuming!
💡 My top tips and tricks
- Be very careful when folding the raspberries and chocolate into the dough. It doesn't need to be completely compact and incorporated, you're going to scoop it either way
- If the raspberries are too big, slice them in half
- Don't overbake the cookies. I believe this is a step that most people get wrong if they're not happy with the recipe. You want the middle to be very soft, almost like it's underbaked and a little bit puffed up. The edges will be barely golden, but crispier than the middle. The reason we do this is because the heat from the pan will continue to bake the cookies even when you take them out of the oven.
- Bang the pan on the counter. For that perfect cookie texture and look, try banging the pan a couple of times once the cookies are done. The puffed up middle should deflate and you should get those nice ridges and wrinkly look. Thank you Sarah Kieffer for this method!
- Use a large, round cookie cutter to fix the shape of the cookies by going around them while fresh from the oven. This is a tip I've picked up from the amazing Erin, from Cloudy Kitchen. It's golden! Alternatively, you can use a spoon and tuck the loose sides back in.
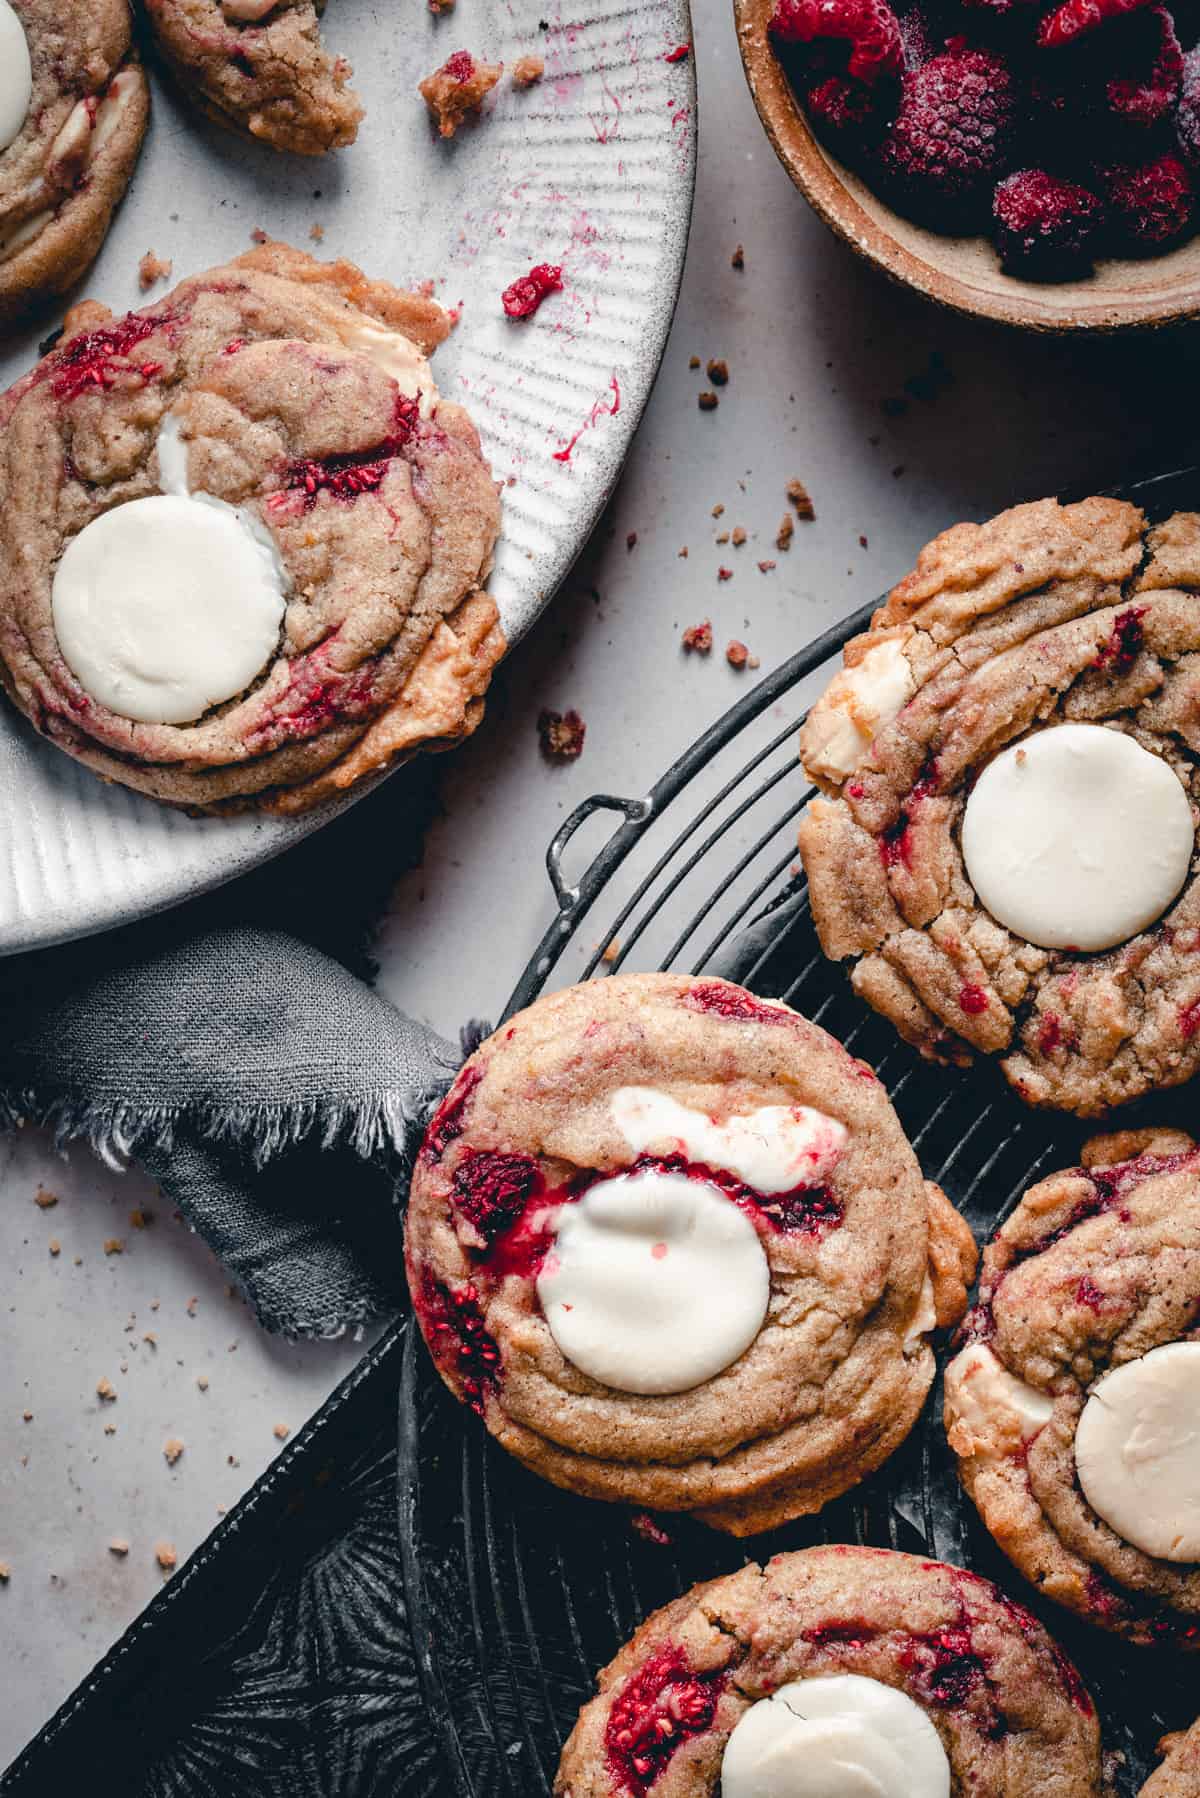
- Top the cookies with extra chocolate to make the cookies look extra pretty. I used Belcolade white chocolate discs, but you can use chunks of your favorite chocolate.
Substitutions
- you can use fresh raspberries, but be very gentle when folding them into the cookie dough, so they don't turn completely mushy and discolor the dough
- if you don't feel like browning the butter (which I recommend you learn how to do because it's the best) you can use 110 g (1 stick; ½ cup) unsalted butter instead. Make sure it's very soft and creamy, but not melted
- for the white chocolate, you can use any good white chocolate with at least 28% cocoa solids. I love the look of these Belcolade discs, but feel free to chop a Lindt chocolate bar, use your favorite chocolate chips or splurge on Valrhona feves
Storing and freezing
Keep these Raspberry White Chocolate Cookies in an airtight container at room temperature for 3-5 days. However, mine only survive 24h with my family 🥲
If you only want to make a couple of cookies, follow all the steps until the scooping of the cookie dough.
Freeze the extra scooped cookie dough balls on a baking tray for about an hour or until completely firm. Then transfer them to a ziplock bag and store in the freezer.
They will keep like that for up to 3 months. When you crave some, just pop them in the oven without defrosting and give it a couple of extra minutes of baking time.
FAQs
There could be a few culprits.
Try lowering the oven temperature by 10 degrees. I use a fan oven and bake my cookies at 170°C. That should be equivalent to 190°C in a conventional oven. However, some ovens tend to run hotter or colder.
Make sure you measured all the ingredients (especially the flour) correctly. I always suggest using the kitchen scale because using cups is unreliable.
Other than that, try to flatten your cookies before baking or reduce the flour by 10%. Flours can also vary, sometimes they absorb more moisture, sometimes less. Science!
Yes! You can use other berries, especially blueberries and cranberries would be a great match with white chocolate! Strawberries tend to be more watery than other berries and are often very big.
More cookie recipes for you
If you have any other questions that I didn't cover, please let me know in the comments section down below - I'd love to help you out! And if you make this recipe, tag me on Instagram @anasbakingchronicles so I can see it or feel free to e-mail me your pictures and thoughts! I love seeing your bakes!
Happy baking,
Ana
📖 Recipe
Raspberry White Chocolate Cookies
Description
ingredients
- 140 g unsalted butter (for brown butter)
- 1 large egg
- ½ teaspoon vanilla extract
- 100 g granulated sugar
- 60 g light soft brown sugar
- ½ teaspoon fine sea salt
- zest of 1 lemon
- 200 g all-purpose flour
- ¼ teaspoon baking soda
- ½ teaspoon baking powder
- ¾ teaspoon ground cinnamon
- 100 g white chocolate
- 100 g frozen raspberries
- extra chocolate for topping
Instructions
- Cut the butter into cubes and melt it in a small saucepan, over medium to high heat. Once melted, you want to keep heating it, stirring occasionally with a wooden spoon, until brown specks appear and you can feel that nutty aroma. Be careful not to burn the butter, but also don't "underbrown" it - if you know what I mean.
- Once your butter is browned, transfer it to a bowl and let it cool to room temperature. You can do this in a fridge to speed up the process. Give it a stir every now and then to help it cool evenly.
- While your butter is cooling, sift together flour, baking soda, baking powder and cinnamon, and set aside.
- Chop the white chocolate into irregular chunks and save some for topping.
- Preheat the oven to 190°C (375°F) or 170°C (340°F) if you're using a fan oven. Line a baking sheet with parchment paper.
- Add the brown sugar, white sugar, egg, lemon zest and vanilla extract to the butter. Combine together using a whisk or an electric hand mixer until paler in color.
- Add the dry ingredients to wet ingredients in 2 batches and briefly mix it or combine using a wooden spoon.
- Lastly, fold in the chopped chocolate with the frozen raspberries.
- Using an ice cream or a cookie scoop that has a 5-cm diameter, scoop out the cookie dough onto the prepared sheet by leaving a 2 to 3-inch (5 to 7-cm) gap between each. Top with the disc of chocolate or roughly chopped white chocolate.
- Bake for 9-10 minutes.*
- The cookies are done when they are slightly golden around the edges, but very soft and puffy in the middle; like they need another minute or two. But that's exactly what you want for a soft and chewy inside!
- Take out the baking sheet and give it a couple of bangs on the counter, to create the signature wrinkly chocolate chip look.**
- Leave the cookies on the tray for 2-3 minutes before transferring them to a wire rack to cool completely.
- Keep the baked cookies in an airtight container, at room temperature for 3-5 days.
Notes
- I advise you to bake a "test" cookie to estimate the best baking time and oven temperature (depending on the size of your cookies), so you don't end up with less than perfect cookies.*
- The credit for the pan-banging method goes to Sarah Kieffer, from The Vanilla Bean Blog.**
IMPORTANT
All the recipes are developed and tested using only metric measurements and a kitchen scale. The U.S. cup and spoon measurements are provided for your convenience, but I highly recommend getting a digital kitchen scale and measuring in metrics. It's easy and always guarantee the same results in baking!
Nutrition
The nutritional information and US conversions are calculated automatically. I cannot guarantee the accuracy of this data. If this is important to you, please verify with your favourite nutrition calculator and/or unit conversion tool.





Comments
No Comments