This Mini Egg Brownies recipe is a perfectly fudgy, rich chocolate treat that you'll love having on Easter or any other occasion!
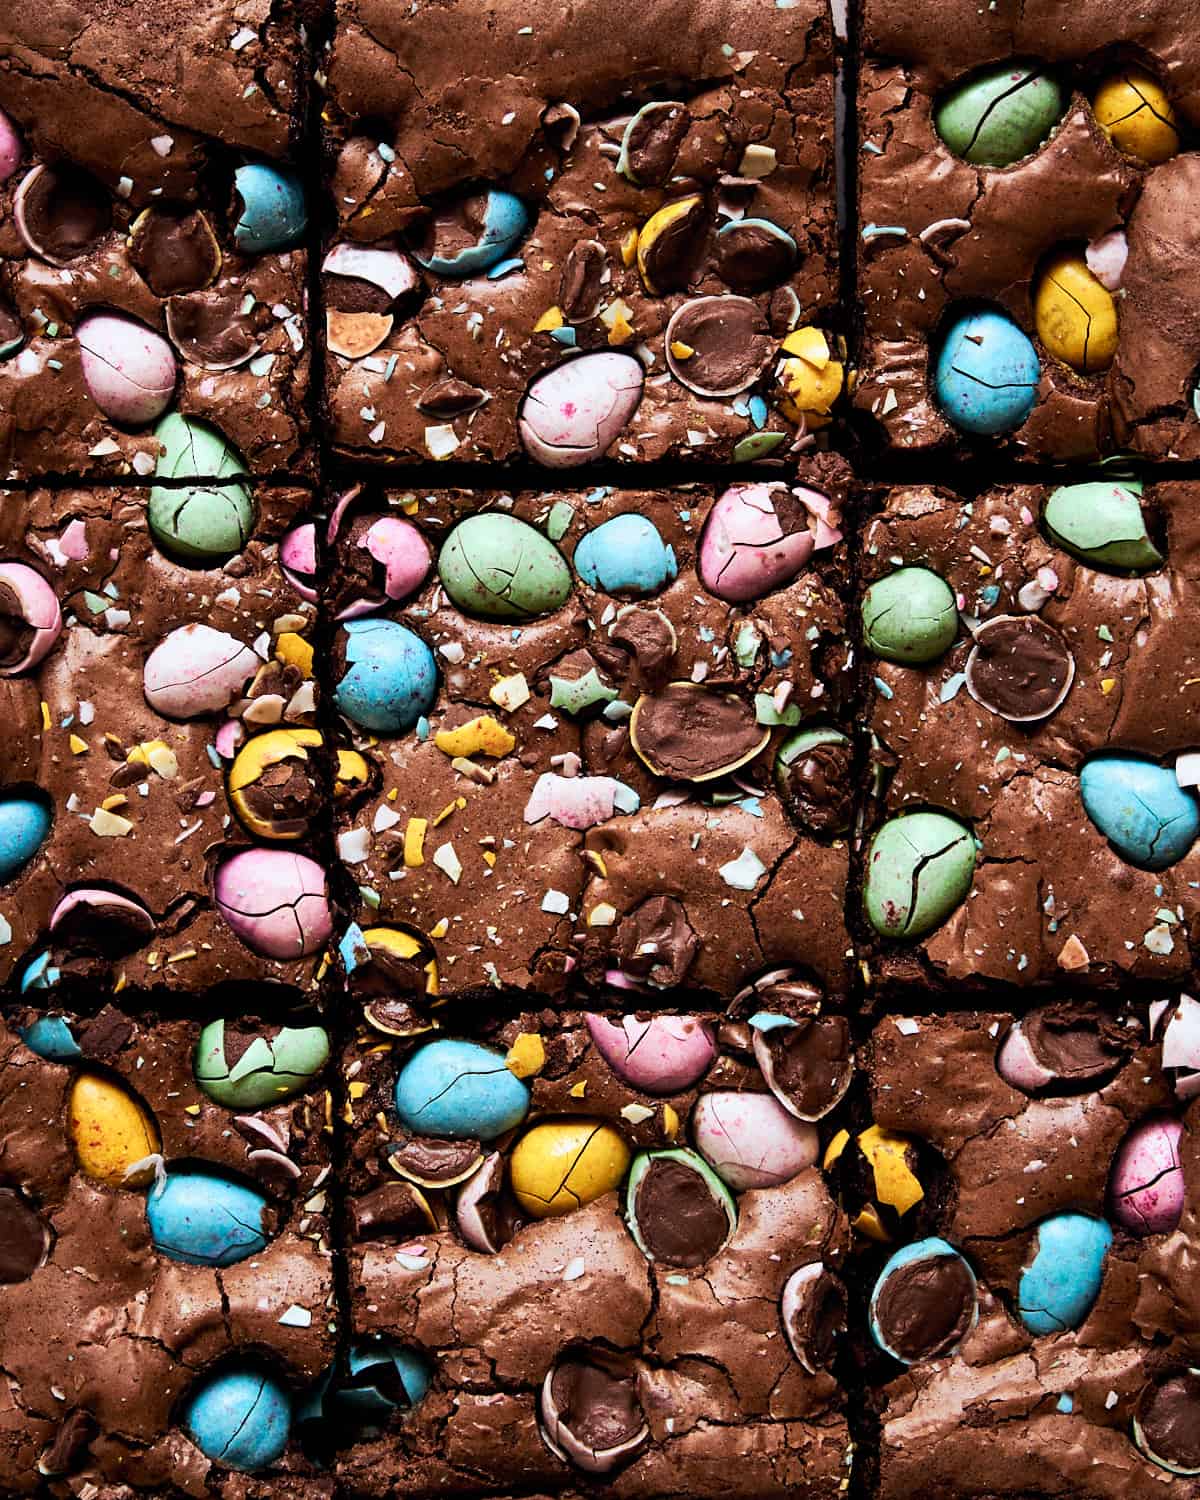
Even though I'm a lemon-dessert type of girl, I can't resist a very good, fudgy brownie with that rich chocolate flavor.
I haven't made one in ages and seeing as we've finally got some chocolate mini eggs in our stores, I thought it was appropriate to use some to make a festive dessert for this Easter.
If you're looking for more Easter dessert ideas, don't skip my soft and delicious Coconut Chocolate Easter Nest Cookies or my favorite Carrot Cake!
Jump to:
Why this recipe works
- it uses both cocoa powder and dark chocolate for the ultimate, rich chocolate flavor
- 70% dark chocolate and enough salt ensure a balanced flavor when paired with sweet mini chocolate eggs
- it's simple and fun, done in under an hour!
Ingredient notes
- Cocoa powder. I use dutch-processed cocoa powder that is darker in color and has a very rich taste. It's the type most commonly found in supermarkets around the world, but always use the one that has the best flavor. Lately I've been using Callebaut cocoa powder, but I love Lidl's cocoa powder as well which is more affordable because it comes in smaller packaging.
- Chocolate. My favorite chocolate to use for this recipe is either 70% Callebaut chocolate or this 70% dark chocolate from Lidl. Super delicious! 🙂
- Butter. I always use unsalted European-style butter with min. of 82% fat.
- Salt. yes, I really use one full teaspoon of fine sea salt. Brownies are really rich and sweet so the salt helps to cut through the sweetness and enhances the chocolate flavor.
- Chocolate mini eggs. Can't forget the star ingredient! I used M&M mini chocolate eggs, but feel free to use your favorite brand. Whether it's Cadbury, Milka or a no-name supermarket brand, it'll work great as long as the flavor is delicious! 🙂
How to make mini egg brownies (process shots)
Note: You have the fully written recipe with measurements and detailed instructions at the end of the post. However, I advise you to read all the helpful tips and FAQs.
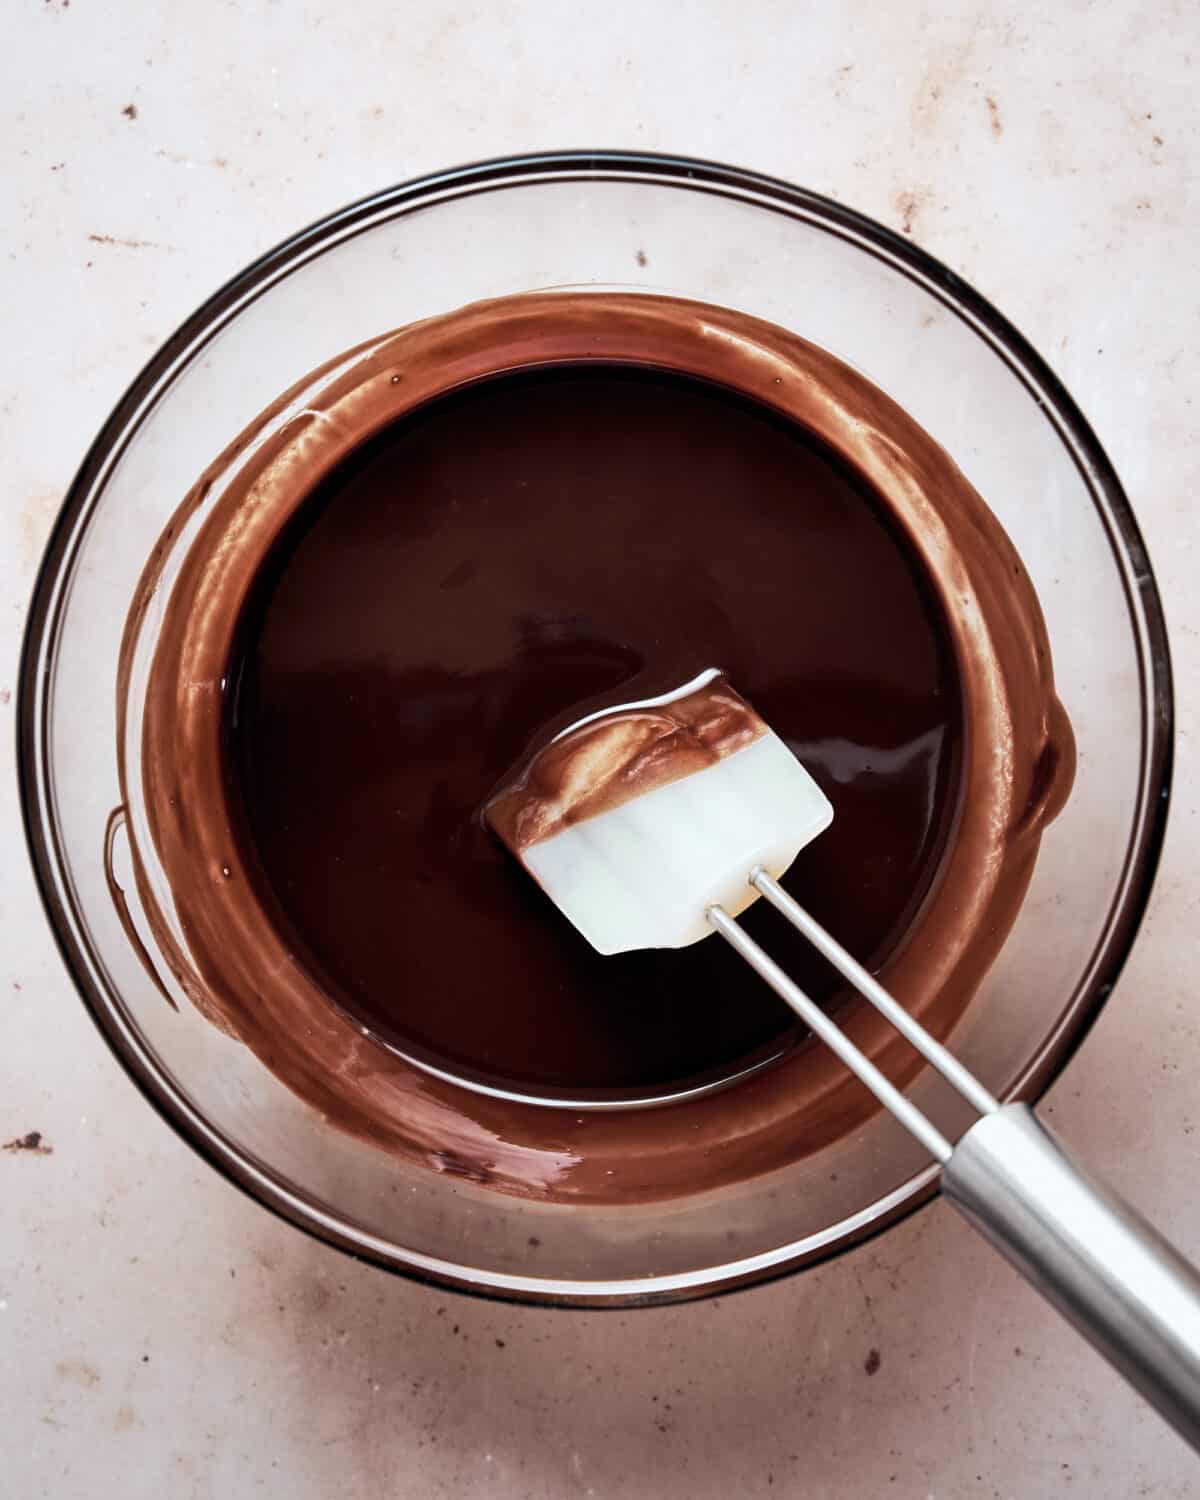
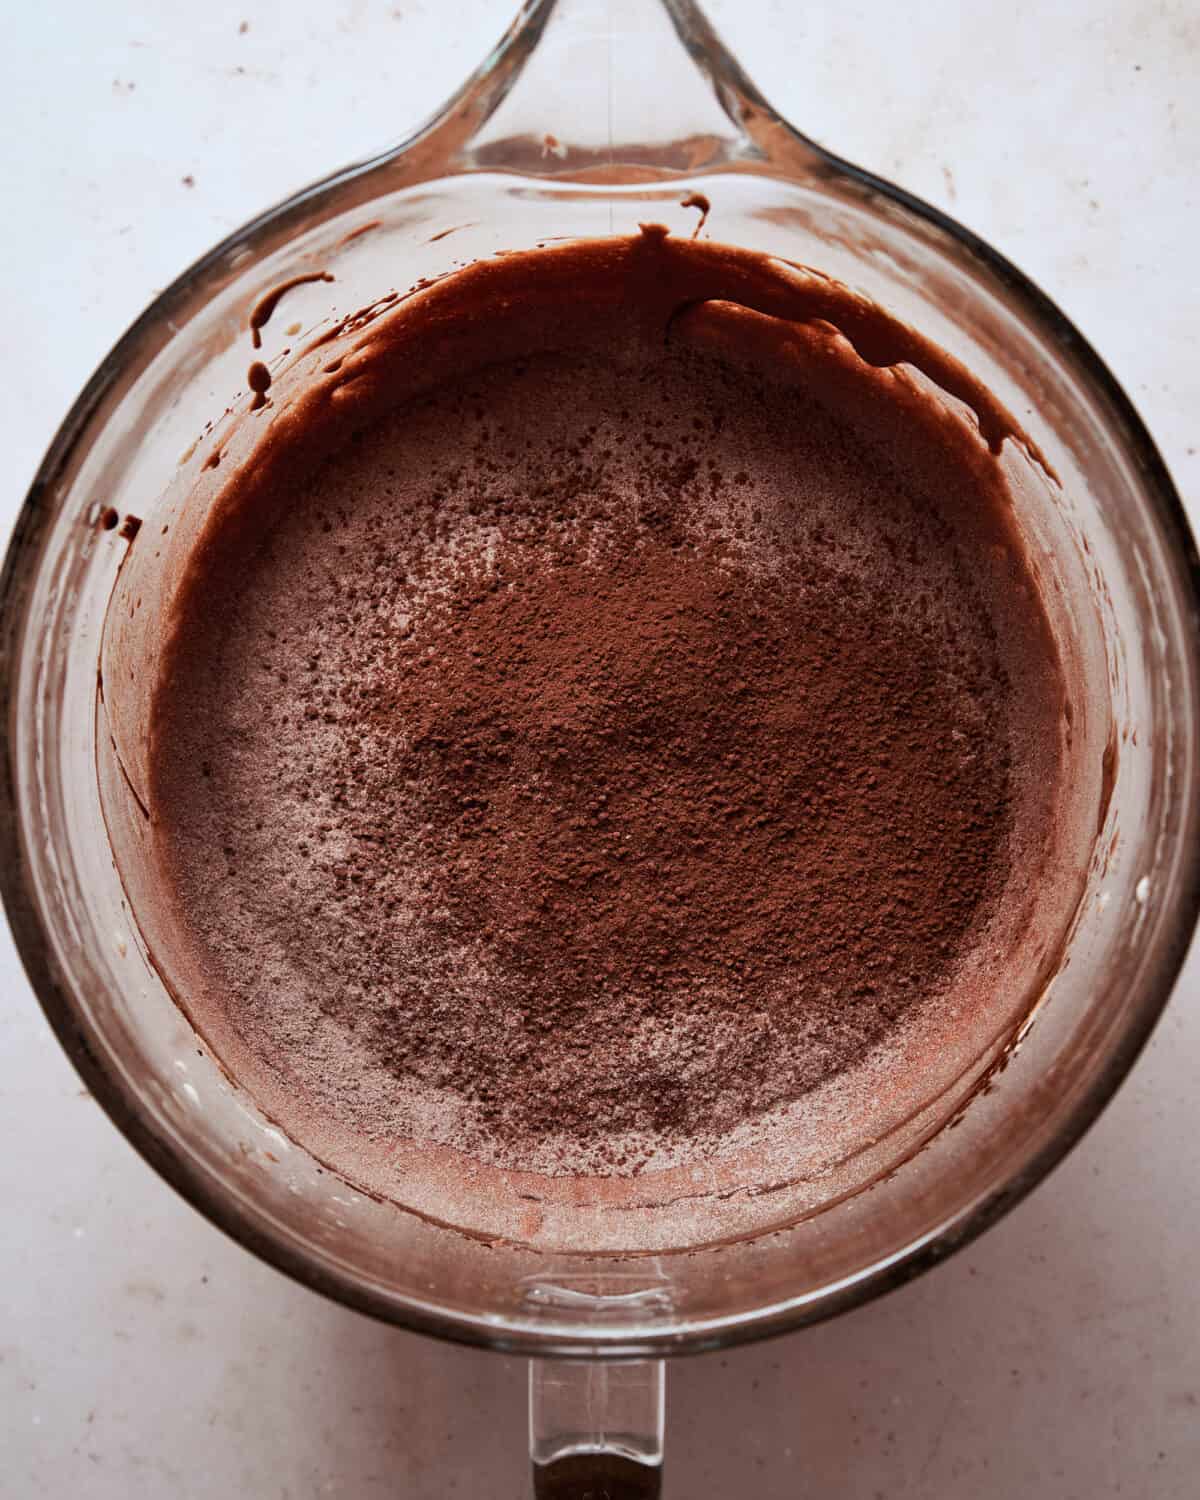
- To make mini egg brownies, start by melting the chocolate and the butter over a pot of simmering water. Set aside to slightly cool.
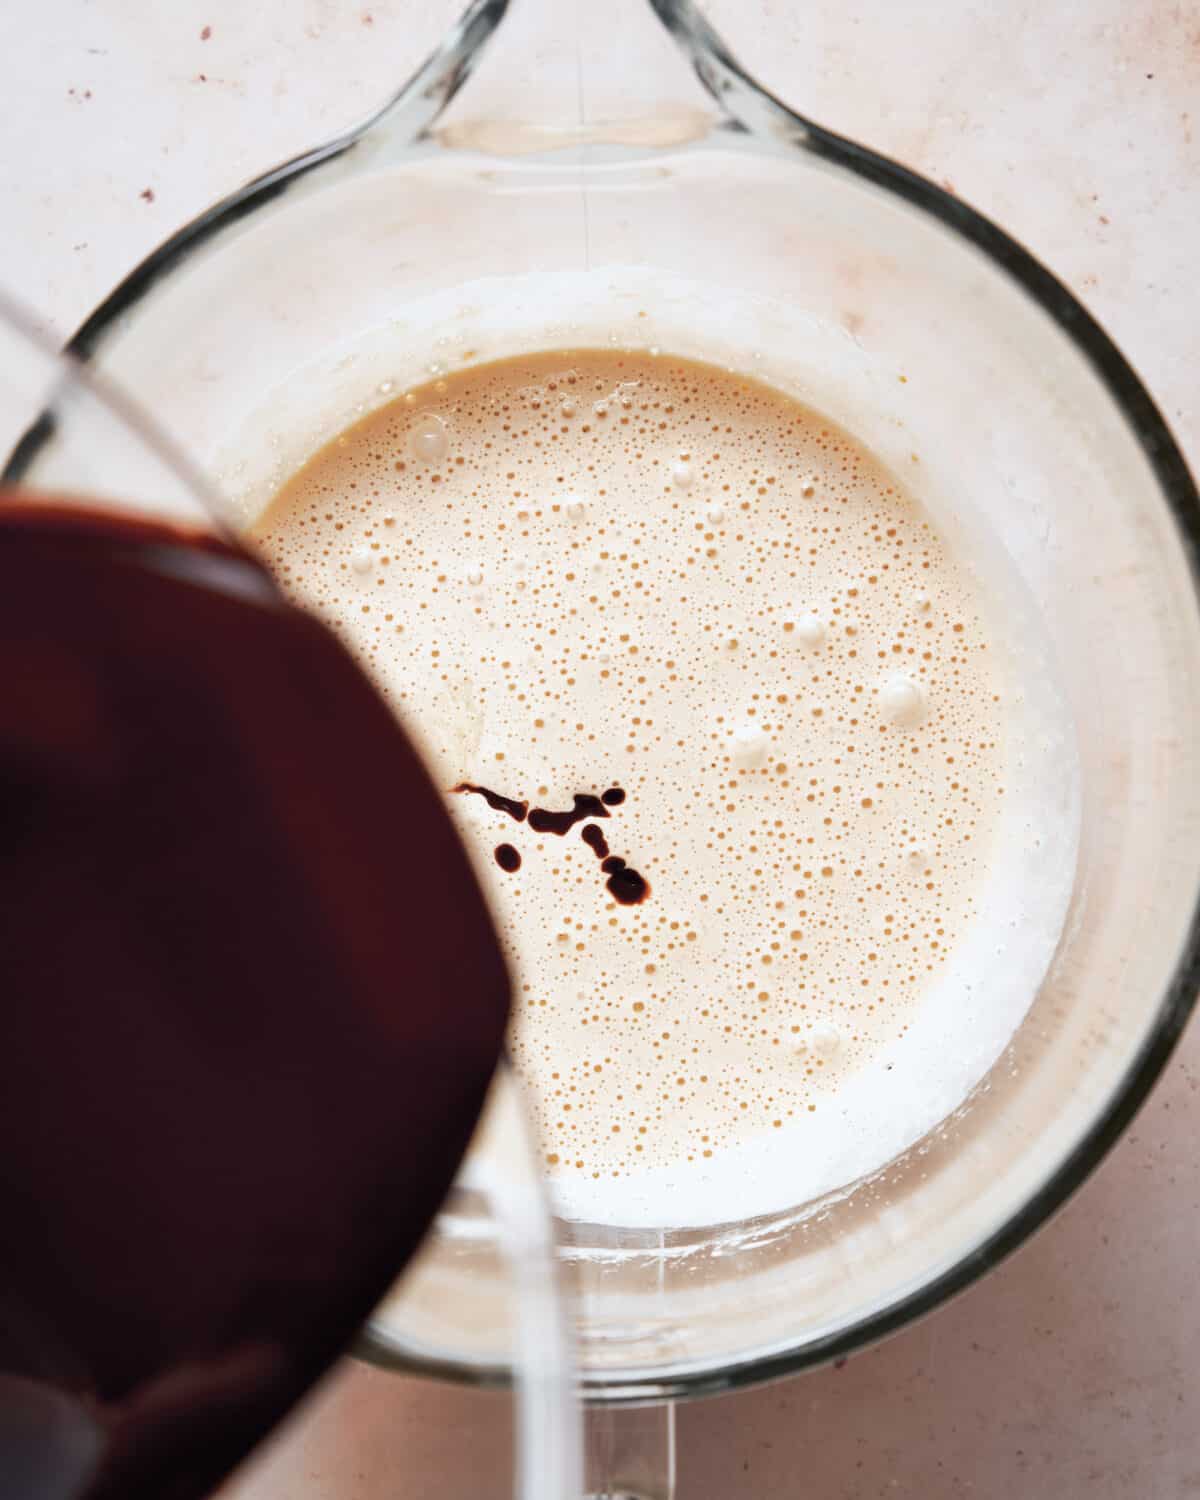
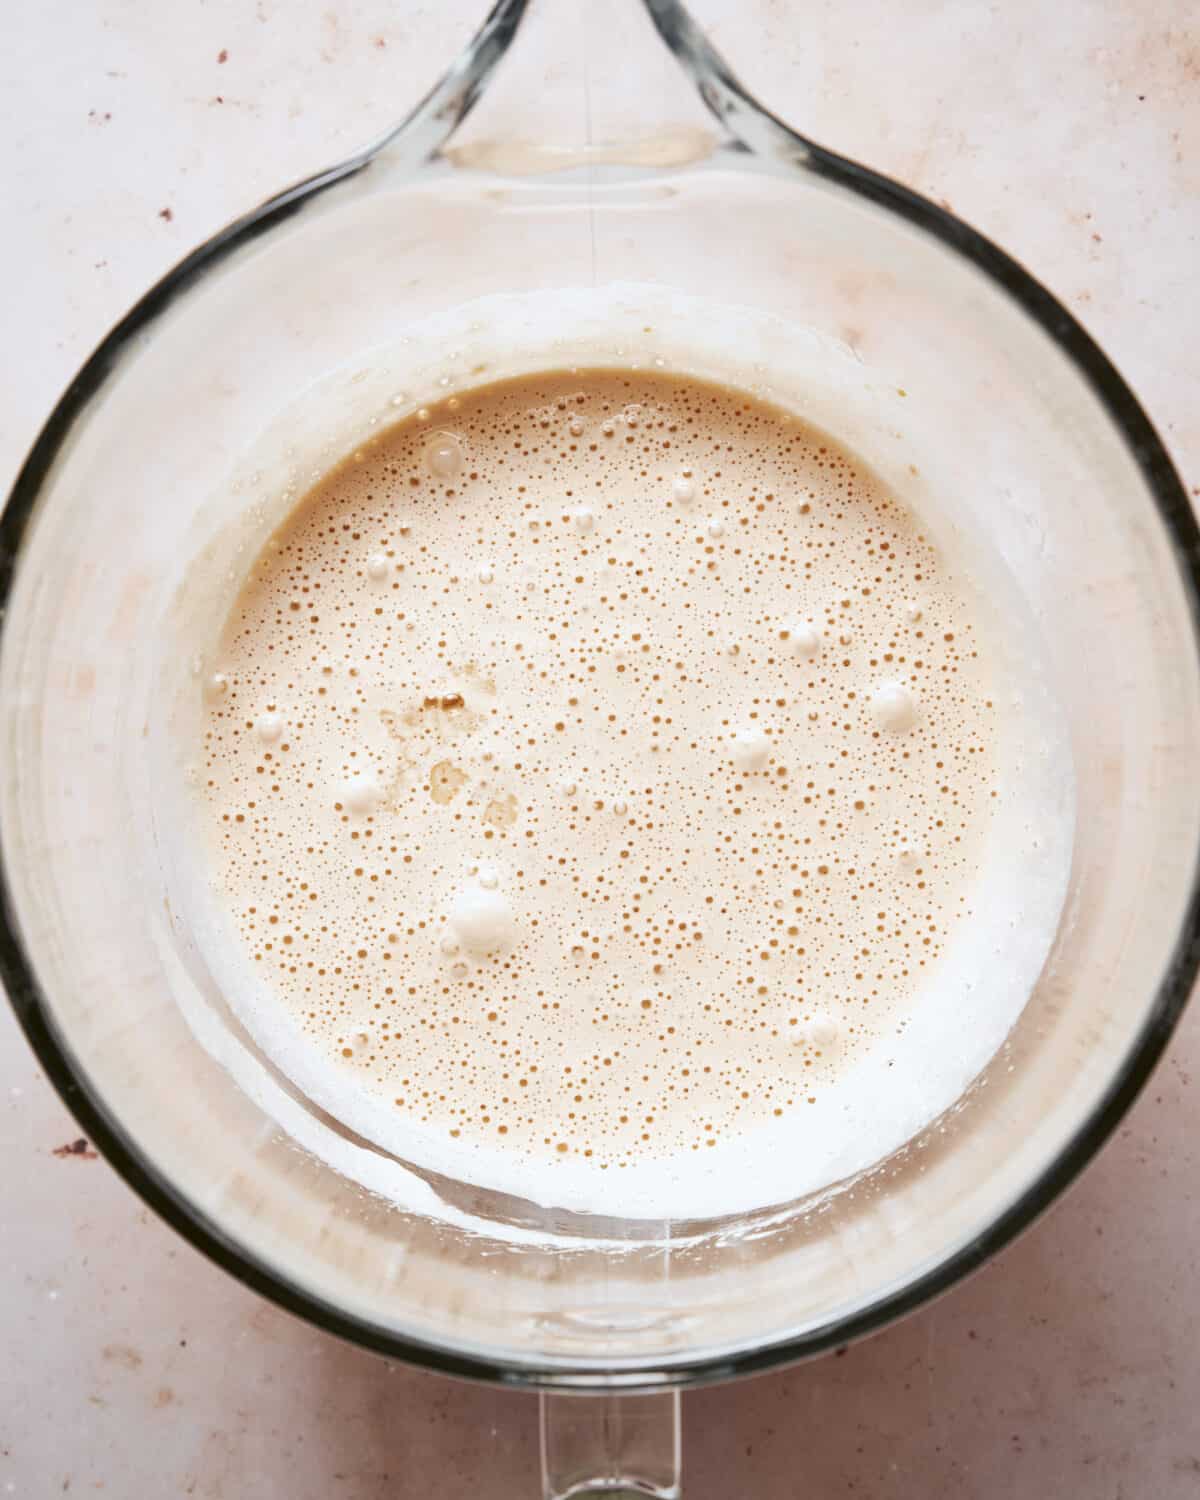
- Meanwhile, in a stand mixer fitted with the whisk attachment, whip the eggs, sugar and salt on high speed for 6-8 minutes, until doubled in size, pale and fluffy. Add the vanilla extract.
- With the mixer going on a medium-slow speed, pour the melted chocolate mixture in a slow and steady stream. Mix until thoroughly combined.
- Sift the flour and cocoa powder and mix on low speed until just combined. You can also use a spatula and fold it carefully.
Whipping the eggs is a crucial step because it creates that crackly top and the eggs serve a purpose of a natural leavener.
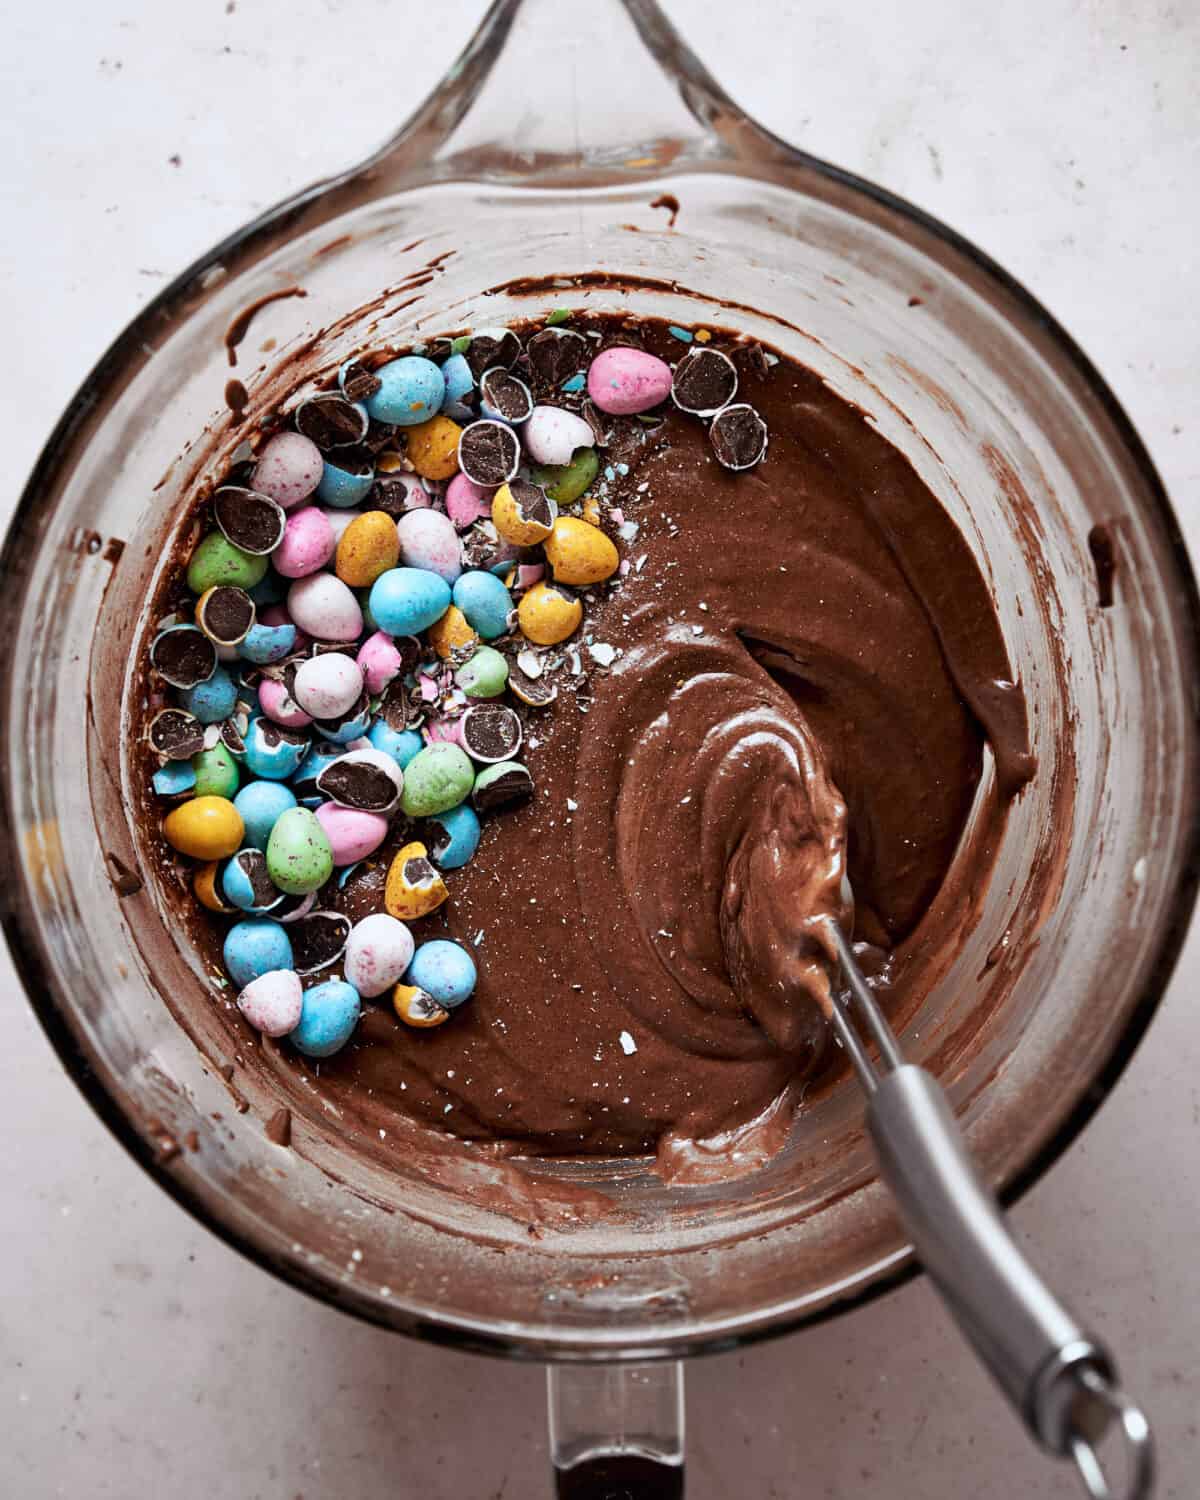
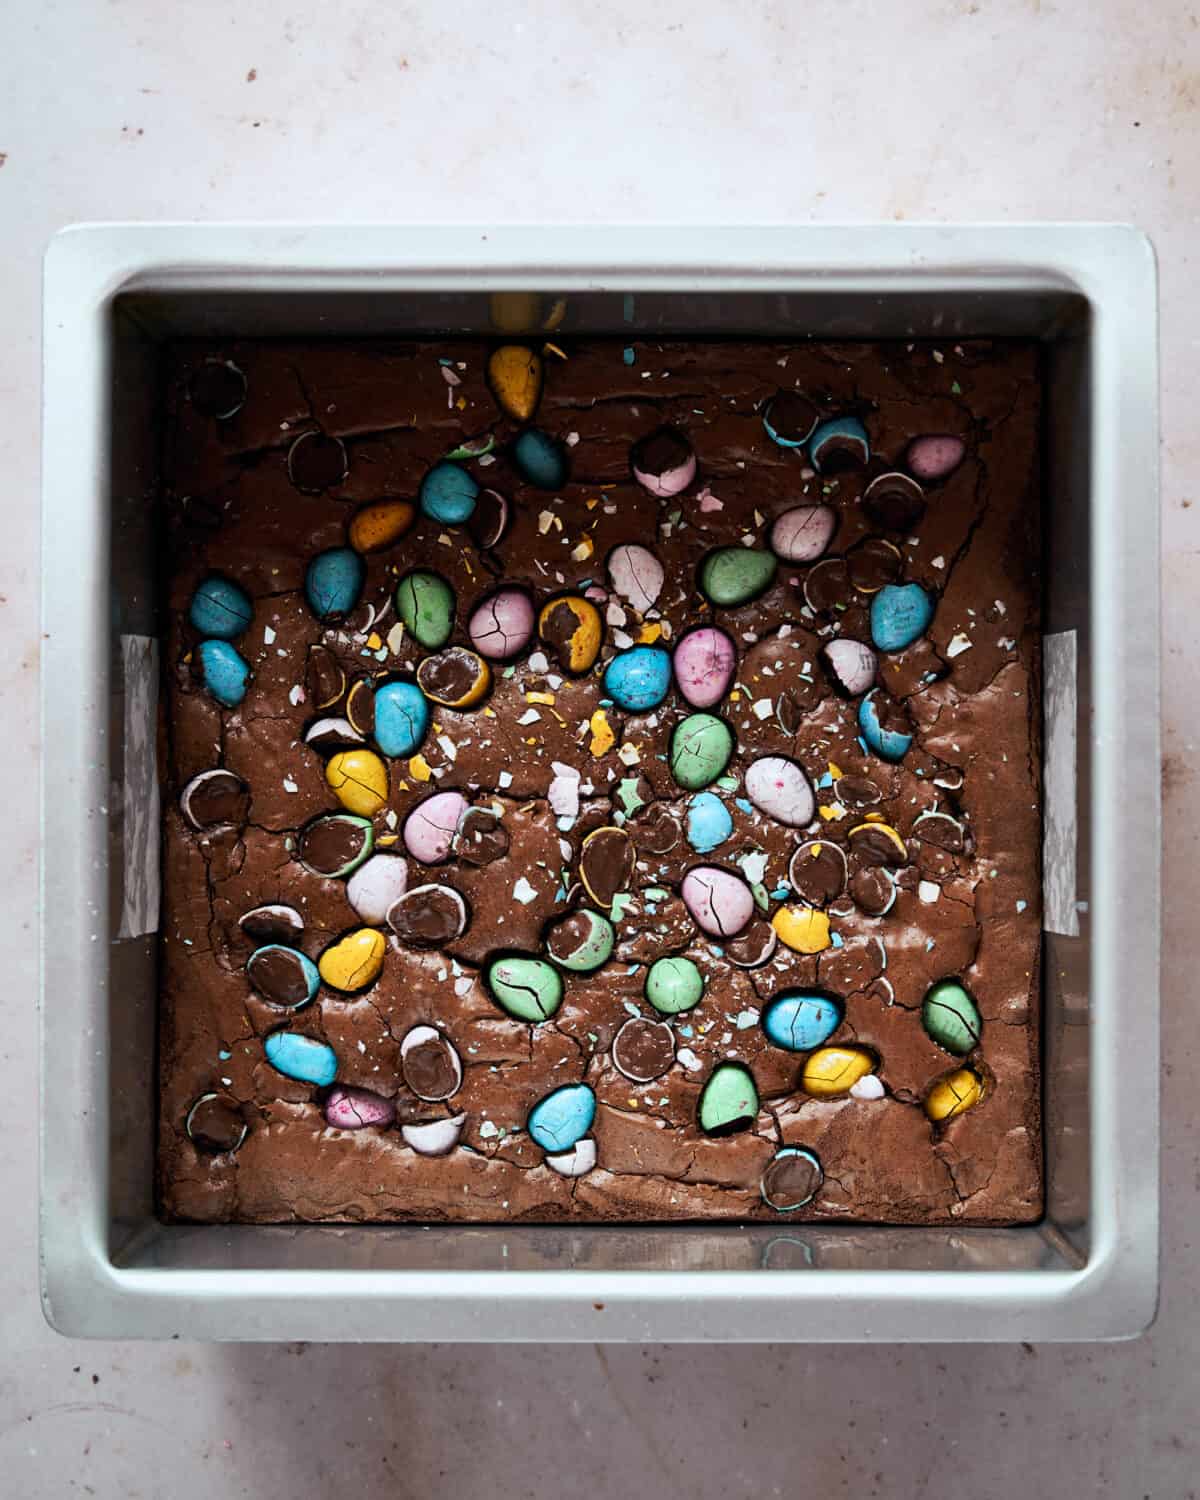
- Next, fold in about ⅔ of the roughly chopped mini chocolate eggs. (I used M&M chocolate eggs).
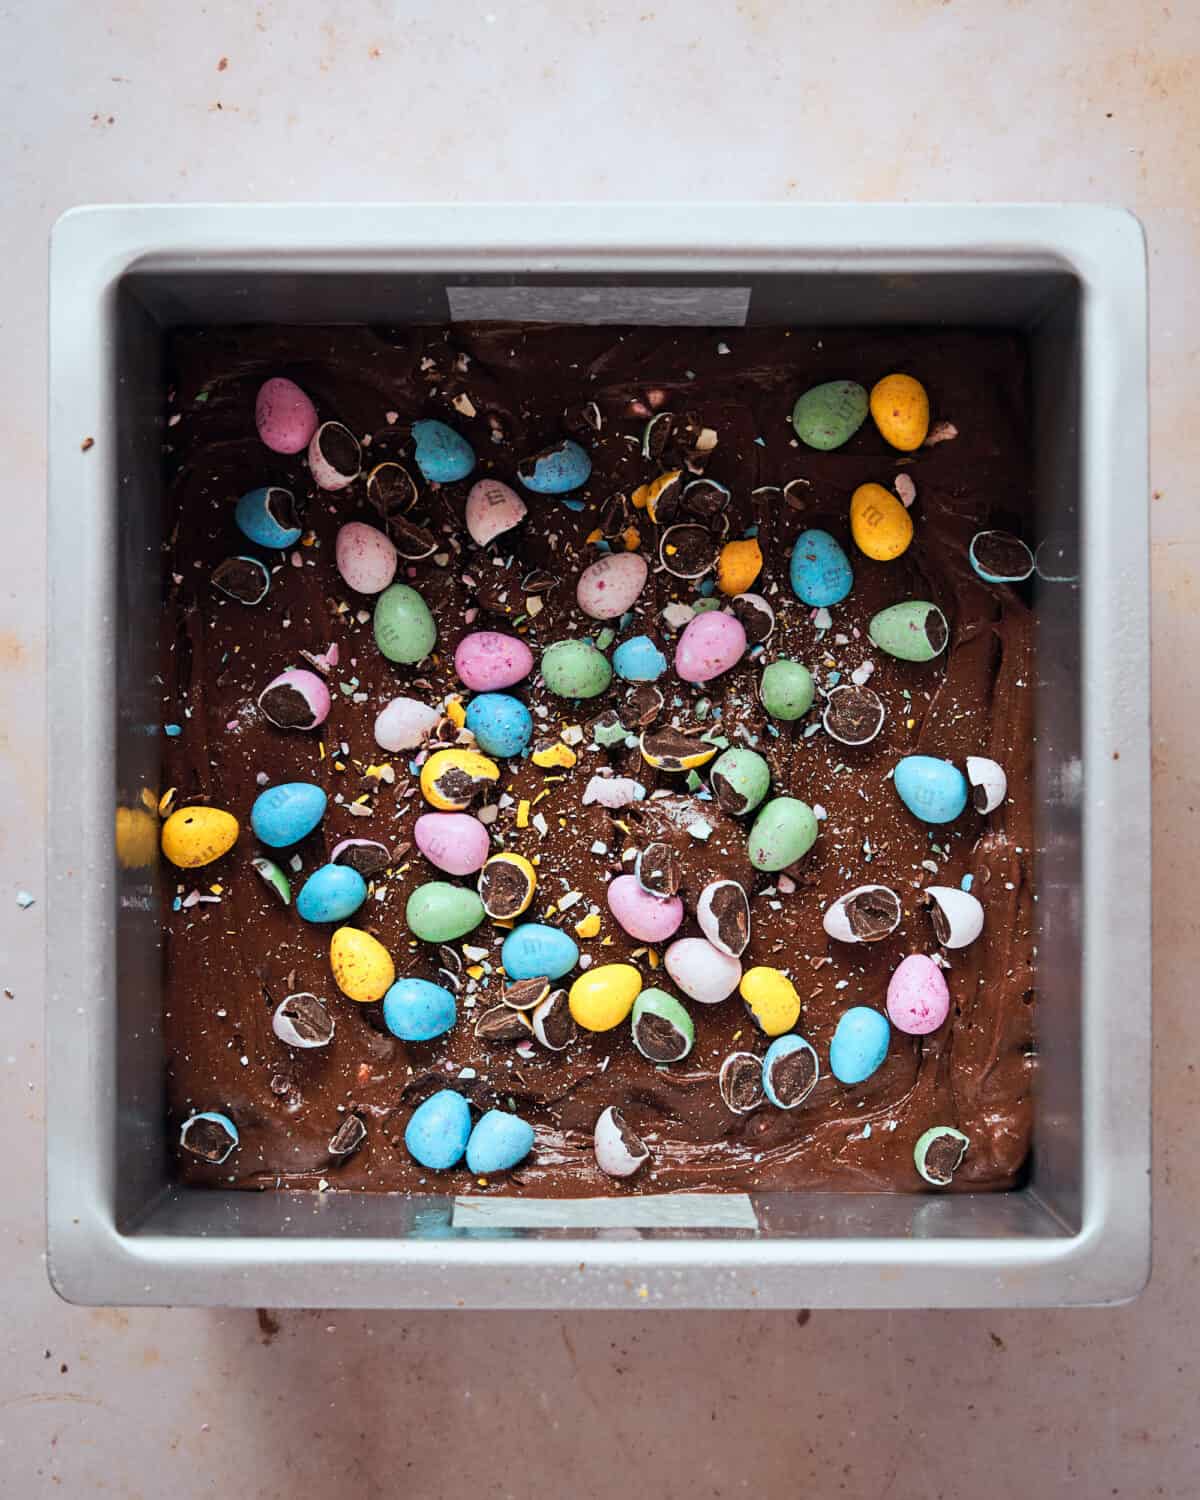
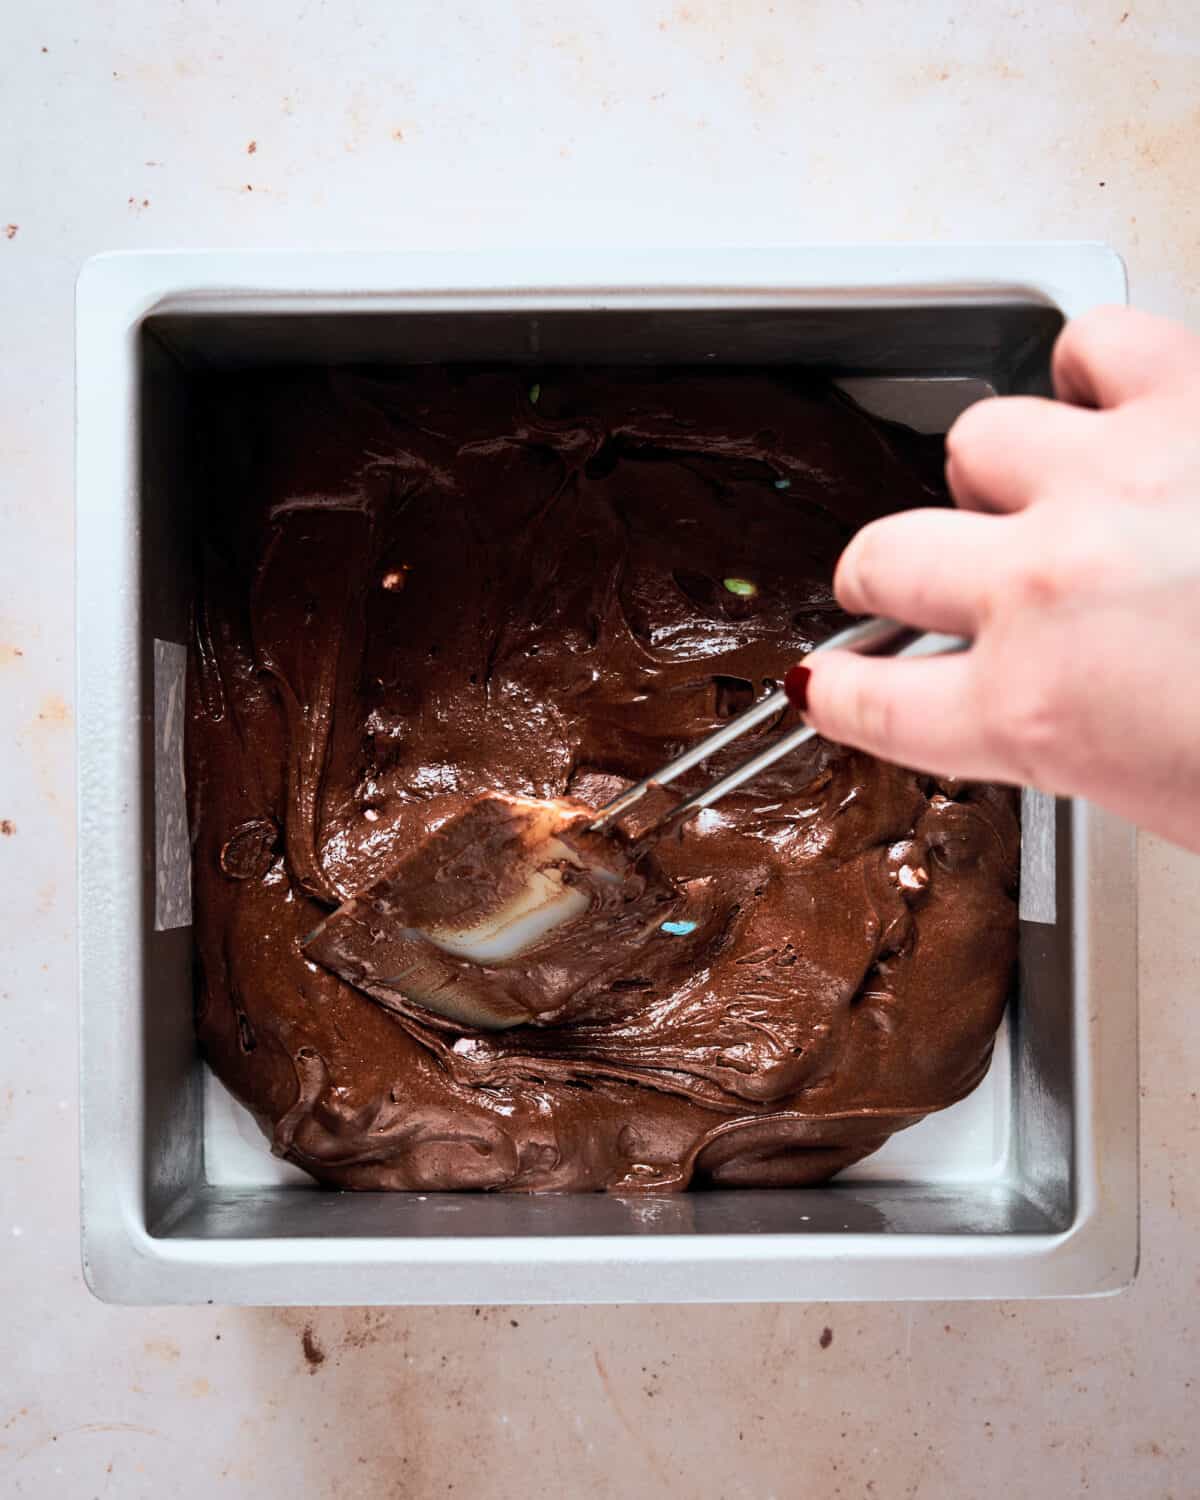
- Pour the batter into an 8x8-inch pan that's been greased and lined with baking paper. Make sure to get the batter to all the corners of the pan with a nice, level top.
- Sprinkle the top with the rest of the mini eggs in a rustic manner.
- Bake in a preheated oven for about 30-35 minutes.
💡My top tips
- Use a kitchen scale. The American cup measurements are calculated automatically and are there for your convenience. However, please use the kitchen scale because if you add more flour than you need to, you will not get a properly fudgy brownie.
- Don't overbake the brownie. Pay attention to the real temperature in your oven, overbaking will result in a dry brownie. You want your brownie to jiggle a little in the middle!
- For the crackly top: make sure to mix those eggs with sugar long enough, you can't really overmix it at this stage!
- Don't overmix the batter. When you start adding the dry ingredients be careful and just mix it (or fold it with a spatula) until there are no visible traces of flour.
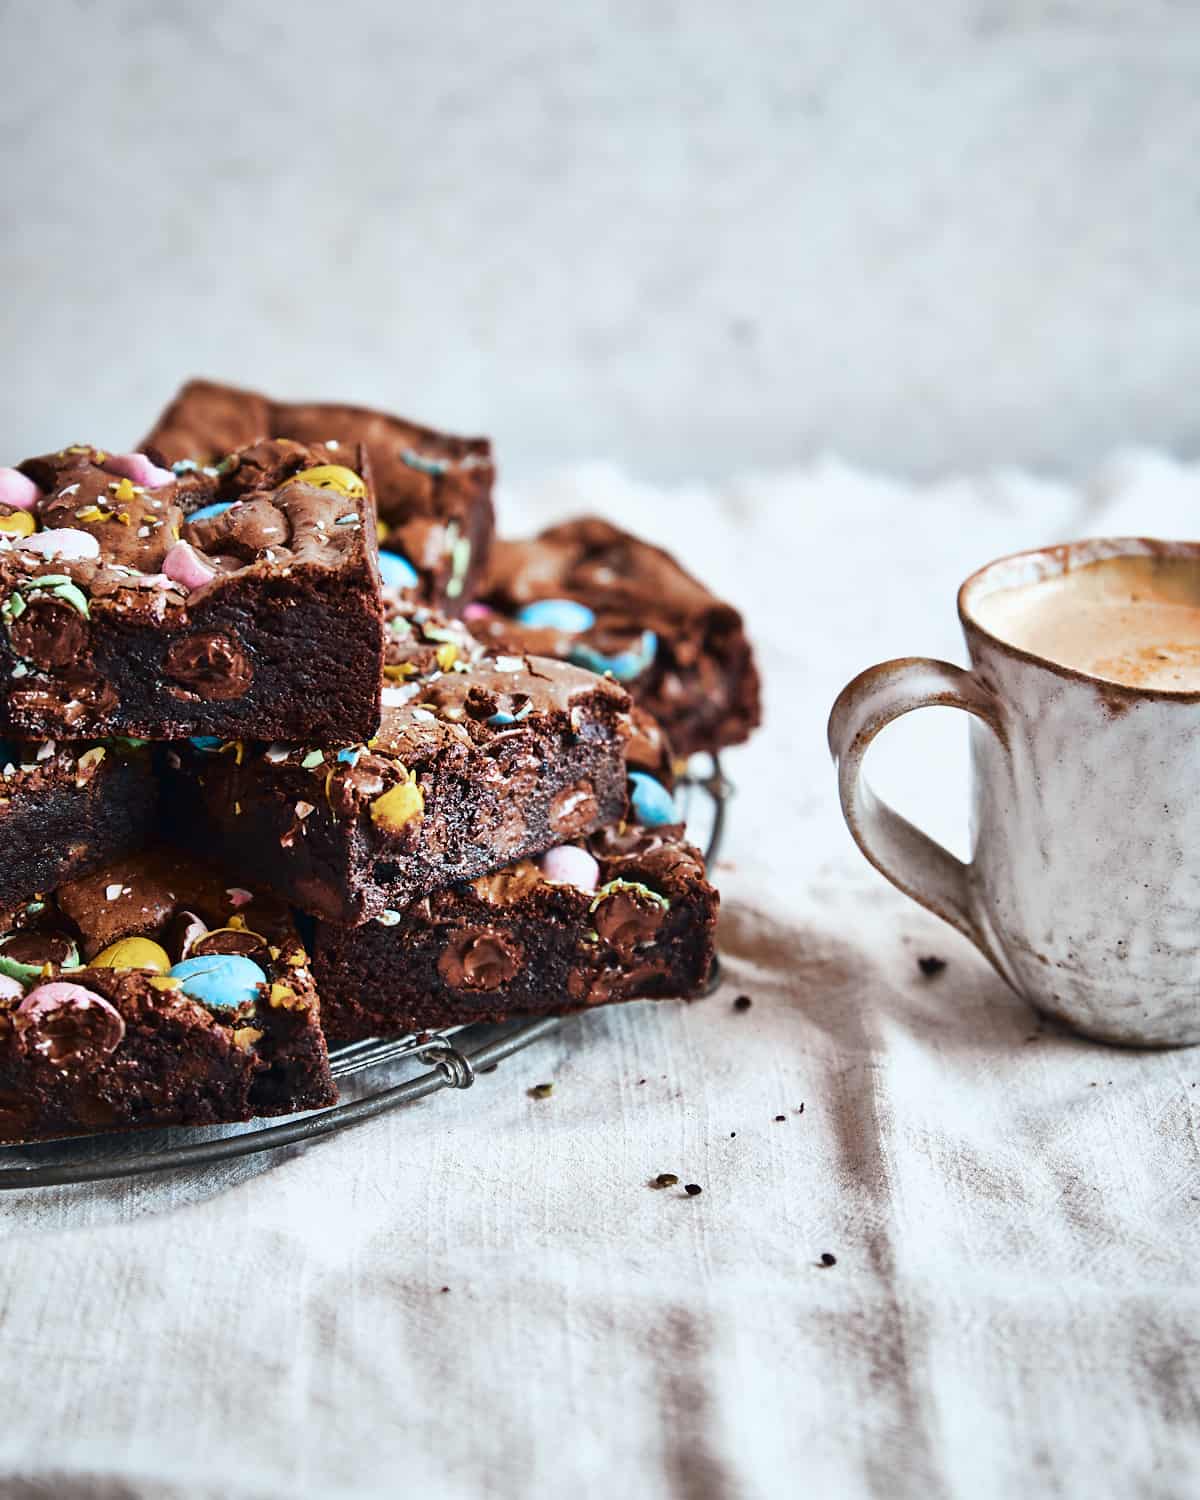
- Let the brownies cool completely. I know it's tough, but you won't be able to slice them properly when they're hot. The chocolate and the butter need time to solidify into a perfectly fudgy brownie.
Make ahead option
These mini egg brownies are great if you need a dessert to prepare in advance and then bake just in time for serving! Follow all the steps and when you pour the batter into the tin sprinkle with extra mini eggs, cover it with cling film and place it in the fridge.
When you're ready to bake, just pop the tin in the oven and keep an eye on the time, the brownies might need a couple of minutes extra in the oven.
Yield and serving tip
This recipe yields 9 big, 12 medium or 16 small brownie squares.
Since brownies are in general a very rich dessert, and these are not the exception, I recommend serving them with a dollop of freshly whipped cream and a cup of coffee 🙂
Storing
These mini egg brownies will keep good for a few days in an airtight container at room temperature or for about a week in the fridge.
To prolong their freshness, don't cut the entire tin at once. Cover it in cling film and keep it in the tin until the next serving.
Faqs
Anything between 60 and 70% cocoa will be great for brownies, as they are very rich and sweet, so the chocolate with a higher percentage of cocoa solids (aka bitterness) will provide a nice, rich, balanced chocolate flavor.
The edges will be set, you'll sense the divine chocolate smell coming from your oven and the middle will be just slightly wobbly, not too much!
Absolutely, just move the serving slider in the recipe card and it will automatically calculate the measurements for you. For a 10-inch (25-cm) square pan I recommend making one and a half batch (x1.5) unless you want really thick brownies.
If you have any other questions that I didn't cover, please let me know in the comments section down below - I'd love to help you out!
And if you make these Mini Egg Brownies, tag me on Instagram @anasbakingchronicles so I can see it or feel free to e-mail me your pictures and thoughts! I love seeing your bakes!
Happy baking,
Ana
📖 Recipe

Mini Egg Brownies
Description
ingredients
- 3 large eggs
- 150 g caster sugar
- 100 g soft brown sugar
- 1 teaspoon fine sea salt
- 1 teaspoon vanilla extract
- 150 g 70% dark chocolate
- 150 g unsalted butter
- 70 g all-purpose flour
- 40 g unsweetened dutch-processed cocoa powder
- 240 g mini chocolate eggs (I used M&Ms chocolate eggs)
Instructions
- Preheat your fan oven to 160˚C (325˚F) or 180˚C (350˚F) if you're not using a fan oven. Grease and line with baking paper an 8x8-inch (20x20-cm) baking tin.
- Roughly cut the chocolate mini eggs with a knife; leave some eggs whole, it's perfectly fine.
- In a medium-sized bowl, sift and combine the flour and cocoa powder. Set aside.
- Place the chopped chocolate (or chocolate chips) and diced butter into a heatproof bowl and melt over a bain-marie (a pot of simmering water). Make sure the bowl doesn't actually touch boiling water. Stir occasionally with a silicone spatula, so it combines and melts evenly. Once it's done, set it aside to cool a little bit.
- In a bowl of your stand mixer fitted with the whisk attachment, whip together the eggs, both sugars and salt, until pale, fluffy and doubled, almost tripled in volume. You can't really overmix this, so let it beat on high for a minimum of 5 minutes. I usually let it whip for around 8 minutes.
- Next, set your mixer to medium-low speed and slowly, in a steady stream, pour in your melted chocolate-butter mixture. Add the vanilla and mix until everything is combined.
- Add the dry ingredients and mix on low speed, just until combined. You can also use a spatula in this step and just fold the dry ingredients.
- Add about 160 g of chocolate mini eggs to the batter and fold them in the batter with a silicone spatula.
- Pour the brownie batter into the prepared pan, leveling the top with a spatula or a palette knife, so it reaches all corners.
- Sprinkle the top of the brownie with the rest of roughly chopped mini eggs.
- Bake in a preheated oven for about 30 to 35 minutes. Halfway through the baking, carefully drop your pan on the counter a few times to deflate it and create an even top layer with the fudgy inside.
- Once they're done, place the pan on a cooling rack and let the brownies cool completely before cutting into it.
- If desired, serve with a dollop of freshly whipped cream and a cup of coffee.
Notes
- If you don't have a stand mixer, you can use an electric hand mixer.
- If you still don’t own one, I advise you to buy a kitchen scale – they’re cheap and easy to use, and always guarantee the same results in baking. 🙂
- Not all ovens are the same, check the brownie at the 25- minute mark, then adjust the time accordingly. Don't overbake it!
IMPORTANT
All the recipes are developed and tested using only metric measurements and a kitchen scale. The U.S. cup and spoon measurements are provided for your convenience, but I highly recommend getting a digital kitchen scale and measuring in metrics. It's easy and always guarantee the same results in baking!
Nutrition
The nutritional information and US conversions are calculated automatically. I cannot guarantee the accuracy of this data. If this is important to you, please verify with your favourite nutrition calculator and/or unit conversion tool.


Comments
No Comments