Soft and chewy on the inside, but crispy on the edges - that's my formula for a perfect Chocolate Chip Cookie! With the addition of brown butter they are likely to become a new favourite!
Chocolate Chip Cookies are a classic and probably everyone's favourite. And yes, almost every one of the recipes available is good because - it's really hard to mess up something that is fundamentally DELICIOUS. Do you agree? But that doesn't mean that we can't turn GOOD things into GREAT things.
Yup, the greatness comes with BROWN BUTTER. And we need it. YOU need it. Trust me - it's THAT GOOD. I remember the first time I smelled and tasted burnt butter - it was love at first sight! Or should I say love at first smell/bite?
It was acutally introduced to me by my Grandma, when I was a child. She has this dish that her family often made in her childhood. She described it as a "poor man's meal". If you lived on the country side and had a few cows, you probably had all kinds of milk products, including organic homemade butter. They didn't have much, but there was always some potatoes, flour or cornmeal. And let me tell you, polenta drizzled with brown butter? Or mixed with sauce made from brown butter, yogurt and garlic? One of the best things I've ever eaten, there's no doubt about it!
What is Brown Butter and how do you make it?
Brown Butter or Beurre Noisette is essentially unsalted butter that's been cooked beyond its melting point to burn milk solids. As you know, butter is consisted of fat, water and milk solids. Since I'm from Europe, the "normal" butter I use always has at least 82% of butterfat. I discovered that there's some difference between American and European-style butter and that ours is better in flavour so, if you can, use that one!
When you decide to make brown butter (which I'm sure you already did 😉 ), be sure to use a light coloured saucepan because you need to be able to see all the little brown specks. Once the butter is melted, you have to keep an eye on it, stirring occasionally with a wooden spoon. You want to burn those milk solids to produce a beautiful, nutty aroma. But be careful not to burn it all the way, it's a thin line between browning and burning. Once you pass the melting point, it takes only a couple of minutes to make it out-of-this-world delicious!
Brown Butter is often used in french cuisine as a sauce in savoury dishes. God Bless the French and their delicious food! So if you ever find yourself with some leftover brown butter, you can use it in tons of things - sweet or savoury! Let your imagination run wild and free 🙂
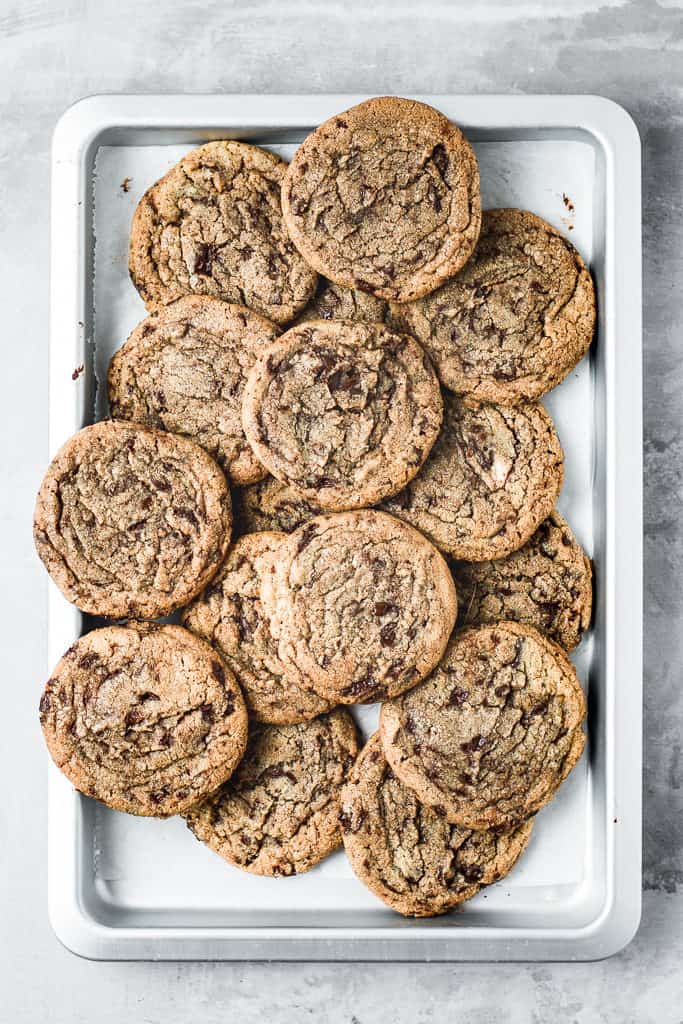
Now go get your apron on and get baking! These are the tastiest and the easiest chocolate chip cookies EVER and you need them in your life!
FOR MORE EASY COOKIELICIOUS DESSERTS, CHECK OUT THESE:
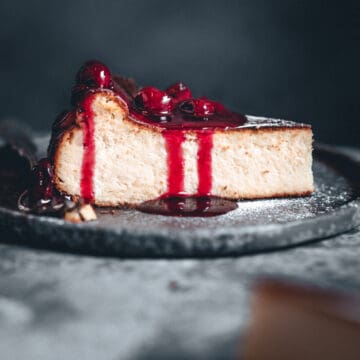
Nutella Cookie Dough Cheesecake
Soft Coconut Sugar Cookies
Banana Cupcakes with Cookie Buttercream
If you make this recipe, be sure to take a picture of it and tag me on Instagram @anasbakingchronicles so I can see your delicious creations, or tell me all about it in the comments section below! Happy baking!
Love,

📖 Recipe
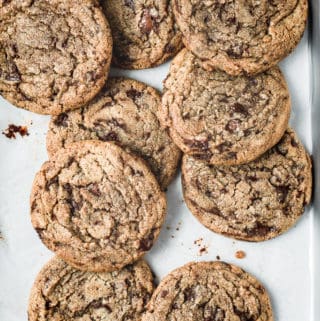
Brown Butter Chocolate Chip Cookies
Description
ingredients
- 170 g unsalted butter
- 1 large egg (room temperature)
- ½ teaspoon vanilla extract
- 100 g granulated sugar
- 80 g light muscovado sugar
- 200 g all-purpose flour
- ½ teaspoon baking powder
- ½ teaspoon salt
- ¼ teaspoon baking soda
- 180 g 60% dark chocolate
Instructions
- Cut the butter into cubes and melt it in a small saucepan, over a medium to high heat. Once melted, you want to keep heating it, stirring occasionally with a wooden spoon, until brown specks appear and you can feel that nutty aroma. Be careful not to burn the butter, but also don't "underbrown" it - if you know what I mean.
- Once your butter is browned, transfer it to a bowl and let it cool to room temperature. You can do this in a fridge to speed up the process.
- While your brown butter is cooling, sift together flour, baking soda and salt, and put aside. Chop the chocolate into chunks medium sized chunks, or a mix of small and big.
- Once your butter has come to room temperature, add to it both of the sugars, an egg and vanilla extract. Combine together using a whisk.
- Add the dry ingredients and chopped chocolate to wet ingredients and fold everything together using a silicone spatula or a wooden spoon.
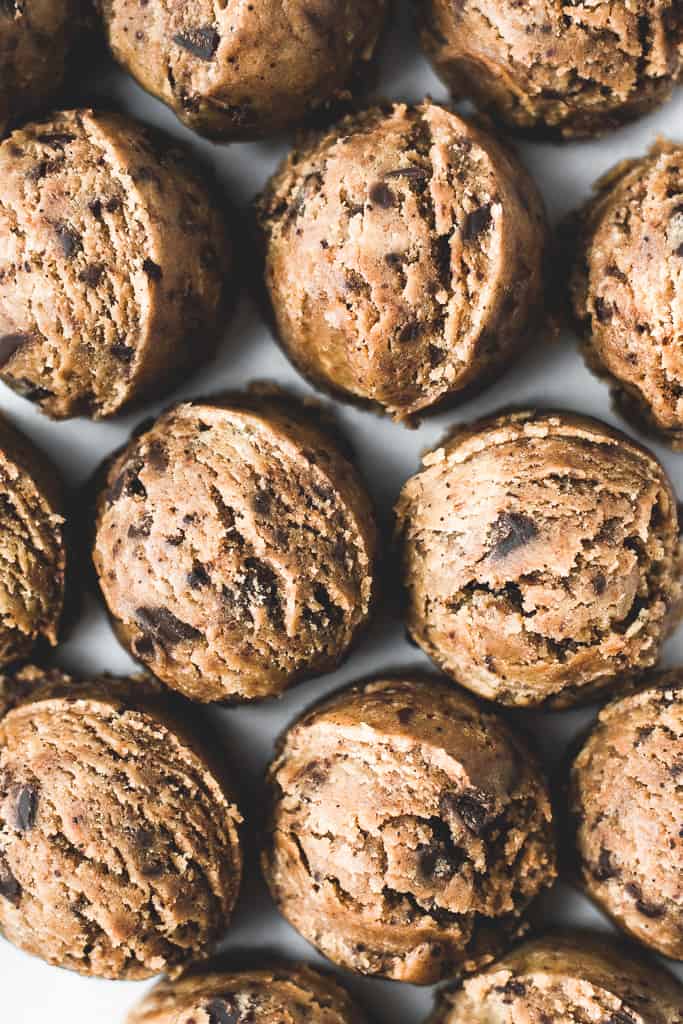
- Once your dough is ready, it's best to let it rest in the fridge overnight in order to enhance all the flavors. Before baking it, be sure to take it out of the fridge and let it come to room temperature.
- If you don't like the idea of letting your cookie dough rest overnight, you can bake it right away - it'll still be delicious 🙂 But let the dough sit in the fridge for at least 20-30 minutes, so the flour can have the time to absorb the moisture.
- Preheat your fan oven to 160°C (325°F) or 175°C(350°F) if you’re not using a fan oven and line the baking sheet with baking paper.
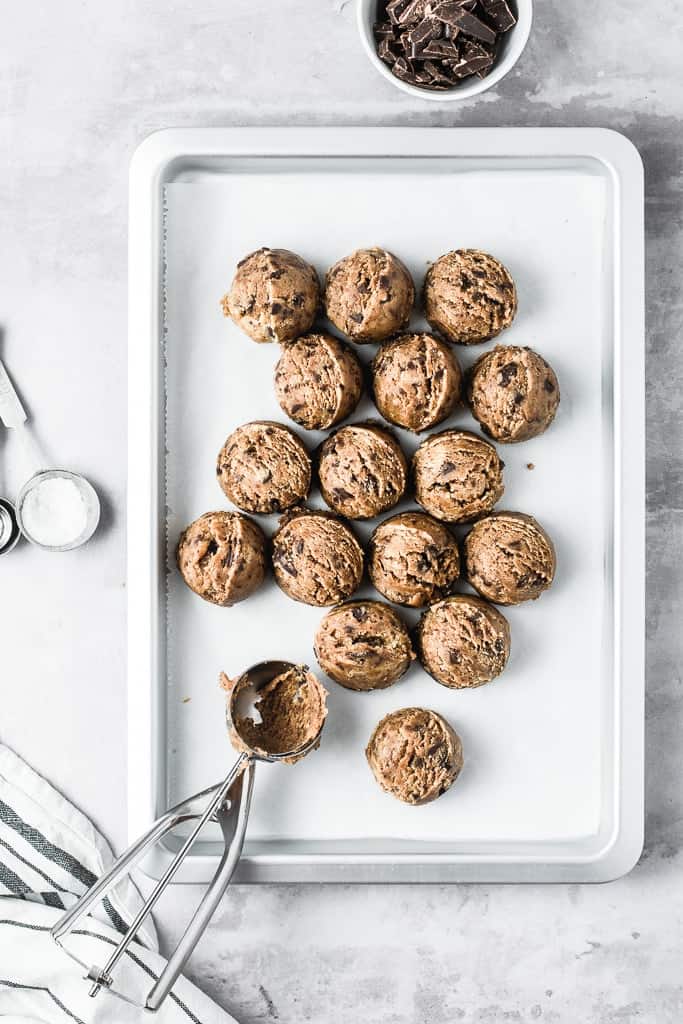
- Using an ice cream or a cookie scoop that has a 5-cm diameter, scoop out the cookie dough onto the prepared sheet by leaving a 3-inch (7-cm) gap between each. (Each cookie dough ball weighs between 70 to 80 grams)
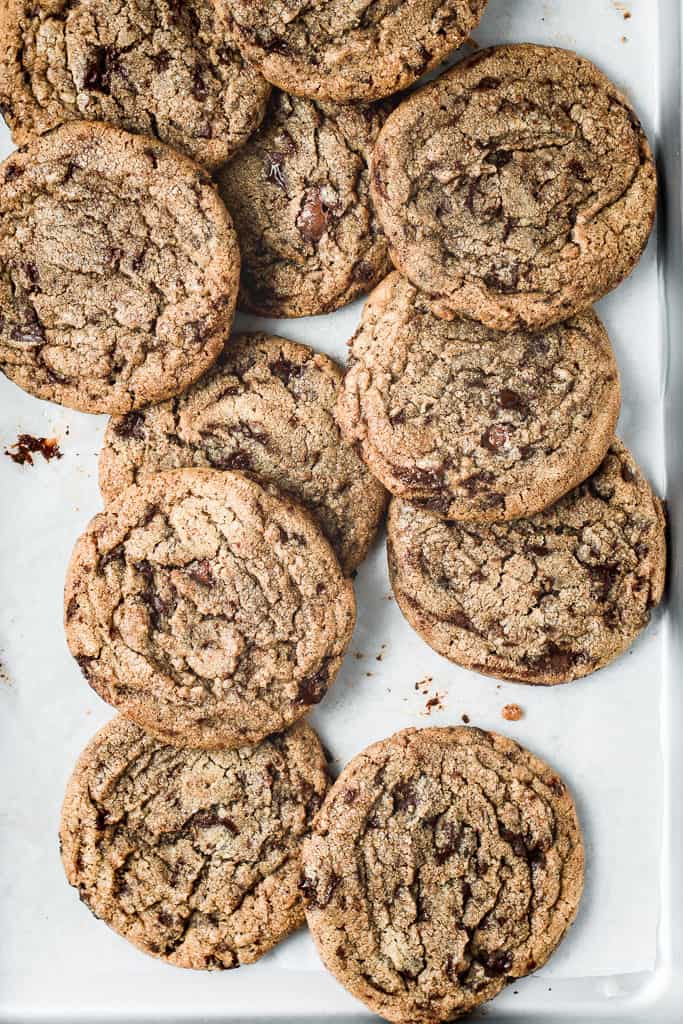
- For soft and chewy cookie with crispy edges - bake them for 10-12 minutes.
- When they are done, they will be really soft at the touch (looking almost underbaked), but the edges will be slightly golden and crispy.Take out the baking sheet and give it a couple of bangs on the counter, to create the signature wrinkly chocolate chip look.**
- Leave them for 2 minutes on a baking tray and then transfer them to a cooling rack.
- Keep the baked cookies in an airtight container, at room temperature for 3-5 days.
Notes
- Make sure to strain light muscovado sugar through a sieve to get rid of large chunks of it in the batter.
- If you're not sure how hot your oven is, you can bake a "test cookie" to see what's the best time and temperature.
- If you still don't own one, I advise you to buy a kitchen scale - they're cheap and easy to use, and always guarantee the same results in baking! 🙂
- Letting the dough chill overnight in the fridge really did enhance all the flavours, but if you don't have time and you want your cookies ASAP, they will still be delicious baked right away.
IMPORTANT
All the recipes are developed and tested using only metric measurements and a kitchen scale. The U.S. cup and spoon measurements are provided for your convenience, but I highly recommend getting a digital kitchen scale and measuring in metrics. It's easy and always guarantee the same results in baking!
Nutrition
The nutritional information and US conversions are calculated automatically. I cannot guarantee the accuracy of this data. If this is important to you, please verify with your favourite nutrition calculator and/or unit conversion tool.


Leya
Hi. Can i use brown sugar instead of muscovado?
Ana
Hi, Leya!
Instead of light muscovado you can use light soft brown sugar. If you don't have that, you can mix 200 g of caster sugar with 1 tablespoon of molasses or treacle. This kind of sugar works best for a chewy texture because it adds moisture. But, if you don't have any on hand, you can use what you do have, you'll just get slightly different texture (potentially crispier), but it will still be really tasty! Hope this helps! 🙂
Chinenye
Hi,
I've made these cookies twice now and they're absolutely scrumptious!
I was wondering if I could use this exact recipe to make cookie bars? Or would I have to adjust anything?
Also do you have any idea of the baking time and temperature if I were to make the cookie bars?
Thanks!
Ana Zelić
Hey Chinenye, I'm glad you like the cookies, thank you! 🙂
As for your question about cookie bars, I'm not sure because I've never made any. But if I were to make some, I imagine I'd keep the temperature between 160-175C (325-350F) and the baking time would depend on the thickness, but surely longer than the individual cookie. My guesstimate would be around 20 minutes. If you're going to use a 9x13 inch pan, I think you'd maybe have to make 1.5 batch to have enough dough.
If you decide to try it out, do let me know how it turned out! x