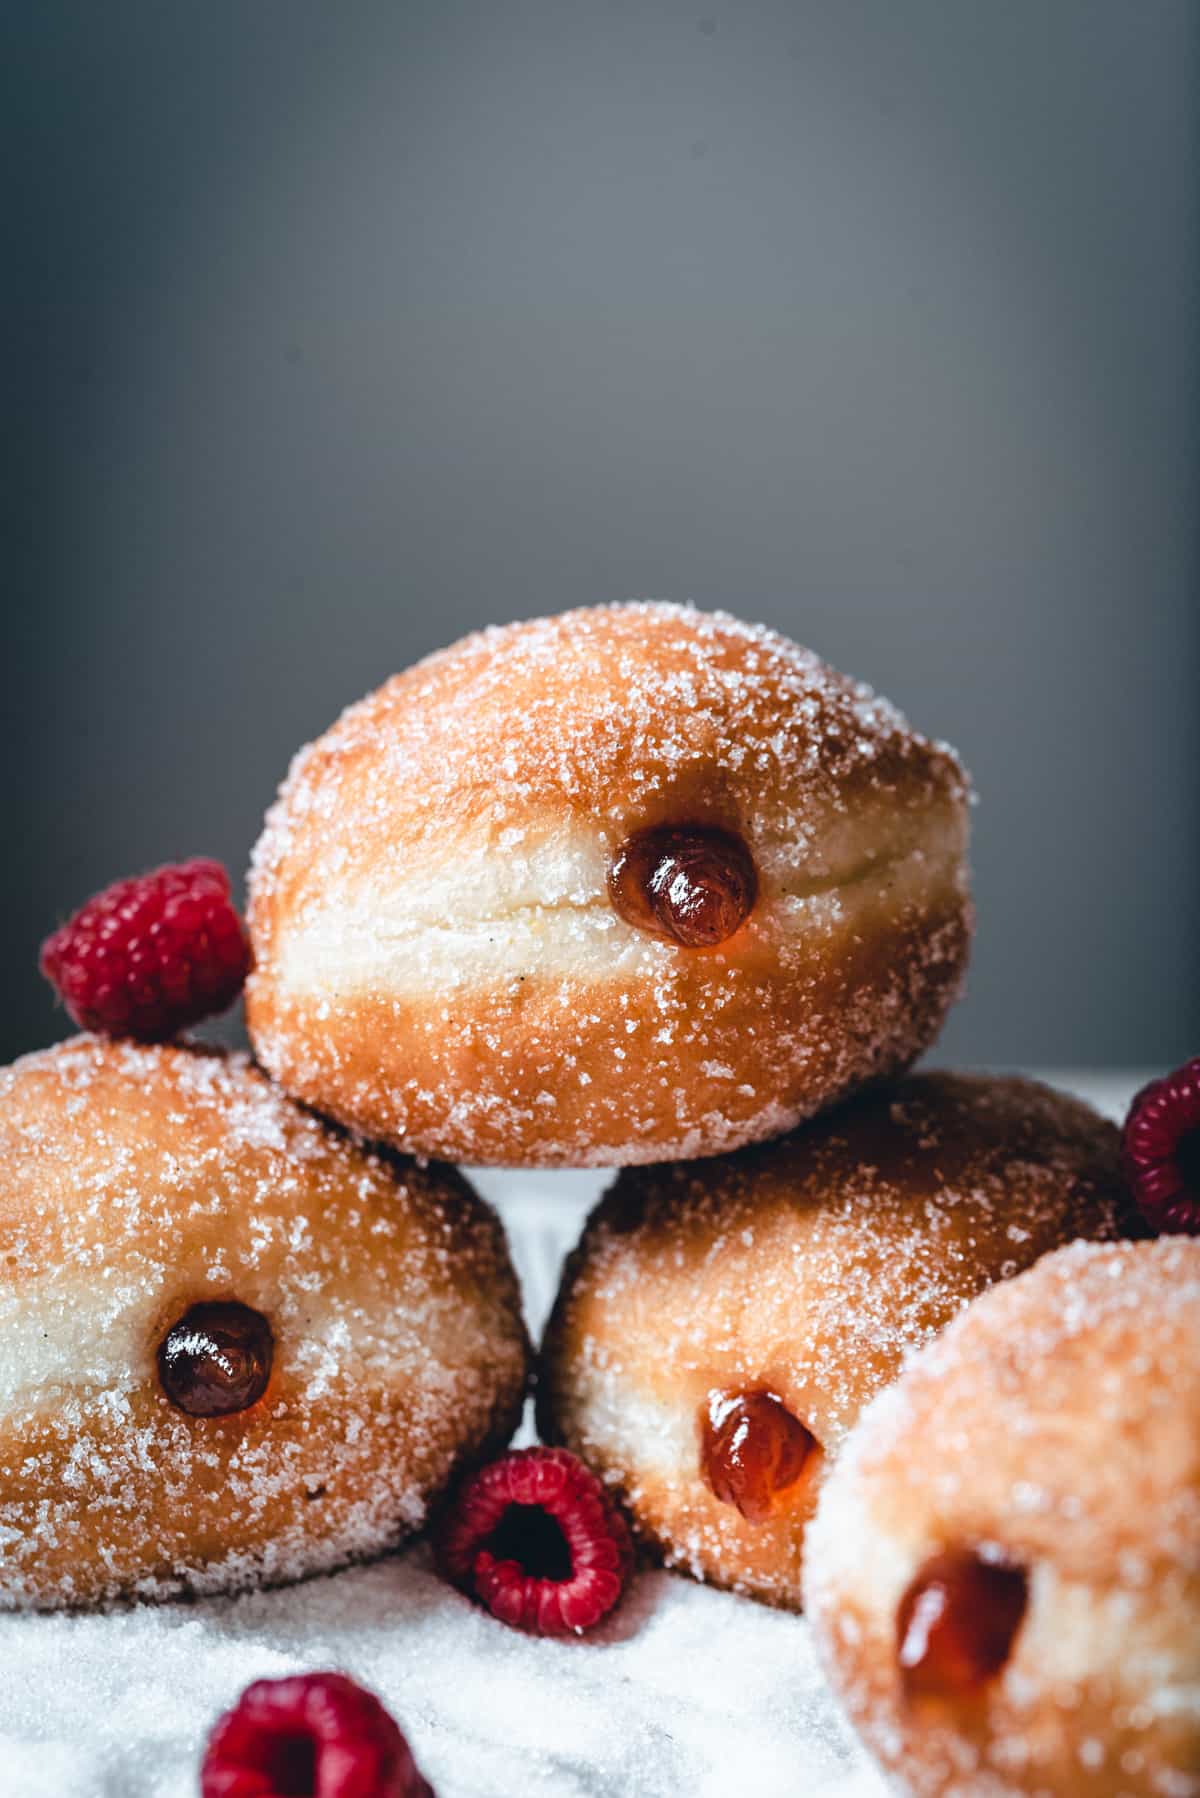
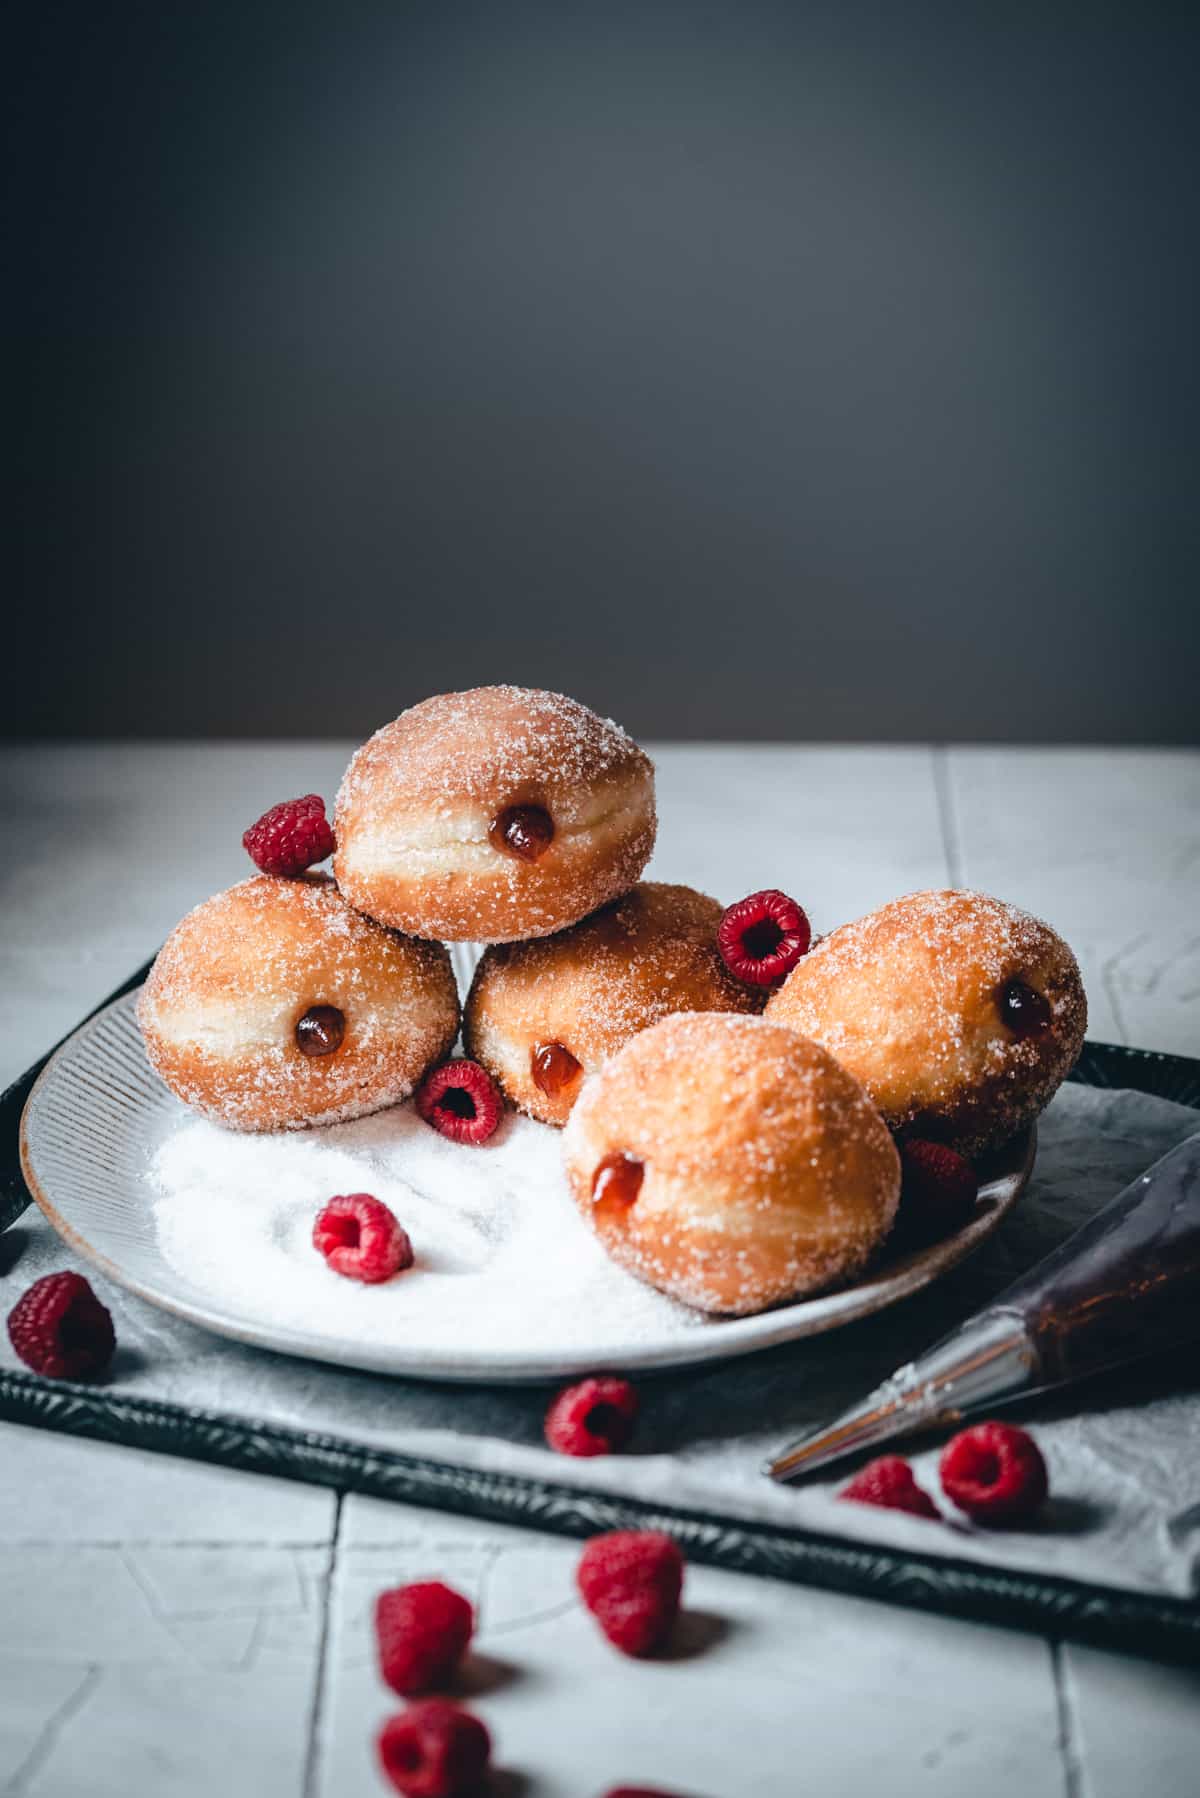
Let me introduce you to the perfect, fried, yeast-leavened vegan doughnuts. They're perfectly soft and fluffy, require only basic ingredients and taste just like the traditional ones you'll find in bakeries.
Truth be told, I believe that quite a number of bakeries "accidentally" make vegan doughnuts by not using eggs and butter to cut the costs of production.
Hope you enjoy this incredibly simple, dairy-free, eggless doughnut recipe and share it with your favorite people!
Jump to:
Background story
Ever since my sister started a plant-based, vegan diet, I've been trying to adjust some of her favorite recipes to fit her lifestyle.
The fact that my life has been full of dieting and restrictions has (only) one positive side effect— I've learned how to adapt recipes and create new ones just based on the (allowed) ingredients on the list.
That's exactly how I approached developing this vegan doughnut recipe. I went to analyze my traditional doughnut recipe in terms of ingredient ratios, such as fat, flour, liquid, etc. and then found the appropriate substitutions, by testing the recipe no less than 5 times in the past 2 weeks or so.
Just as you can't translate most of the languages quite literally to another one, the same principle applies when you're trying to adjust a recipe.
For instance, I find people get stuck on yeast vegan doughnuts because they feel they need to find a replacement for every ingredient used. Maybe that's the reason for such a surplus of baked vegan doughnuts recipes? Guess what, you don't!
That specifically applies to eggs in this case. While I believe they are a fantastic ingredient in baking, you don't necessarily need them and these eggless doughnuts are the proof of that.
Ingredient notes
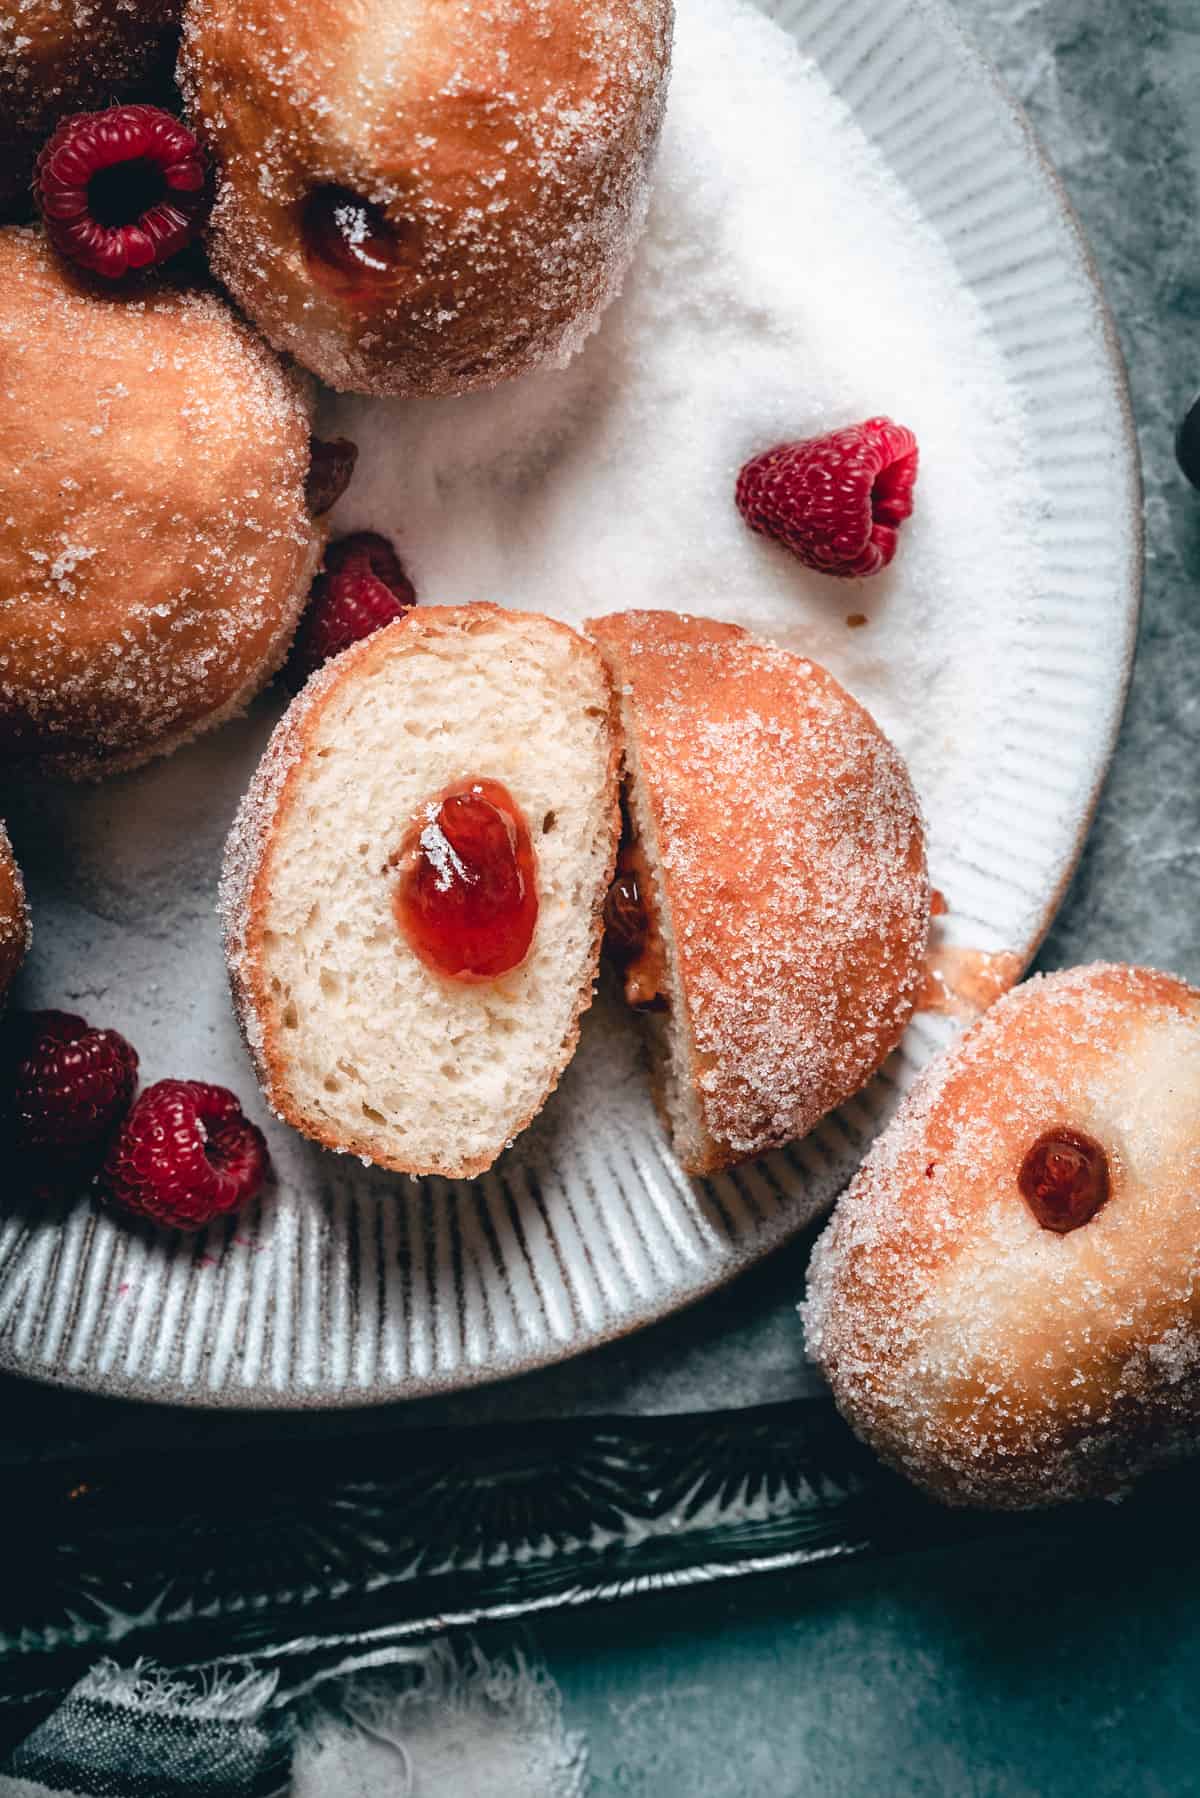
Egg's main role in a doughnut recipe is to provide tenderness by shortening gluten strands, prolong their freshness and add richness to the dough. (For more information about eggs and their role in cooking and baking, check out this detailed article.)
To simply use a flax-seed egg or other popular egg substitutions would be a mistake in my opinion, because they don't have the same egg properties which would be beneficial in this recipe.
Think about it, when you make bread or focaccia, you don't use eggs, yet the dough can still be very soft and fluffy. 🙂
So in this recipe, I "substituted" the egg by adding more fat, slightly more sugar (which also provides extra moisture) and modified the amount of flour and liquid. Very simple but very effective!
I tested the recipe with soy milk, the combination of soy milk and water, and only water. I find water the best. It doesn't affect the taste of the doughnut (some plant-based milk beverages are quite pungent) and it's also the most affordable option.
Note: While working in a pastry shop a few years ago, the head chef of a fine-dining restaurant told me that water is often the best option and will give you the softest dough. I remembered that. 🙂
When it comes to choosing your fat, make sure to get vegan butter or margarine that has at least 80% fat and the best flavor. Avoid using spreads. You want a block that looks like regular butter. Fat, in general, is the flavor carrier, so choose well.
I tested the recipe with sunflower oil as well, however, I liked the version with the vegan butter better both in flavor and texture. The dough made with oil is a bit stickier before frying and the doughnuts end up a bit denser.
For an extra delicious, aromatic flavor, I like to add citrus zest, rum, vanilla extract and a little bit of nutmeg to my doughnuts. However, the recipe works without them as well.
Why you'll love this recipe
- it's so simple and easy
- the doughnuts turn out incredibly soft and fluffy; just like from the bakery
- the recipe is pretty affordable; the most expensive ingredient is the vegan butter or margarine, which are often much cheaper than regular, dairy butter
- because the dough is slightly less enriched than the traditional one, the proofing time is often shorter
- they are allergy-friendly, because you're basically making dairy-free, eggless doughnuts
How to make the best vegan doughnuts
The process is the same as with making traditional doughnuts. So if you've ever made some before, this will be a pretty simple, straightforward method!
Note: You have the fully written recipe with measurements and detailed instructions at the end of the post. However, I advise you to read all the helpful tips and FAQs.
- Make the dough by combining all the ingredients, except butter. To the bowl of your stand mixer, add the water, sugar, yeast and all the spices and aromas used. Give it a stir with a whisk or a fork.
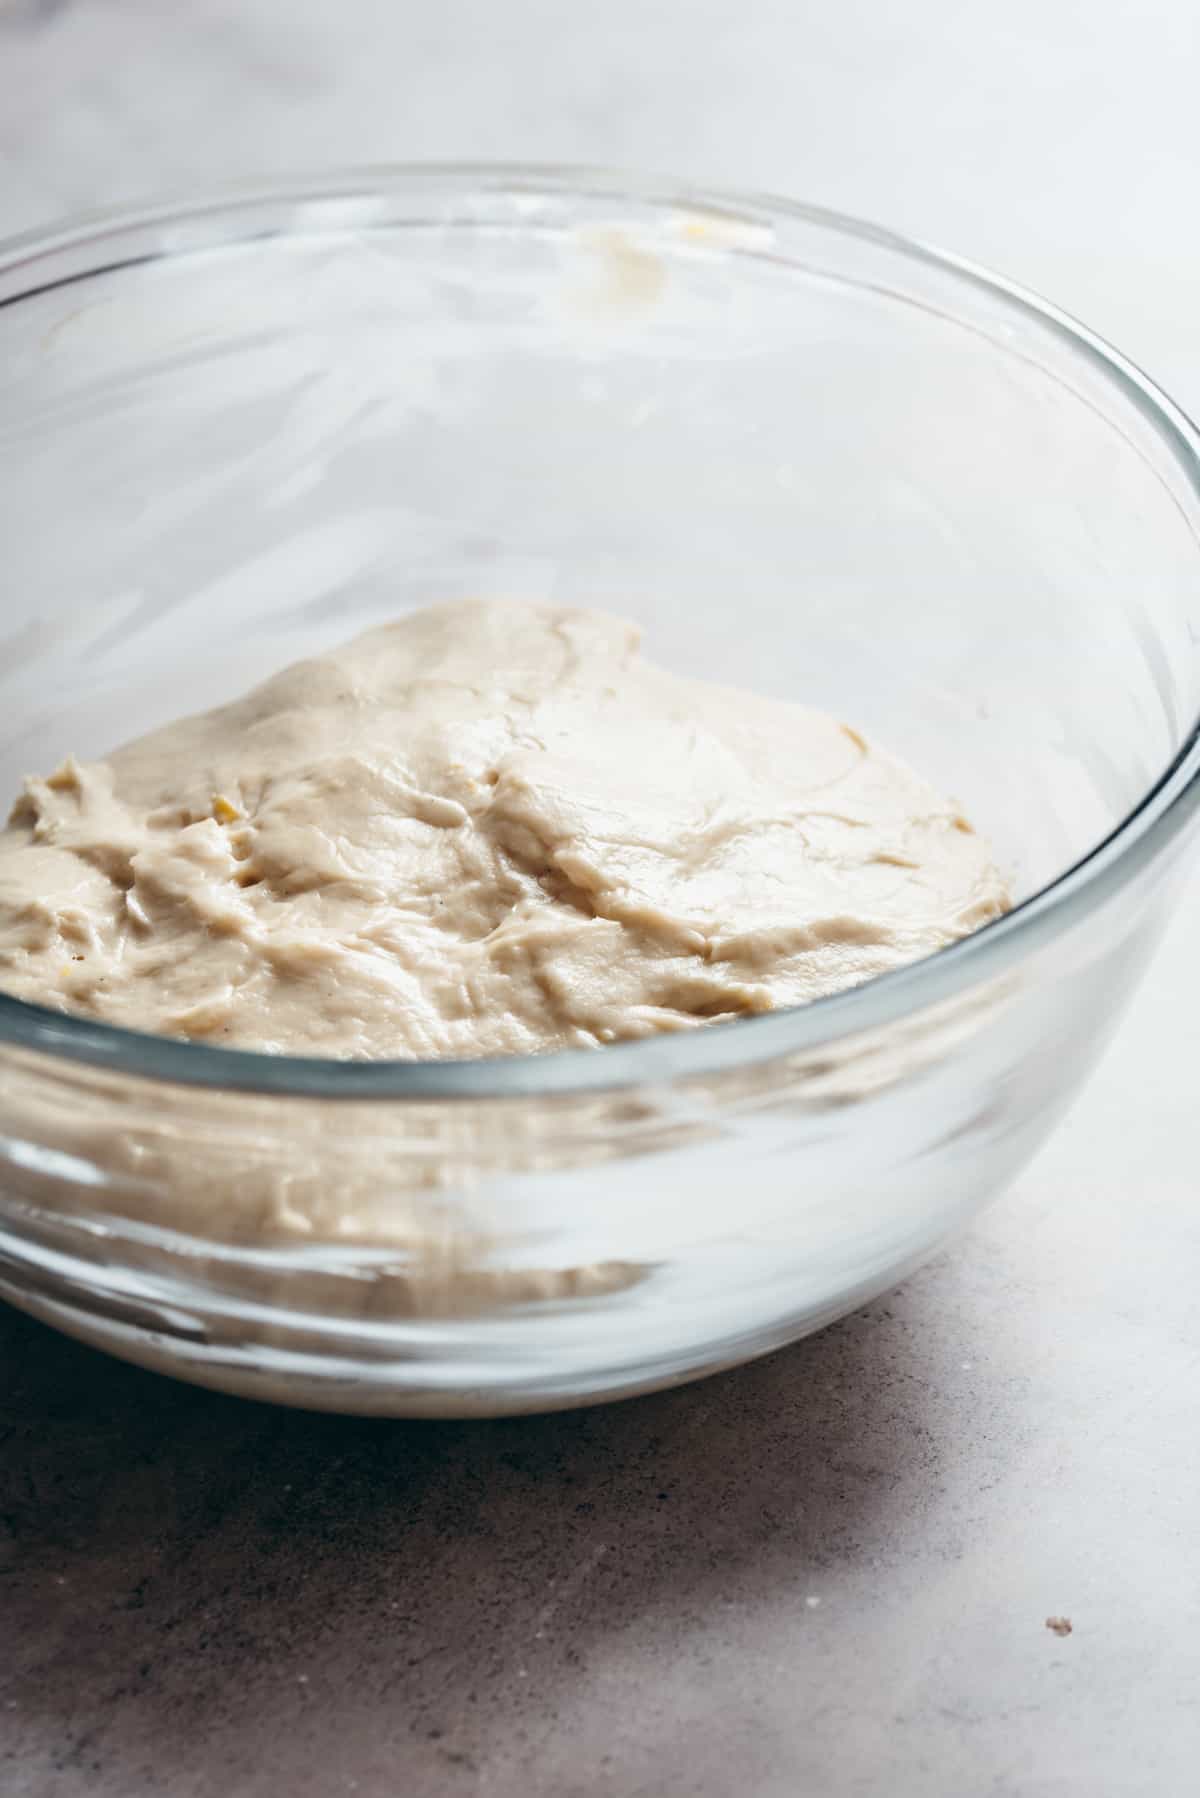
- Fit the dough hook attachment and add the flour and salt to the bowl. Knead on low-medium speed for about 5-8 minutes; or until it becomes smooth and pulls away from the sides of the bowl. The dough will look dry and crumbly at first, but don't worry and trust the process. You can help it out by occasionally giving it a stir with a wooden spoon.
- When you've got a smooth dough, start adding the vegan butter one cube at the time, with the mixer still running. This will look like it won't come together and like it's just getting smeared on the sides of the bowl, but don't worry. Eventually the dough will start "accepting" the butter and it will become stickier.
The reason we're not adding the butter from the start is to make it easier for the dough to develop gluten and become soft and stretchy.
However, if you don't have a stand mixer and you find this step a bit too demanding, you can melt the vegan butter (but cool it a bit before using, so it's not too hot) and add it with the rest of the wet ingredients at the beginning.
- When you've added all the butter, knead for another 5 or so minutes, or until it's once again smooth and not sticking to the sides of the bowl.
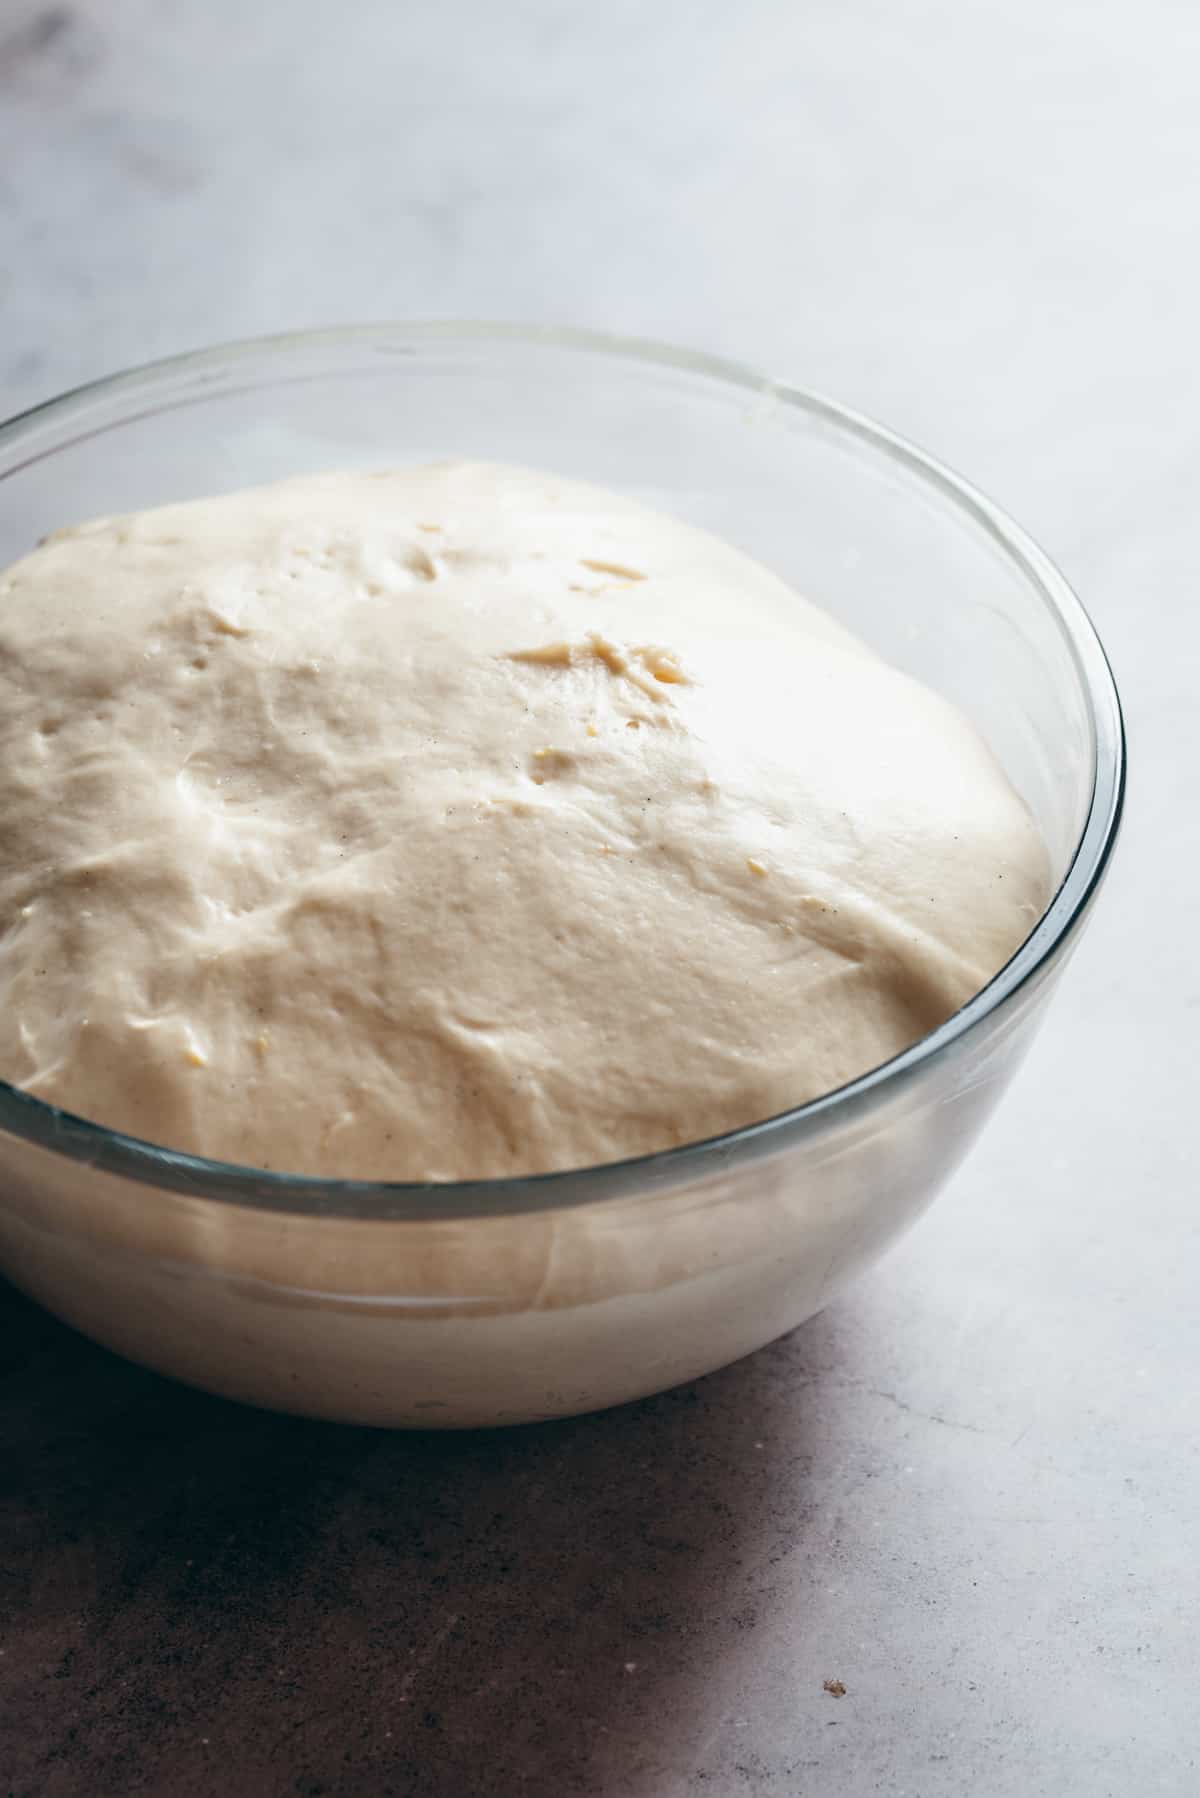
- Place the dough into the greased bowl, cover with plastic wrap or a tea towel and let proof in a warm environment for about an hour.
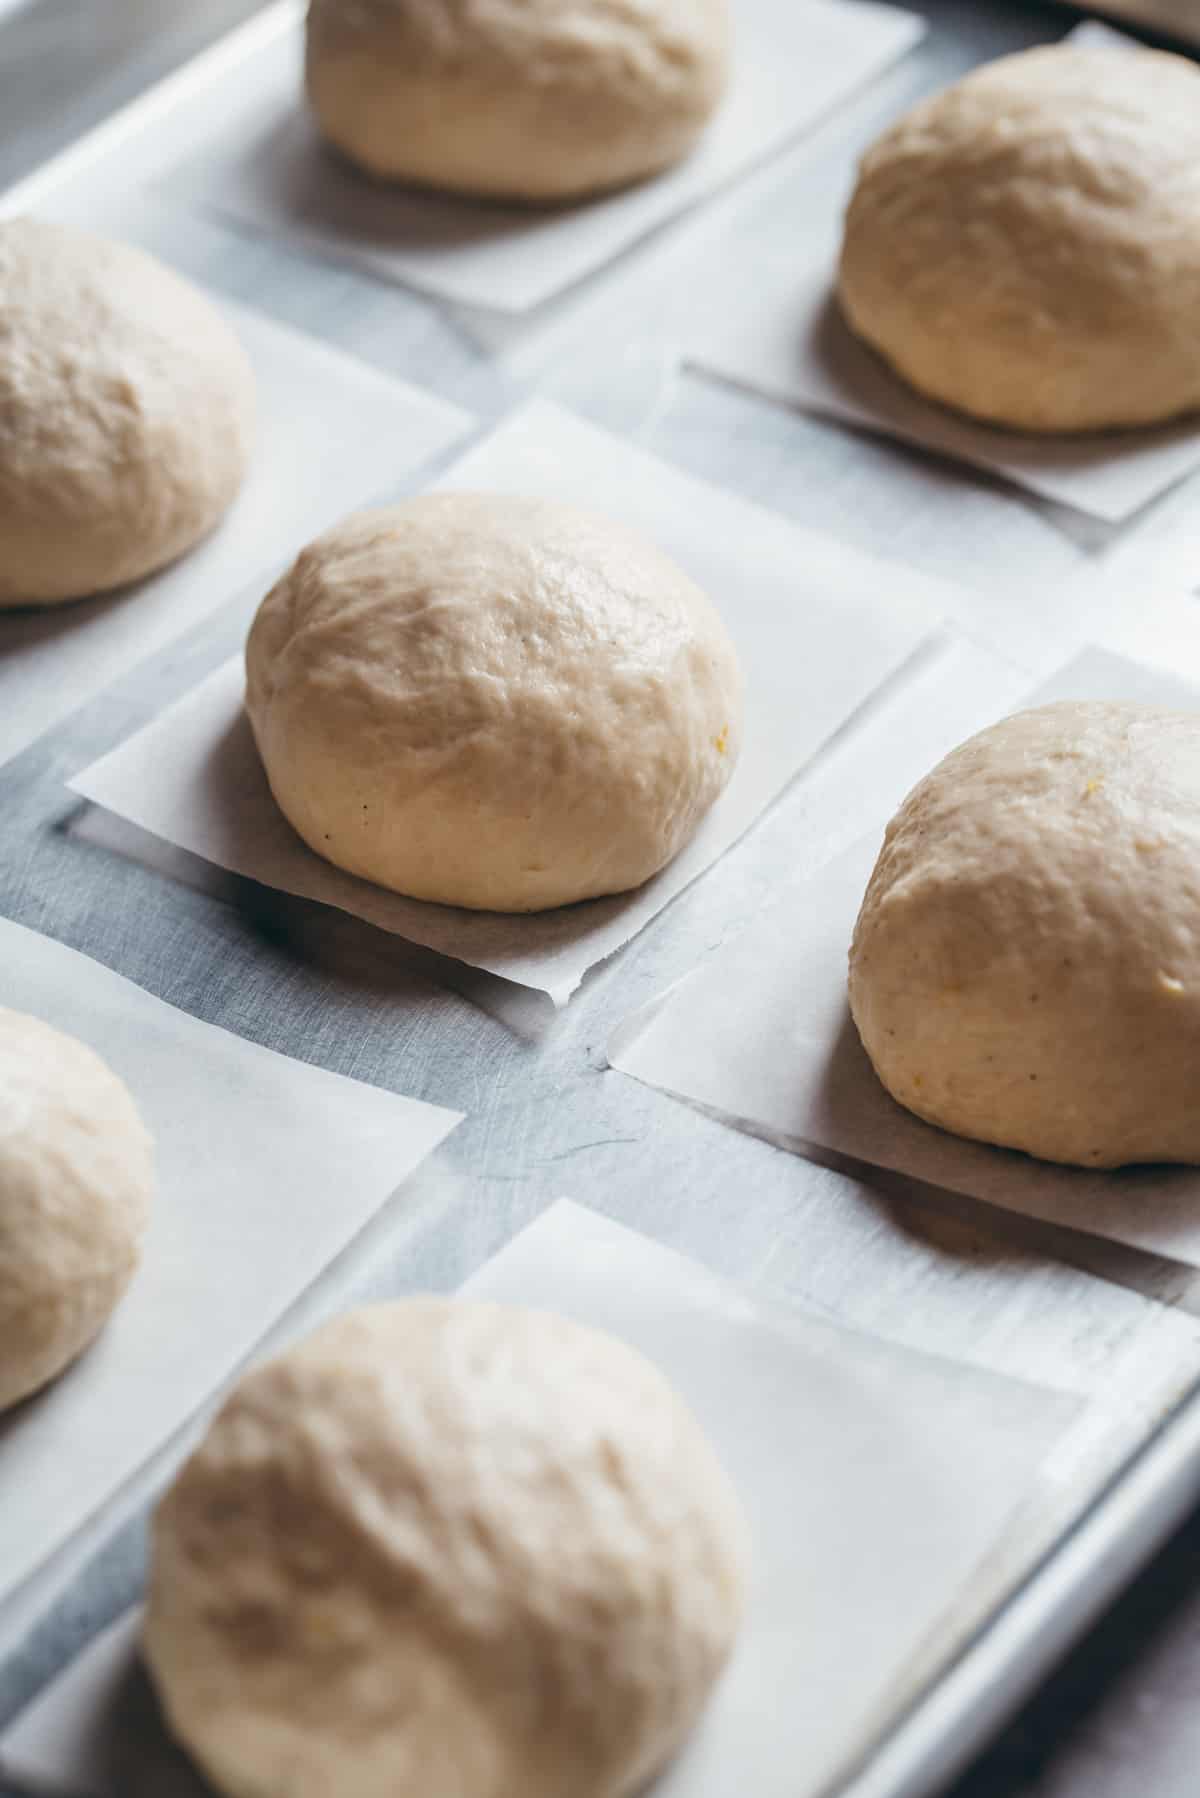
- When the dough has doubled in sized, punch it down and transfer on a lightly floured surface. Give it a short knead and then form your doughnuts. I weigh the dough (it has approx. 950 g) and then portion 50-to-60 gram (about 2 oz) balls.
Rolling balls vs. cutting circles:
I tested it both ways and I liked the look of the rolled balls better because I felt they created more even round doughnuts, with a tighter, full crumb.
However, you're free to roll the dough approx. 2-2.5 cm (¾ to 1-inch) thick and then cut the circles with the cookie cutter (5-7-cm or 2-3-inch wide). This will also create doughnuts with a slightly more open crumb, that is— with somewhat larger air-pockets.
The choice is yours! 🙂
- Place the formed doughnuts on a lightly floured tray or baking paper squares lightly greased and let rest and rise for another hour or so; or until doubled (almost tripled) in size.
- Deep fry them for a couple of minutes on each side (the balls need slightly more time than the circles), until beautifully golden brown.
- Transfer to a wire rack or a plate with paper towels and let cool slightly before rolling into sugar and filling.
💡My top tips
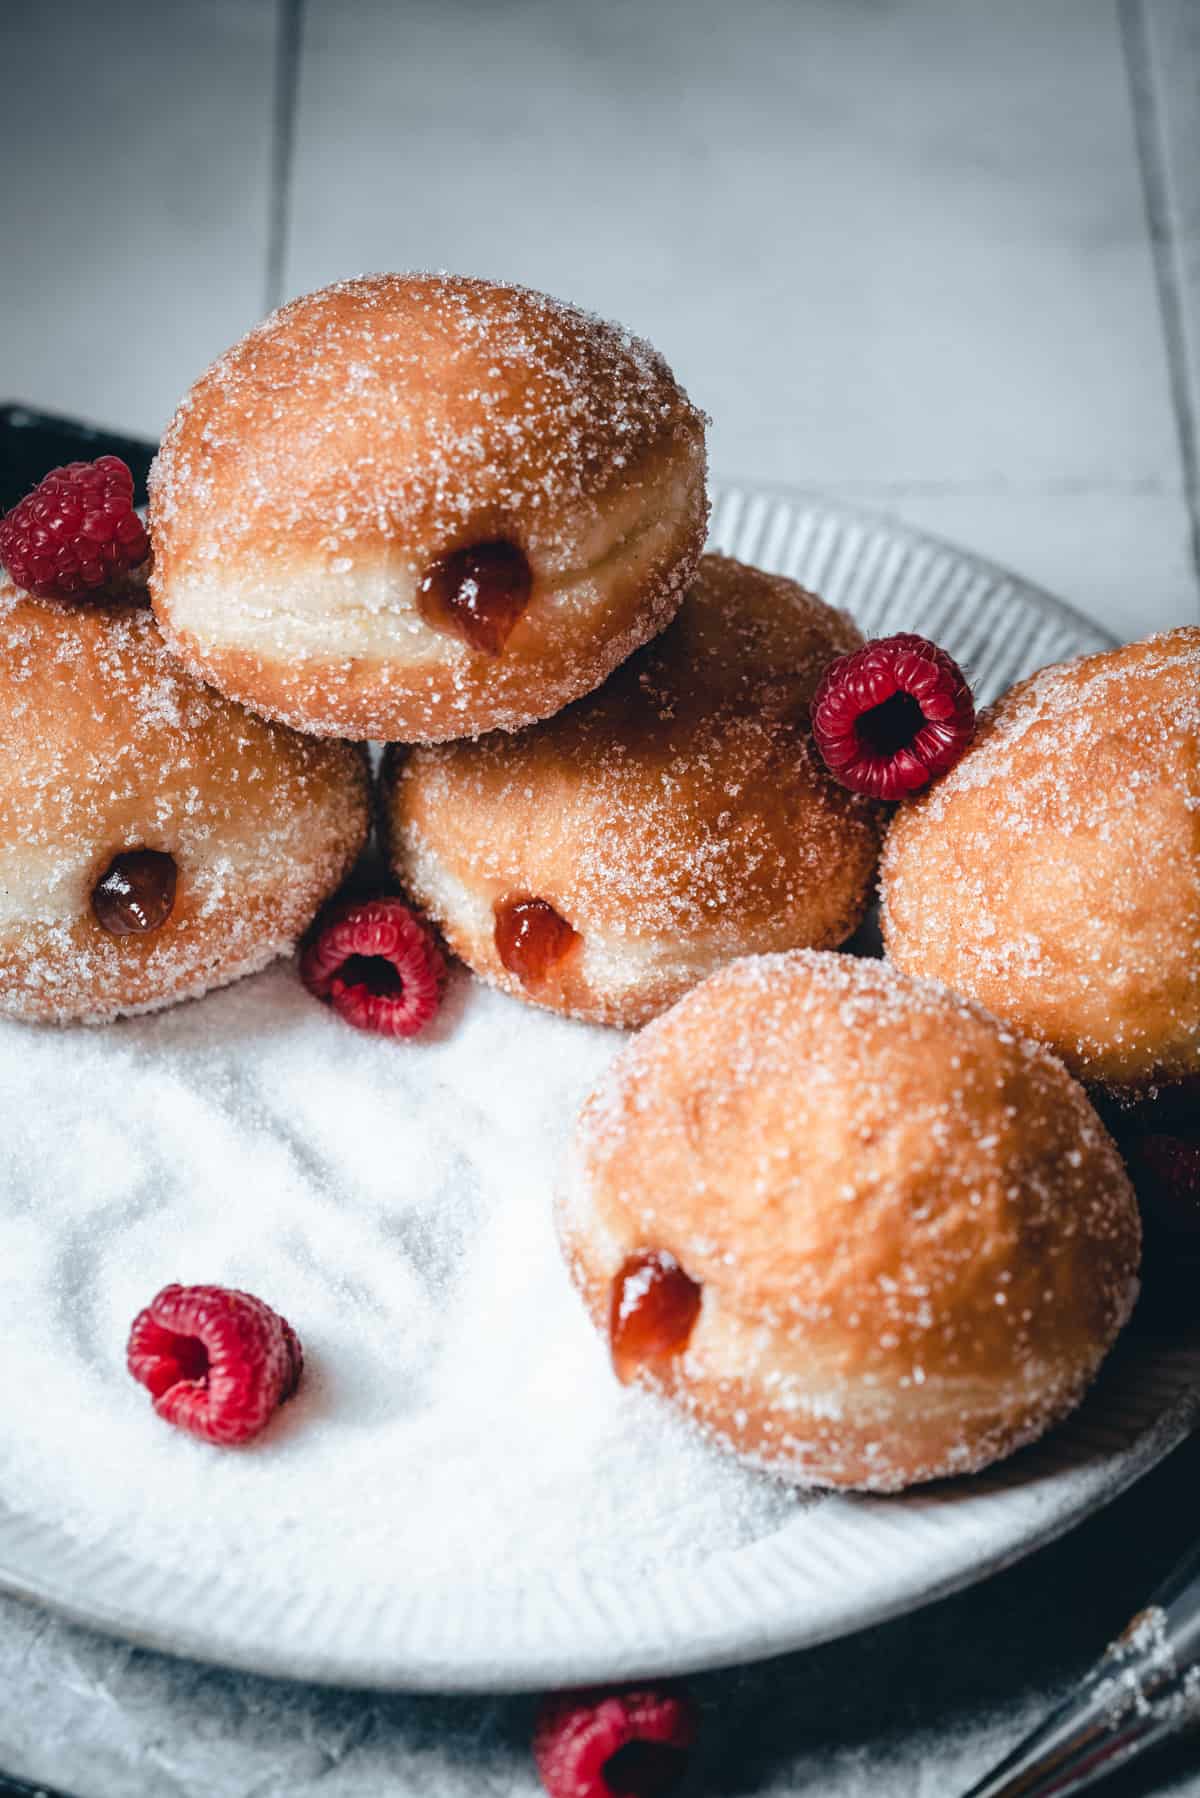
- I recommend using a candy thermometer when frying. Doughnuts should be fried at a certain temperature. If the oil is too cold, doughnuts will turn out too greasy. If the oil is too hot, the outside will cook much faster than the inside, so you'll likely end up with raw, doughy doughnuts that have a deep brown outside. For the best result, aim for temperatures between 170°C (340°F) and 180°C (355°F). That will give your doughnuts the perfect golden color and fluffy inside.
- Make sure the water isn't too hot, otherwise it will kill the yeast and your dough won't rise. You can use either an instant yeast or active dry yeast, but the latter needs to be activated before use.
- For easier proofing: Preheat your oven to 40-50°C (105-120°F), then turn it off and place the dough, tightly covered with plastic wrap, to proof inside of the oven. I have a fan-assisted oven, so the heat doesn't keep for long and it isn't intense. If you feel like your oven is pretty hot, heat it up only to 30-35°C (85-95°F).
- Don't overcrowd the pot with doughnuts, because they need room to rise. Also, the more you put in, the temperature of the oil decreases. That's why I recommend using a candy thermometer, so you can monitor your oil temperature at all times. 🙂
- I don't like to use pots or pans that are too wide because then you need to use A LOT of oil to cover it enough to be approx. 10-cm deep (4-5-inch). I recommend getting a pot that comfortably fits 3-4 doughnuts at the time.
- Always transfer the fried dougnnuts on a few pieces of paper towel to soak up any oil residue.
- Flour water absorption can vary, even if you always buy the same brand of flour. If you feel like the dough isn't coming together in the first stage of kneading, you might need to add a couple of tablespoons of water extra.
Yield and serving variations
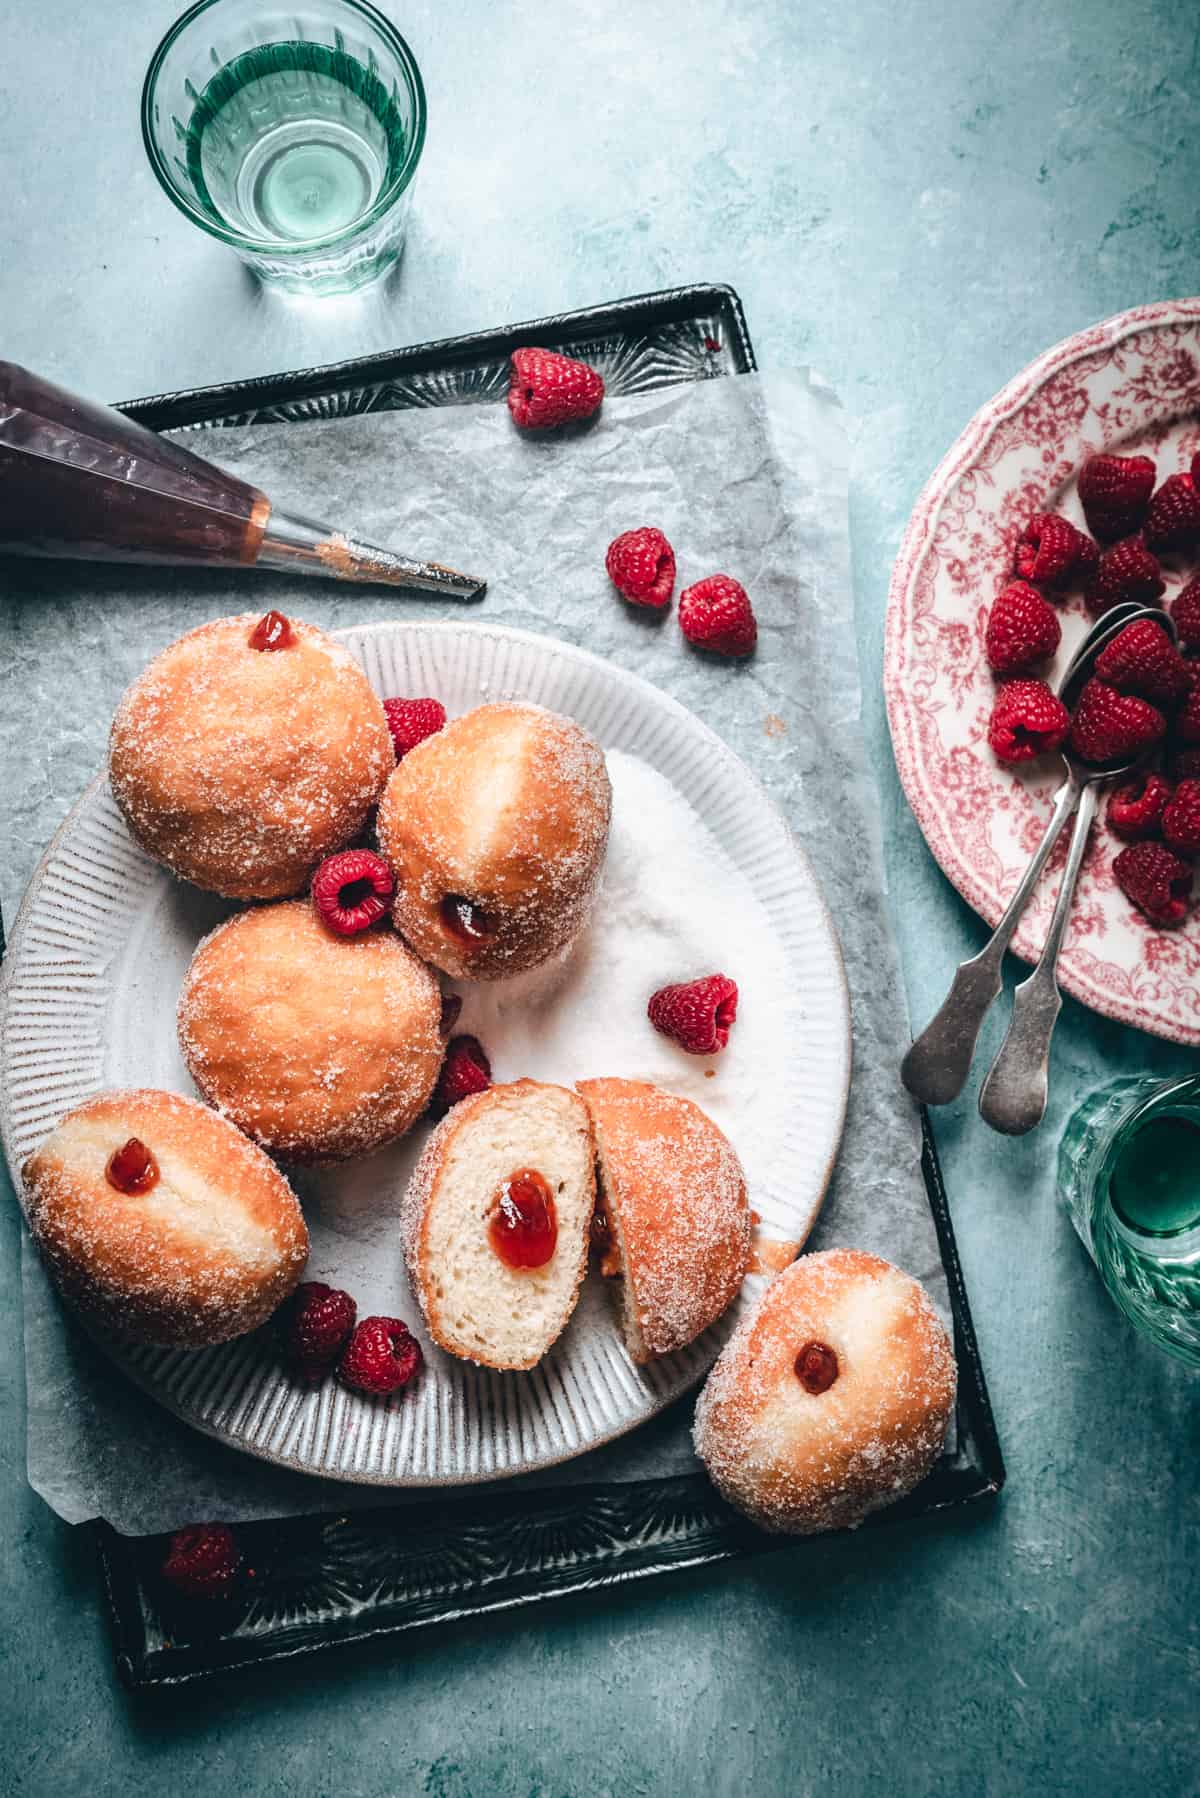
This recipe yields 17 smaller (50 g) doughnuts or around 12 regular-sized (80 g) ones.
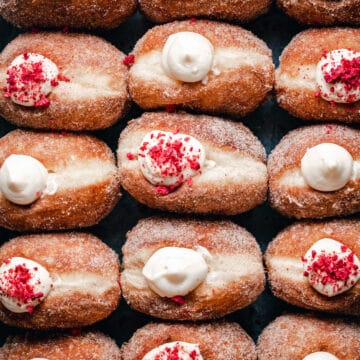
I chose to fill them with jam; my favorites are raspberry or mixed fruit (apple, plum, cherry). If you'd like to make your own raspberry jam, check out this recipe.
If you want a chocolate version, fill them with chocolate ganache!
Instead of a 1:1 ratio of (vegan) heavy cream and chocolate, I would up the cream to make the filling softer. So maybe 150 g of heavy cream and 100 g of dark chocolate will do the trick. You can even zest some orange into it for an extra zesty kick!
Storing
Just like any fried doughnut recipe, these are also the best on the day they're made. However, you can keep them in an airtight container for a couple of days. They will still be okay, just not as fresh and fluffy as on the day they're made.
FAQs
No, you can use an electric hand mixer or knead the dough by hand, on a lightly floured surface. However, the stand mixer makes the process much easier. 🙂
Yes, but I would freeze without the filling. Just place the doughnuts on a baking tray lined with baking paper and freeze them individually, then proceed to transfer them to a freezer bag. This way they won't stick to each other and you can easily take as many as you want. However, they won't be as fresh and fluffy as when freshly prepared. You can defrost and warm them up in a microwave.
Yes! I tried them both ways and while I do prefer the version with the butter, the oil-based ones weren't bad at all. However, you'll need to adjust the measurements, because (vegan) butter has only about 80% fat. Instead of 125 g, use 100 g of oil + 2 tablespoon (30ml) water.
If you have any other questions that I didn't cover, please let me know in the comments section down below - I'd love to help you out! And if you make this recipe, tag me on Instagram @anasbakingchronicles so I can see it or feel free to e-mail me your pictures and thoughts! I love seeing your bakes!
Happy baking,
Ana
📖 Recipe

Vegan doughnuts (fried, with yeast)
Description
ingredients
- 250 ml lukewarm water (approx. 40°C)
- 80 g sugar
- 1 teaspoon fine sea salt
- 1 packet instant yeast (7g / ¼ ounce / 2¼ teaspoons)
- zest of 1 lemon/orange (optional)
- 1 tablespoon rum (optional)
- ½ teaspoon vanilla extract
- 500 g all-purpose flour
- ¼ teaspoon ground nutmeg
- 125 g vegan butter/margarine (room temperature, cubed)
- 1 litre sunflower oil (for frying)
- favourite jam for filling
Instructions
- In the bowl of a stand mixer, add the lukewarm water, sugar, salt, instant yeast, lemon zest, rum and vanilla extract. Give it a stir with a fork or a whisk.If you're using active dry yeast, make sure to firstly activate it by combining with water and a teaspoon of sugar. Leave for a few minutes until the top is frothy, then proceed adding the other ingredients per instructions.
- Fit the stand mixer with the dough hook and add the flour to the bowl. Knead the dough for approx. 5-8 minutes, on low-medium speed, until it becomes smooth, shiny and doesn't stick to the sides of the bowl.
- Next, add in the vegan butter, one cube at a time, with the mixer still going at medium-low speed. It will seem like it's not incorporating together, but don't worry, just keep adding it, and it will eventually start coming together, creating a sticky dough.
- Once you've added all the butter and the dough is combined, but sticky, continue to knead it on low-medium speed for a few more minutes, or until it becomes smooth and soft again, and starts pulling away from the sides.
- Transfer the dough to a large bowl that you've previously floured or lightly greased so it doesn't stick. Cover with a clean tea towel or plastic wrap and allow it to rise in a warm place for about an hour or until it doubles in size. (Check the tips in the post!)
- Once your dough is ready, punch it a little to deflate it, transfer on a clean, lightly floured surface and give it a brief knead. Next, weigh your dough (it should be around 950 g) and divide it into 17 pieces that each weigh 50-60 g for smaller doughnuts or 12 pieces of approx. 80g for a more standard size doughnut.Roll each piece of dough until you've got a smooth ball and place on a lightly floured baking sheet. Cover with a clean tea towel or plastic wrap and let them rest and rise for another hour or so. (The exact time will depend on how warm and humid is the space you're letting them proof.)Alternatively, you can roll the dough and cut circles with a cookie cutter. (Check the post for tips!)
- You don't want to overproof your doughnuts, otherwise they will become hollow inside and soak up a lot of oil. When the dough is ready, heat approx. 1.5 liters of vegetable oil in a heavy-bottomed pan. The oil should be between 165 and 180 degrees Celsius. That's around 330 to 350F.
- Fry 3-4 doughnuts at a time for a couple of minutes on each side or until golden. Take them out to a plate covered with paper towels. Let them cool completely before filling and covering with sugar.
Notes
- If you don’t have a stand mixer, you can use an electric hand mixer with dough kneading attachments, a wooden spoon or your hands!
- If you still don’t own one, I advise you to buy a kitchen scale – they’re cheap and easy to use, and always guarantee the same results in baking! 🙂
- Please check the post for extra tips and information!
IMPORTANT
All the recipes are developed and tested using only metric measurements and a kitchen scale. The U.S. cup and spoon measurements are provided for your convenience, but I highly recommend getting a digital kitchen scale and measuring in metrics. It's easy and always guarantee the same results in baking!
Nutrition
The nutritional information and US conversions are calculated automatically. I cannot guarantee the accuracy of this data. If this is important to you, please verify with your favourite nutrition calculator and/or unit conversion tool.



Brittany
I've made these twice now and was told they were the best donuts ever eaten! I LOVE this recipe!
Ana Zelić
Thank you so much, Brittany! This made my day! <3
Elena
I've tried several doughnut recipes online and this is by far the best! I really appreciated the detailed instructions. The only thing is, my doughnuts were enormous! Bigger than the palm of my hand, so I would definitely go for the smaller size suggested next time.
Jane
Do you think it would work to do the first proof overnight in the fridge?
Thanks!
Ana Zelić
Hi Jane,
I tried it twice as-is, and the dough was over-proofed and had an alcoholic taste when fried. I assume that happened because this isn't a very rich dough like an egg-heavy brioche, so it rises quickly. If you want to try the overnight proof, I would suggest using less yeast than stated, but I couldn't tell you exactly how much. With doughnut season approaching, it won't be long until I make these so I will do recipe testing for overnight proof. 🙂
Jane Bardell
Thanks much! This is really helpful 😊
Aly Saunders
If I halved the recipe ingredients, do I halve the amount of yeast? I know this sounds a really silly question but wanted to double check. Many thanks
Ana Zelić
Hi ALy, yes—you need to halve everything, including the yeast, otherwise the doughnut would overprove and you'd risk an alcoholic taste, greasy doughnuts, etc.