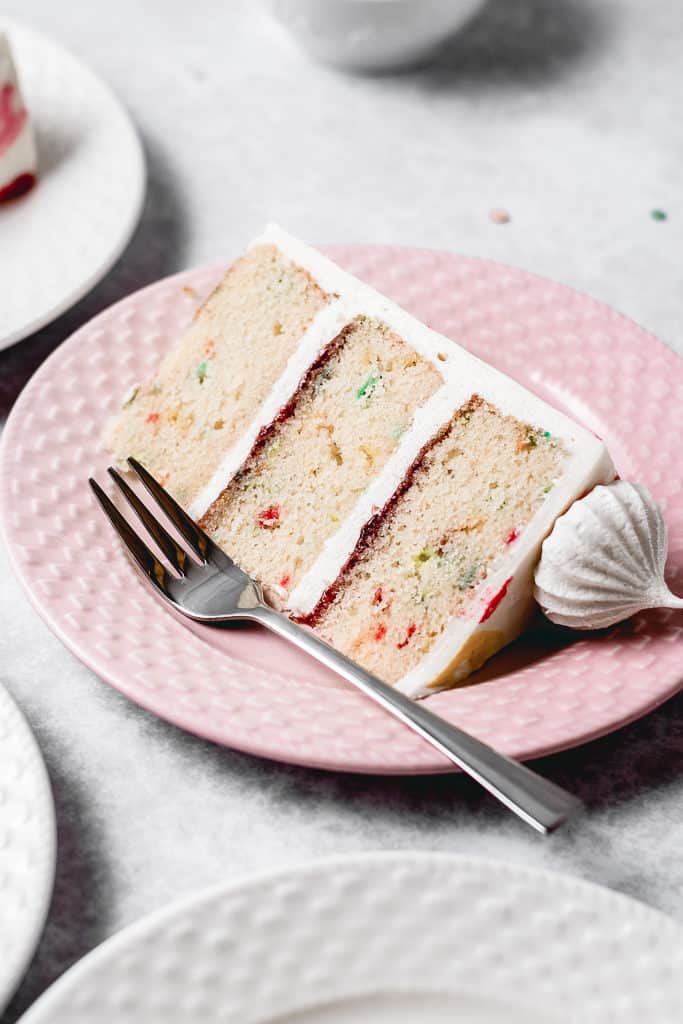
This Funfetti layer cake is perfect for birthdays, celebrations or just because! Soft and moist vanilla funfetti cake layers, paired with silky vanilla buttercream and filled with homemade strawberry jam. Learn how to make it from scratch, it's easy!
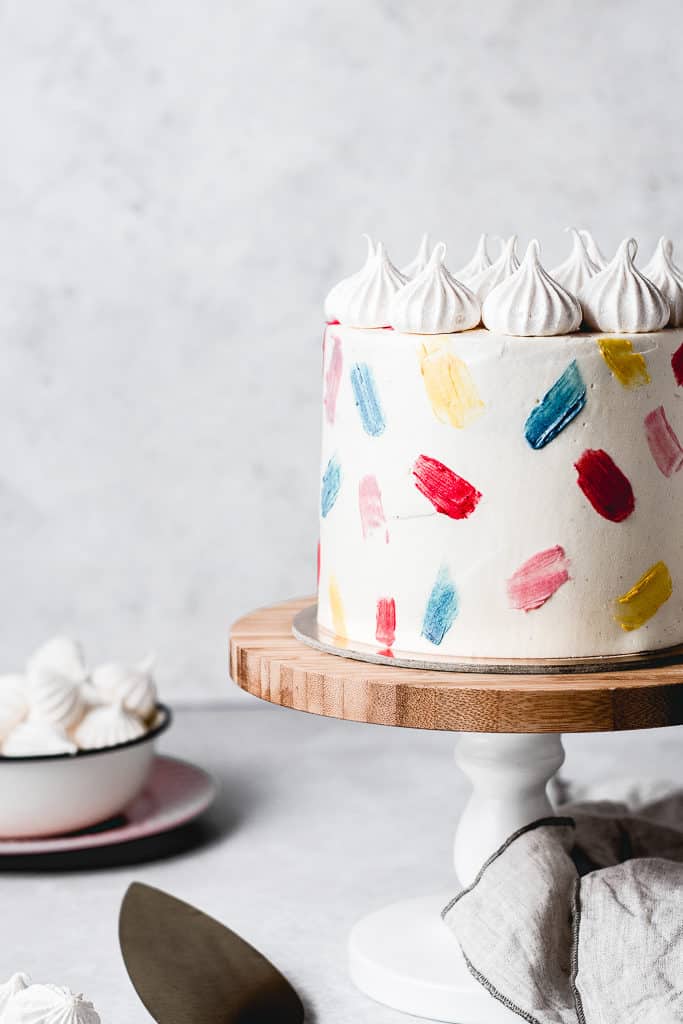
It was my mum's birthday two weeks ago and I wanted to make Funfetti cake since FOREVER. I know it's basically jazzed up vanilla cake, but it doesn't matter. Sprinkles make everything so much better! Right? Right.
HOW TO MAKE FUNFETTI BIRTHDAY CAKE
You need a killer vanilla cake recipe and luckily, I've got one! It's perfectly moist, soft and full of rich vanilla flavour. To get the best flavour possible, I recommend using pure vanilla extract or seeds from vanilla bean/pod. That stuff is so delicious, but also a bit expensive and sometimes hard to find. Did you know that vanilla is second most expensive spice in the world? Yup. The first one is saffron. That's why I suggest you get your hands on vanilla beans and make vanilla extract, that way you're getting the most for the price. You can check out my instructions for making homemade vanilla extract here.
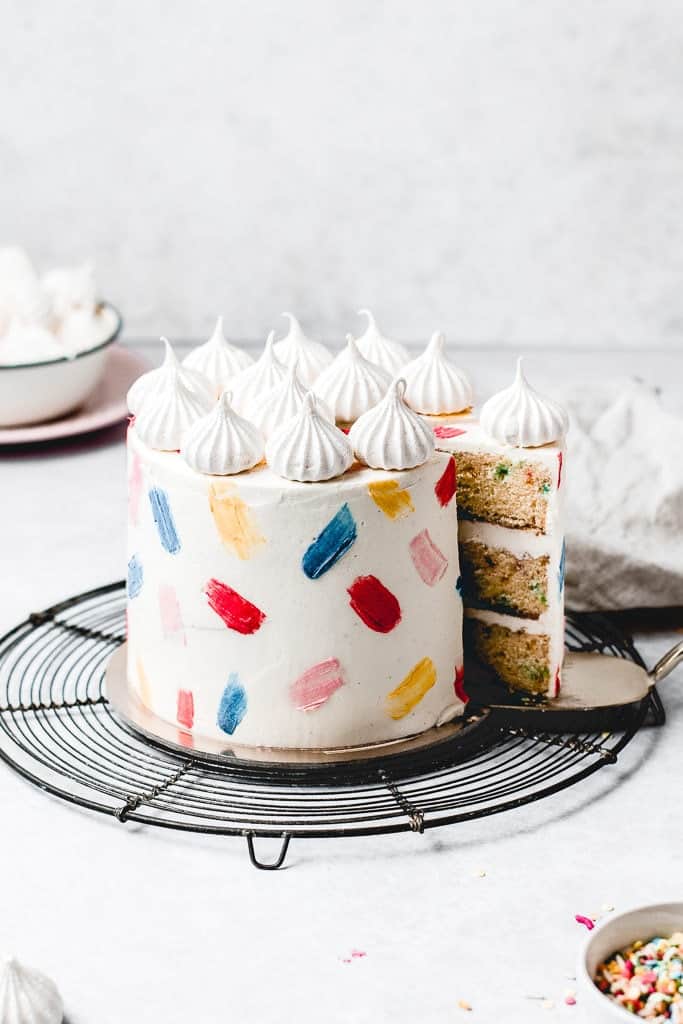
Except for a gorgeous vanilla cake recipe, you'll need the right type of sprinkles for your batter. Whatever you do, don't use nonpareils. I repeat, DO NOT USE NON PAREILS. They are way too small and will just melt in your batter, so you're not even going to get an F of Funfetti.
Basically, don't use anything that's too thin and too small. Most of American bloggers use sprinkles they call "jimmies". In Croatia, we only have one type of these with only 4 colours mix, so I didn't use them. Instead, I opted for confetti sprinkles - the little round ones. These are absolutely perfect! Although I would've loved if they had prettier colours, but hey, whatcha gonna do. Use the best you can find.
WHAT ABOUT THE FROSTING?
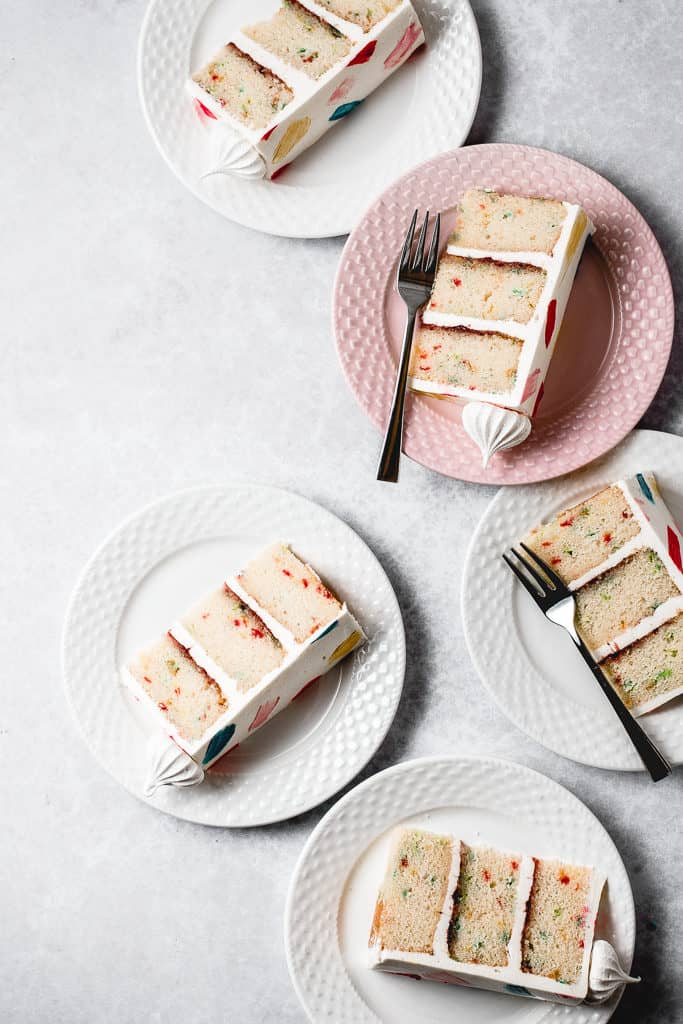
From what I've learned on the Internet and from other bloggers, traditional Funfetti cake was made for children's birthdays and it was consisted of vanilla funfetti cake and vanilla american buttercream - SIMPLE!
I'm not a fan of American Buttercream - it's way too sweet for me and it forms a crust. So I paired my cake with the lightest buttercream ever, my favourite - Ermine/Flour Buttercream. Not too sweet, has an exceptional vanilla flavour and it's divine to work with. Of course, you can make this cake with cream cheese frosting or make a swiss meringue buttercream if that's your thing - you do you! But I definitely recommend trying mine because I'm pretty sure it's going to become your new favourite. 🙂
To spice things up a bit, I added some homemade strawberry jam between the layers. It was a perfect, refreshing addition and the kids love it - promise!
DECORATING FUNFETTI CAKE
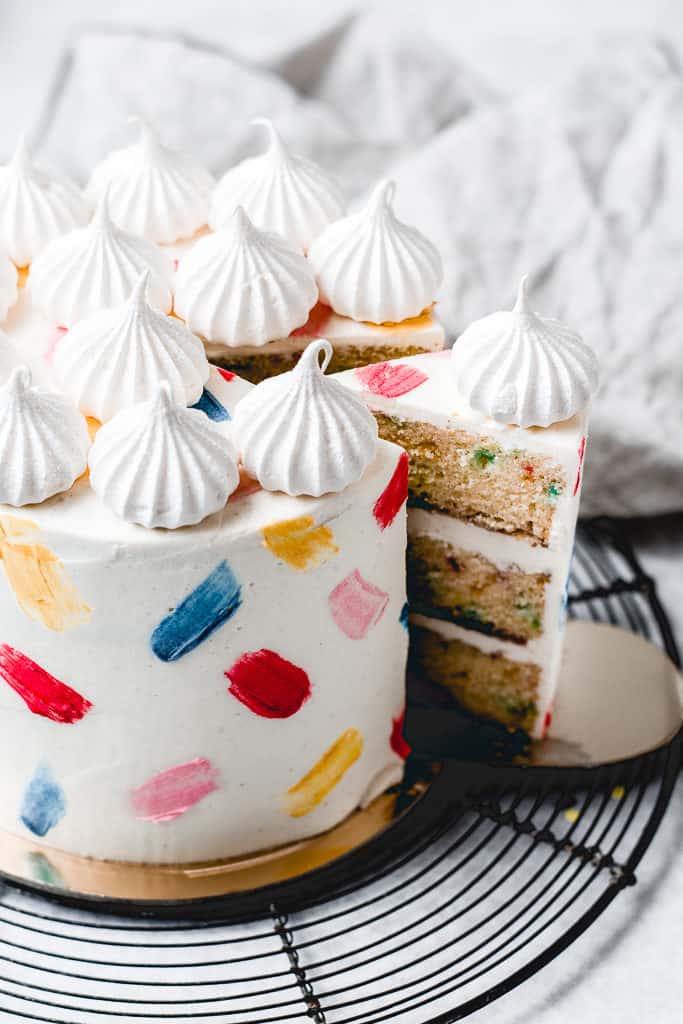
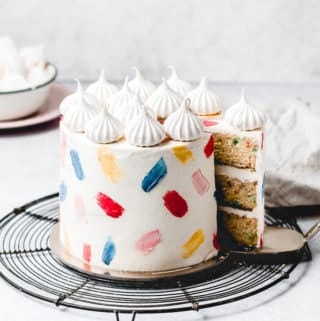
I like to keep my cakes elegant and I definitely adore decorating them with meringue kisses. I explained how to make meringue kisses in the recipe, just be aware they might not turn out good if it's raining outside. They become sticky on room temperature when it's humid and raining, because the moisture brings out the sugar in the meringue on surface. Just a little something to bear in mind.
Decorating this cake was really simple! I was inspired by... SPRINKLES! Using gel food colouring, I coloured small amounts of buttercream into 4 different colours. After that, I just painted directly on the chilled, frosted cake with a small brush. It was so fun and so easy! Hope you try it! 🙂
IF YOU'RE INTO DELICIOUS LAYER CAKES, THEN CHECK OUT THESE...
Chocolate Berry Cake
Earl Grey Tea Cake
Raspberry Vanilla Cake
Chocolate Hazelnut Cake
Dulce de leche Banana Cake
Lemon Elderflower Cake
If you make this cake, let me know by tagging me on Instagram @anasbakingchronicles or tell me all about it in the comments section down below. I love seeing your creations! If you have any questions, don’t hesitate to ask. Happy baking!
Love,

📖 Recipe
funfetti cake recipe
Description
ingredients
Vanilla Funfetti Cake
- 3 large eggs (room temperature)
- 140 g unsalted butter
- 240 g white granulated sugar
- 240 g all-purpose flour
- 2 teaspoons baking powder
- ½ teaspoon salt
- 180 g full-fat sour cream (room temperature)
- 50 g whole milk (room temperature)
- 1 tablespoon vanilla extract
- 80-100 g confetti sprinkles or jimmies
Strawberry jam
- 450 g frozen strawberries
- 100 g granulated white sugar
- 1 tablespoon lemon juice
Vanilla buttercream
- 55 g all-purpose flour
- 225 g granulated white sugar
- ½ teaspoon salt
- 380 g whole milk
- 350 g unsalted butter
- 2 teaspoons vanilla extract
Meringue kisses
- 100 g fresh egg whites
- 200 g caster sugar
- pinch of salt
- ½ teaspoon vanilla extract
- lemon juice/vinegar (for cleaning )
Instructions
For Vanilla Cake:
- Preheat your fan oven to 160°C (325°F) or 175°C (350°F) if you're not using a fan oven. Grease and line with parchment paper three 6" round cake tins. Alternatively, you can use two 8" cake tins.
- In a medium bowl sift together flour, baking powder and salt. Whisk until combined and set aside.
- In a measuring jug combine sour cream, whole milk and vanilla extract. These are your wet ingredients.
- In a bowl of a stand mixer fitted with a paddle attachment, cream the butter and sugar on a medium-high speed until pale and fluffy. (approx. 3 min) Stop the mixer and scrape down the bowl.
- Turn the mixer to medium-low speed and add eggs one at a time – making sure it’s fully incorporated after each addition. Stop the mixer and scrape down the bowl.
- Add your dry and wet ingredients, alternating between one another, starting and finishing with dry ones. (3 additions of dry and 2 of wet ingredients)Coat your sprinkles with a little bit of flour and fold them in your batter using a silicone spatula.
- Divide the batter evenly among the 3 tins and bake for 20-25 minutes or until skewer inserted in the middle comes out with a few crumbs (not traces of uncooked batter). Do not overbake it.
- Once they're done, let the cakes cool for 10-15 minutes on a wire rack before removing them from the pans to cool completely. They will continue to cook in the pan, so it's better that the skewer is not entirely clean. Otherwise, your cake will overbake and that will cause dryness.
For the strawberry jam:
- Cook strawberries with sugar and squeeze of a lemon juice over a medium-high heat until it reaches boiling. Using a potato masher, mash strawberries. Turn the heat down and let it simmer for approx. 15 minutes or until it thickens. It's better to be thicker than looser, the plan is to lose a lot of water content and have concentrated flavour. I like to have small strawberry pieces here and there, but if you want your jam to be extra smooth then strain it through a sieve or blitz with a hand blender. Cover it with cling film and leave it to cool in the fridge.
Vanilla buttercream:
- In a small saucepan (I always use heavy-bottomed one to prevent burning) combine flour, sugar, salt and milk. Cook over medium-high heat, stirring constantly with a whisk until it thickens. This can take about 15 minutes. The moment you realize it's thicker, cook for another 3-4 minutes.
- Once it's done, put a cling film over it touching the surface to prevent "skin" forming and let it cool to room temperature. This is your pudding base. You can do this in a fridge, but before using it let it come to room temperature.
- Using a stand mixer fitted with the paddle attachment, beat the butter for 5 minutes until it's pale and fluffy. Then add spoonful by spoonful of previously made pudding. Mix until it's all nicely incorporated and with no lumps. Add vanilla extract and mix until everything is combined.For decorating purposes, leave a tablespoon of buttercream for each desired sprinkle colour - I made 4: blue, red, yellow, pink. Mix it with gel food colouring. Start by adding just a tiny bit if you want pastel colours, instead of bright.
Meringue kisses
- Clean the bowl of your stand mixer, as well as the whisk attachment, using a little bit of lemon juice or vinegar and a clean paper towel. This way we're eliminating traces of grease which could make making meringue impossible.Combine the egg whites, sugar and a pinch of salt in a prepared bowl and put over a bain marie (a pot of simmering water). Stir constantly with a whisk to make sure the egg whites cook evenly. The mixture is done when it's hot and the sugar is completely dissolved. Rub a little bit of the mixture between your clean thumb and forefinger to test for graininess. If you can feel sugar granules, cook the egg whites some more.Ideally, the mixture should reach 70°C or 160°F. But if you don't have a thermometer, just make sure it's hot and smooth.
- Wipe the bottom of the bowl, place it on your stand mixer and mix on high speed using a whisk attachment until you get stiff peak meringue and the sides of the bowl are cool to the touch. This could take anywhere from 5 to 15 minutes.Meanwhile, preheat your oven to 100°C (210°F) and line a baking sheet with baking paper. Use some prepared meringue to stick the paper to the tray, so it won't slide and move while you're piping.Put the meringue in a large piping bag fitted with Wilton 4B french star nozzle. Or Wilton 2A round nozzle for classic meringues like on my Banana Dulce de Leche Cake.Holding your piping bag vertically, pipe meringue kisses. Bake them in a preheated oven for 45 minutes, or until you can pick them up without sticking.
Assembly:
- Using a cake leveler or a long serrated knife level the tops of your cakes if needed.
- In the middle of your cake board or a serving plate put some buttercream to stop the cake from moving around.
- Place one cake layer on a cake board or a serving plate. Using a small offset palette knife or a piping bag, spread the frosting over the cake and drizzle some berry jam over the frosting. Top it with the next cake layer and repeat the process.
- Place final layer on top, upside down, and do a thin crumb coat on the cake. Chill for 20-30 minutes in the fridge before final decorating.
- Once cooled, frost and smooth the top and sides of the cake with remaining frosting. Place it back in the fridge before doing brush strokes with coloured buttercream for sprinkle effect.
- Using a small brush or a palette knife, paint your buttercream with colours of your choice. Bigger cakes can handle more colours ( more surface to paint) and I suggest for smaller cakes limiting your colours to 4-5.
- Pile up meringiue kisses on top and your cake is ready! 🙂
Notes
- If you don't have a stand mixer, you can use a hand mixer.
- Not all ovens are the same. I suggest to check the cakes at 18 min mark and then adjust the baking time accordingly. Get to know your oven!
- If you still don't own one, I advise you to buy a kitchen scale - they're cheap and easy to use, and always guarantee the same results in baking!
- Cake is best eaten at room temperature. You can keep it in a fridge, wrapped in cling film, but take it out of it at least half an hour before serving.
- If you want to make a three layer 8 inch (20 cm) or 2 layer 9 inch (23 cm) cake, then double the recipe. You can do that by moving the serving slider to 24. For three layer 9 inch (23 cm) cake, triple the recipe.
IMPORTANT
All the recipes are developed and tested using only metric measurements and a kitchen scale. The U.S. cup and spoon measurements are provided for your convenience, but I highly recommend getting a digital kitchen scale and measuring in metrics. It's easy and always guarantee the same results in baking!
Nutrition
The nutritional information and US conversions are calculated automatically. I cannot guarantee the accuracy of this data. If this is important to you, please verify with your favourite nutrition calculator and/or unit conversion tool.



Elise
This cake was AMAZING! I increased the ingredients by 1.5 for two 9 inch cake pans and it worked out perfectly. I had my jam simmering for closer to 20 minutes and it still came out a bit loose so definitely wait for it to really thicken up. The frosting is really what makes it. Will absolutely not be making buttercream any other way again!