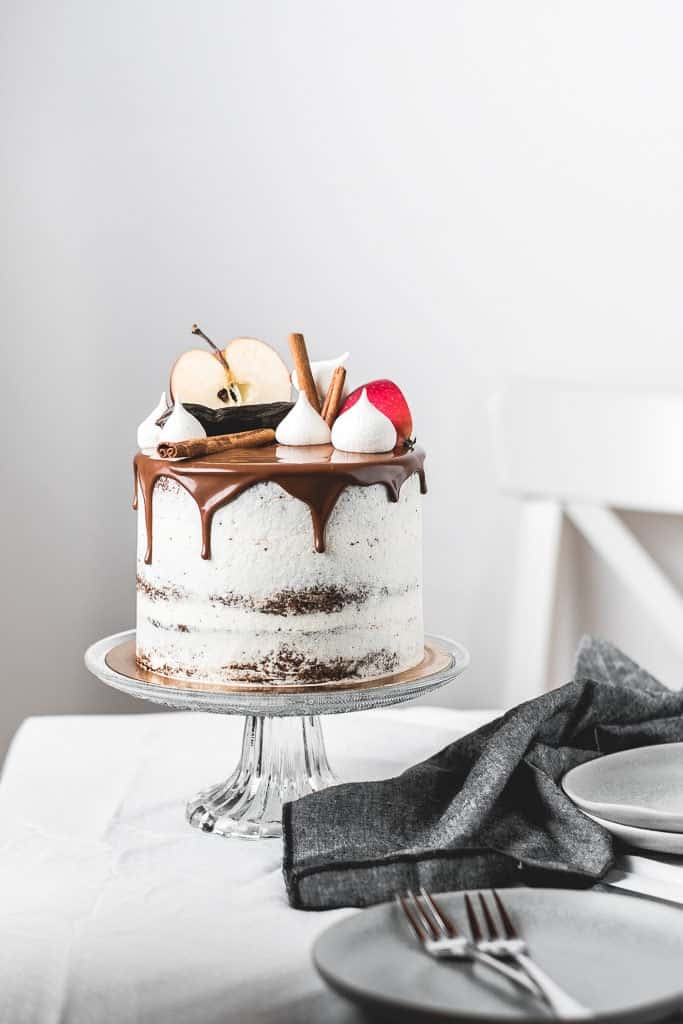
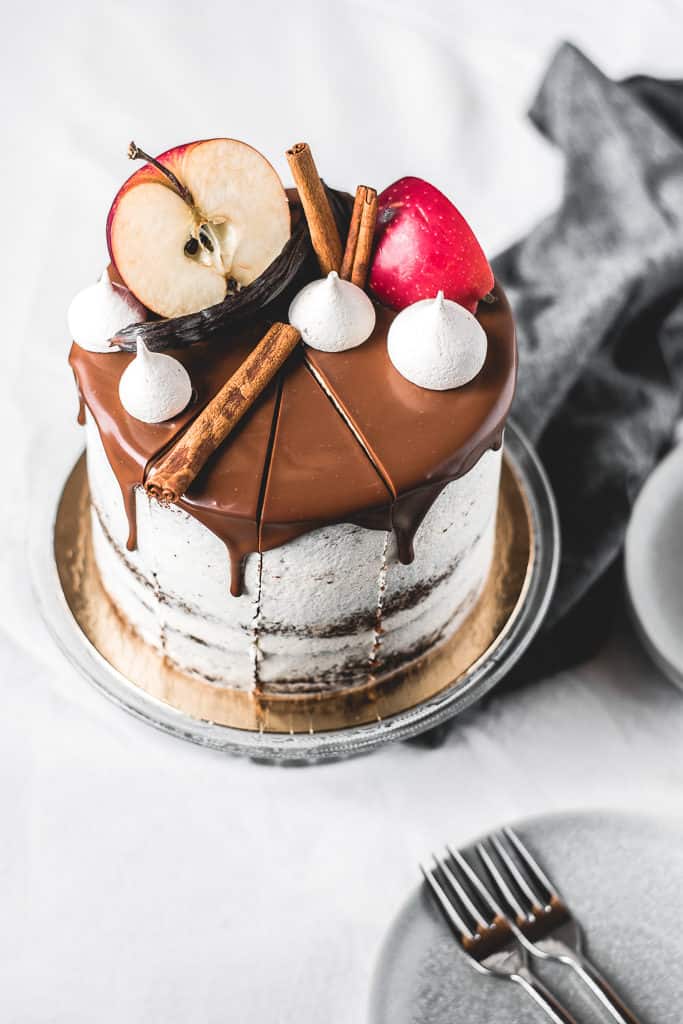
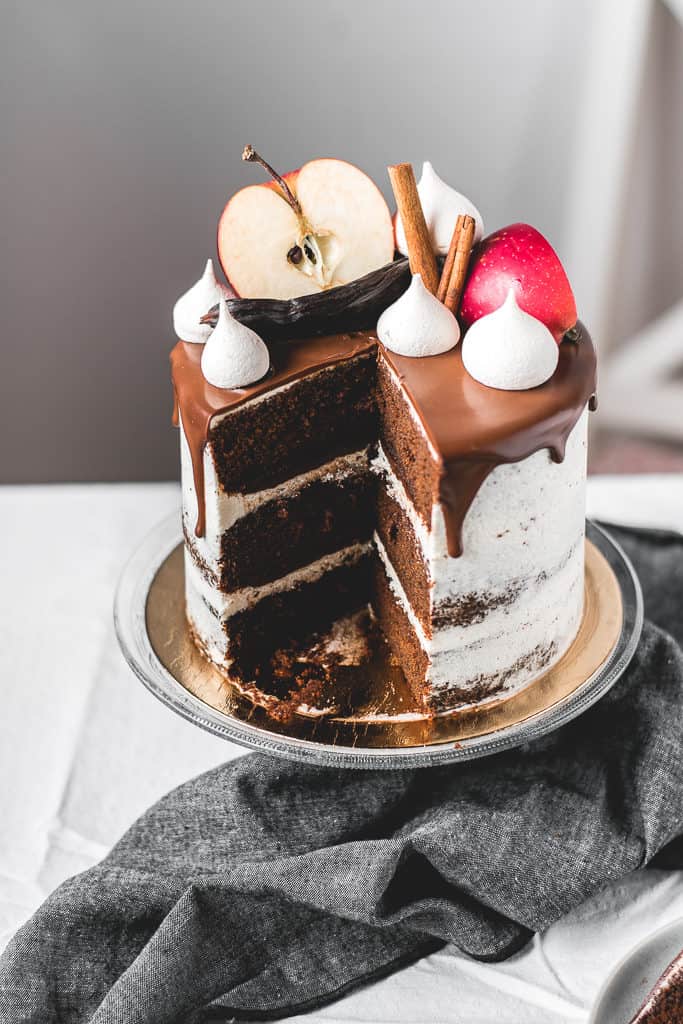
I bring you the recipe for fluffy and moist carob apple cake, filled with delicious chocolate ganache and coated in light rum buttercream frosting. Perfect fall combination!
A LITTLE BIT ABOUT CAROB...
The carob tree is a native to Mediterranean, as well as Middle East. I was born in Dubrovnik, which is situated by the Adriatic sea (a part of the Mediterranean) and there are carob trees everywhere there. The tree has edible pods, which can be eaten as they are (I'm not a fan) or they can be made into carob powder, also called carob flour.
You'll often find it mentioned as a replacement for cocoa powder. Since I'm an avid chocolate lover, I can't be fooled by that. The powder is made from grounding ripe, dried pods and has a naturally sweet and a little bit of a nutty flavour. Here's a link to an article with some facts and nutritional benefits, if you'd like to know more.
From my experience, it's one of those things you either love or hate, because of its specific flavour. I've come to love it one summer when I worked in a pastry shop in Dubrovnik. They had the most amazing chocolate carob almond cake, which was served warm, with a scoop of vanilla ice cream and prosecco reduction. Pure heaven!
After that, I was determined to make something with carob and then I found delicious Carob Apple Bundt Cake recipe, on Travelling Oven blog - by (now) my friend, Lili Basic. It was her recipe I tried 2-3 years ago, that inspired me for this cake here.
HOW TO MAKE THIS CAROB APPLE CAKE
Making this cake is extra easy. You only need two bowls, one with dry and one with wet ingredients. The good thing is, for making the cake batter you don't need an electric mixer! Yes, you can use the good ol' whisk. 😉 In my chocolate cake recipe, I use sunflower oil instead of butter, to make sure the cake is extra moist, because cocoa powder is drier than flour. Hence, that's what I did here, too.
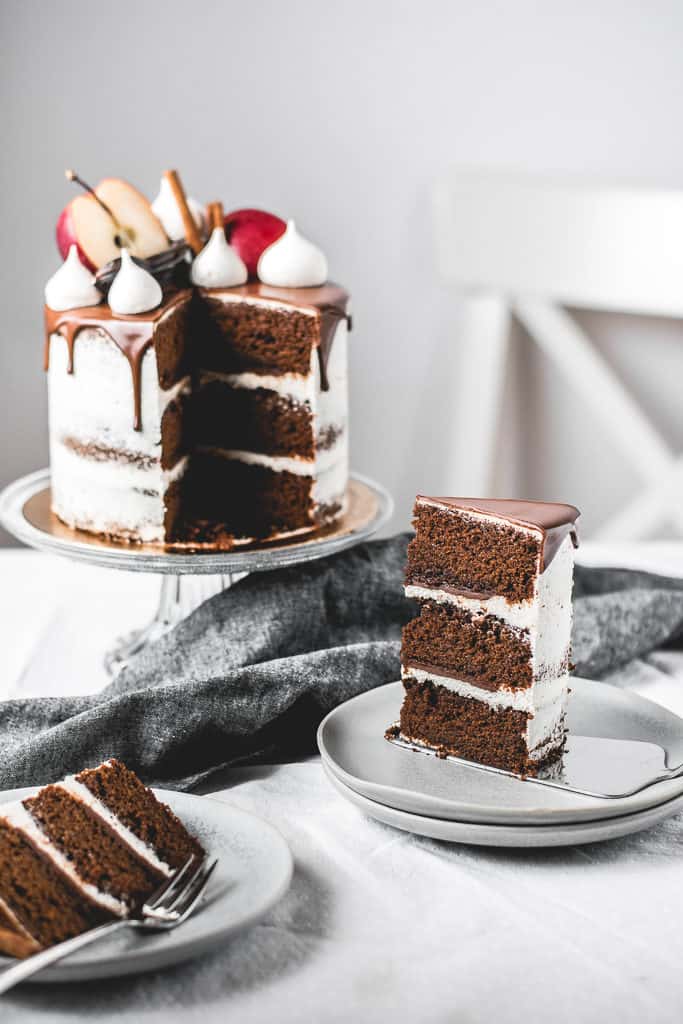
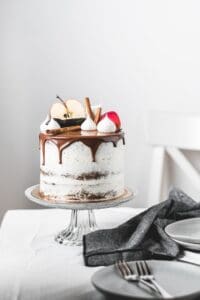
If I'm being honest, the cake on these images is actually 11 days old. I'd made the cake layers over one weekend, double wrapped it in cling film and put in the fridge (as I always do). Then I got burnt out at work, so I didn't get to assemble it during the week. I actually assembled it on the 8th day (!!) and then photographed 3 days later. My family actually tasted it when the layers where almost two weeks old. They thought the cake was freshly baked because it was still SO MOIST. Using sunflower oil and applesauce made sure of that. 😉
IF YOU’RE INTO DELICIOUS LAYER CAKES, THEN CHECK OUT THESE…
Chocolate Berry Cake
Earl Grey Tea Cake
Raspberry Vanilla Cake
Chocolate Hazelnut Cake
Dulce de leche Banana Cake
Lemon Elderflower Cake
If you make this delicious carob apple cake, let me know by tagging me on Instagram @anasbakingchronicles or tell me all about it in the comments section down below. I love seeing your creations! If you have any questions, don’t hesitate to ask. Happy baking!
Love,

📖 Recipe
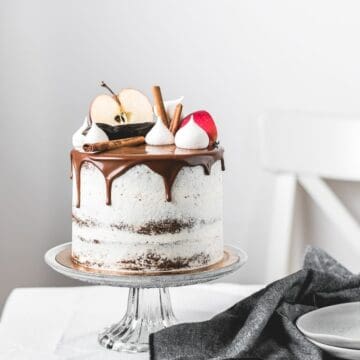
carob apple chocolate cake with rum frosting
Description
ingredients
Cupcakes
- 3 large eggs (room temperature)
- 160 g all-purpose flour
- 70 g carob powder
- 15 g unsweetened cocoa powder
- 170 g caster sugar
- 70 g light soft brown sugar
- 150 g sunflower oil
- 265 g applesauce (room temperature)
- 30 g sour cream (room temperature)
- ½ teaspoon cinnamon
- 2 teaspoon baking powder
- ¼ teaspoon salt
- ½ teaspoon vanilla extract
chocolate ganache filling
- 100 g good quality dark chocolate (60% cocoa solids)
- 150 g heavy cream
- 30 g unsalted butter
rum buttercream frosting
- 45 g all-purpose flour
- 185 g granulated sugar
- 315 g whole milk
- ½ teaspoon salt
- 290 g unsalted butter (softened)
- 4-6 tablespoons rum
chocolate drip
- 75 g good quality dark chocolate
- 115 g heavy cream
Instructions
for carob apple chocolate cake:
- Preheat your fan oven to 160°C (325°F) or 175°C (350°F) if you're not using a fan oven. Grease and line with parchment paper three 6" round cake tins. Alternatively, you can use two 8" cake tins.
- In a bowl of a standing mixer sift and combine flour, carob powder, cocoa powder, both sugars, salt, baking powder and cinnamon. These are your dry ingredients.
- In a separate bowl, combined oil, eggs, applesauce and sour cream and whisk together. Add these wet ingredients to the dry ones and mix until it's just incorporated. At the end, add vanilla extract.
- Divide the batter evenly among the 3 tins and bake for 20-25 minutes or until skewer inserted in the middle comes out with few moist crumbs. Do not overbake it.
- Once they’re done, let the cakes cool for 10-15 minutes on a wire rack before removing them from the pans to cool completely. They will continue to cook in the pan, so it’s important that the skewer is not entirely clean, but it shouldn’t be wet either.
chocolate ganache filling
- Place finely chopped chocolate in a bowl. Bring heavy cream and butter just barely to a simmer and pour over chopped chocolate. Cover it with a plate and leave it 1-2 minutes. Stir with a spatula until combined and smooth. Alternatively, you can do this in a microwave for 30 seconds. Cover with cling film, leave it at room temperature to thicken to a spreadable consistency before assemblying the cake.
rum buttercream frosting
- In a small saucepan (I always use heavy-bottomed one to prevent burning) combine flour, sugar, powdered vanilla, salt and milk. Cook over medium-high heat, stirring constantly with a whisk until it thickens. This can take about 15 minutes. The moment you realize it’s startting to boil, cook for another 2-3 minutes.
- Once it's done, transfer it to a bowl, put a cling film over it touching the surface to prevent "skin" forming and let it cool to room temperature. This is your pudding base. You can do this in a fridge, but before using it let it come to room temperature.
- Using a stand mixer fitted with the paddle attachment, beat the butter for 5 minutes until it's pale and fluffy. Then add spoonful by spoonful of previously made pudding. Mix until it's all nicely incorporated and with no lumps. Add rum and beat for another 30 seconds until everything is incorporated. Make sure not to add too much rum, otherwise your buttercream might split.
assembly
- Using a cake leveler or a long serrated knife level the tops of your cakes if needed.
- In the middle of your cake board or a serving plate put some buttercream to stop the cake from moving around.
- Place one cake layer on a cake board or a serving plate. Using a small offset palette knife or a piping bag, spread the frosting over the cake and make a buttercream dam/border. Fill it with chocolate ganache filling, but be careful not to overfill it, otherwise it will seep out on the sides. Top it with the next cake layer and repeat the process.
- Place final layer on top, upside down, and do a crumb coat on the cake. Since we're leaving the cake half-naked, make sure to crumb coat the cake as neatly as possible. When you're done, place the cake in the fridge for at least 30 minutes before pouring chocolate drip.
Notes
- If you don’t have a stand mixer, you can use a hand mixer.
- Not all ovens are the same. I suggest to check the cakes at 18 min mark and then adjust the baking time accordingly. Get to know your oven!
- If you still don’t own one, I advise you to buy a kitchen scale – they’re cheap and easy to use, and always guarantee the same results in baking!
- Cake is best eaten at room temperature. You can keep it in a fridge, wrapped in cling film, but take it out of it at least half an hour before serving.
- If you want to make a three layer 8 inch (20 cm) or 2 layer 9 inch (23 cm) cake, then double the recipe. You can do that by moving the serving slider to 24. For three layer 9 inch (23 cm) cake, triple the recipe.
- If you want to know how to make meringue kisses on top, check out this recipe.
IMPORTANT
All the recipes are developed and tested using only metric measurements and a kitchen scale. The U.S. cup and spoon measurements are provided for your convenience, but I highly recommend getting a digital kitchen scale and measuring in metrics. It's easy and always guarantee the same results in baking!
Nutrition
The nutritional information and US conversions are calculated automatically. I cannot guarantee the accuracy of this data. If this is important to you, please verify with your favourite nutrition calculator and/or unit conversion tool.



Comments
No Comments