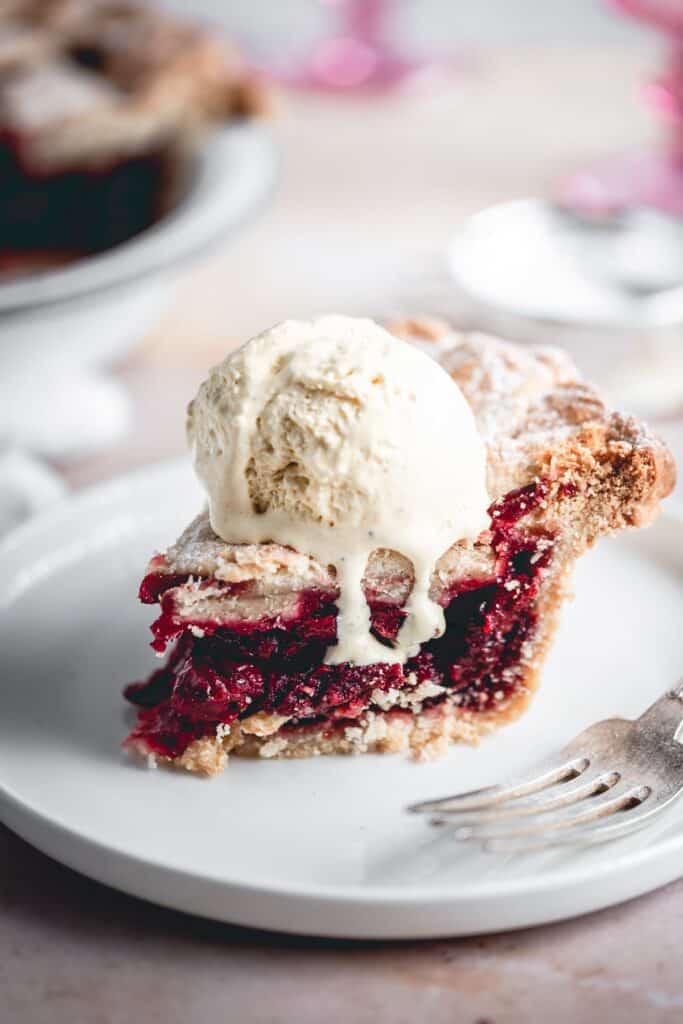
For me, pies represent a humble, homey dessert. Not many things are better than flaky, buttery dough filled with delicious, sweetened sour cherries. Add a scoop of vanilla ice cream on top and you got yourself a winning spring dessert!
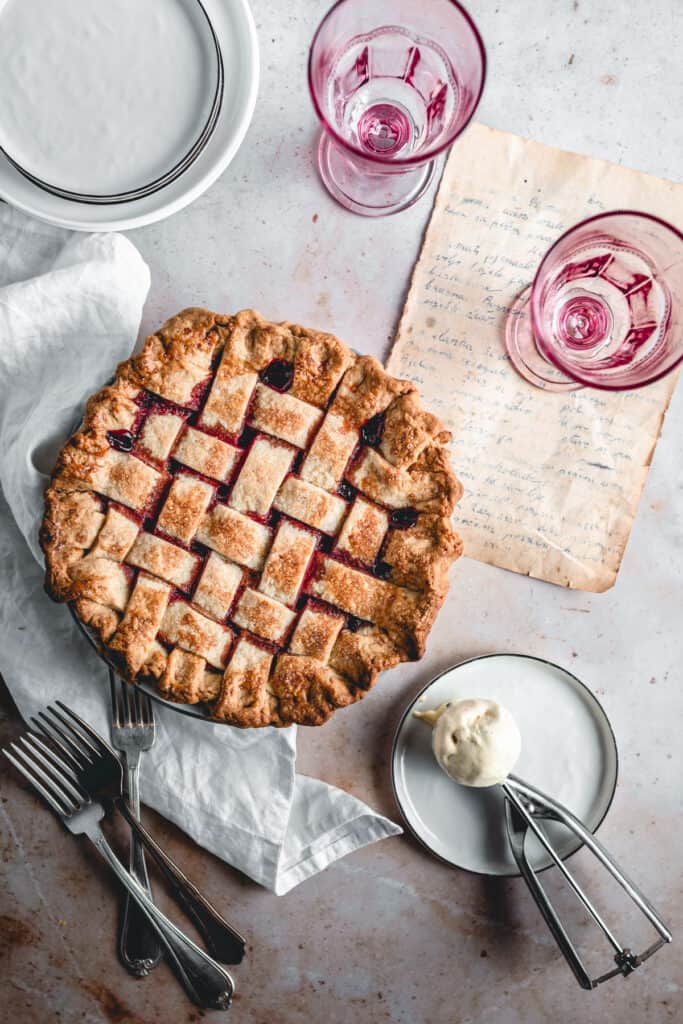
One of my new year's resolutions was to master pies. I love to eat them, I've mastered the dough making, but that edge crimping is giving me headache.
So I like to call this one a rustic, homemade cherry pie. Next one will be more beautiful and fancy, promise! 😉
Cherry pie is my absolute favourite, although that doesn't mean I don't go bonkers for other ones. When I was in elementary school (and there wasn't pie around) I'd always visit the bakery with my friends after school and most of the times I'd go for a cherry filled puff pastry.
Cherry love is strong here. But I always liked pie dough more than puff pastry, so let me walk you through the process of making it. That way you can enjoy a homemade cherry pie anytime you want!
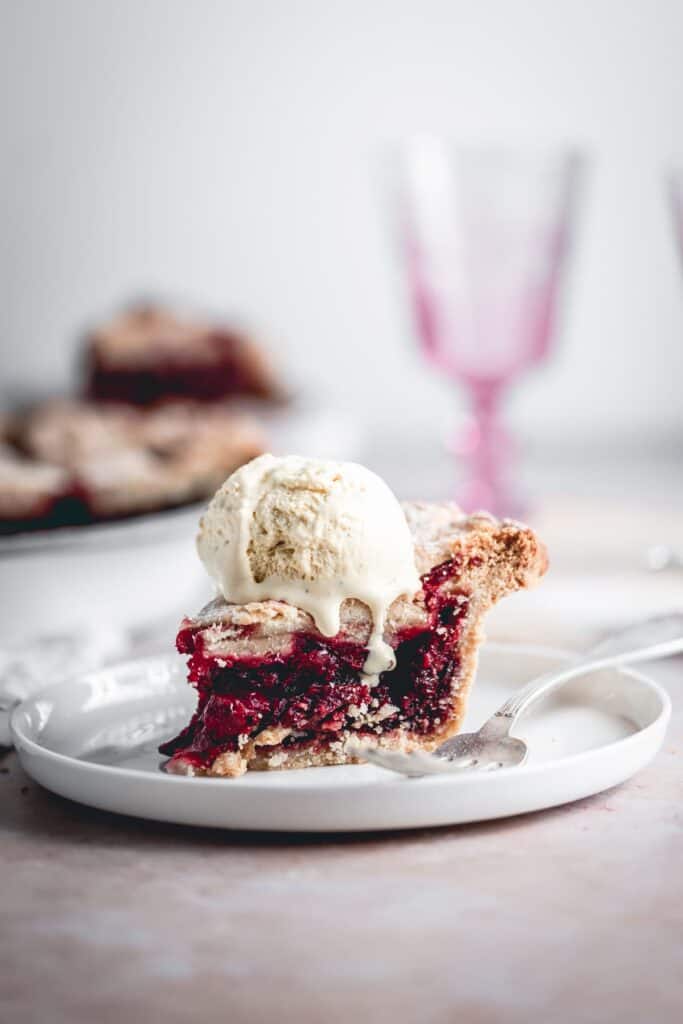
All butter pie crust
I'm an all butter kind of girl and that's how I like my pies. Flaky, buttery and delicious. Always make sure to use European style butter, the one with at least 82% fat. That way you're ensuring the best possible flavour and flakiness. More fat = more flakiness.
In making the all butter pie crust, the key is to keep the dough very cold and not let it form any gluten. That's why it's important to use cold butter and ice cold water. I always chop the butter into cubes earlier and place them in the fridge, so I know they are completely cold prior to using.
You can make the crust in a food processor or by hand. I've done it both ways and prefer the food processor just because it's quicker and your thumbs don't ache.
When you're making the dough with your hands, you need to rub the butter into the flour, until you reach almost sand like texture, but with some larger pieces of butter scattered around. The rubbing sometimes causes some thumb pain, but the result is totally worth it!
The first step is to combine the flour, sugar, salt and butter. For extra flaky and buttery crust, you want to pulse them (or rub them) until they're barely combined and you still see some chunks of butter. Oh, that will be so delicious!
After that, mix in some ice cold water, until the dough starts clumping together. As soon as you see the first "ball" shaped, stop with the mixing. It will seem like it's all just crumbs, but worry not - you'll shape everything with just a couple of squeezes of your hand.
Then form the dough into a disk, cover in cling film and leave it to rest in the fridge.
The classic pie crust uses twice as much flour than butter, but when I was lurking around on the internet I really liked Cupcake Jemma's recipe, because she used a little bit more butter. Next thing you now, I've found the best pie crust recipe, didn't even had to tweak it. 🙂 Jemma also has a video on her YT channel that can help you make it by hand, so make sure to check it out if that's your method of choice. 🙂
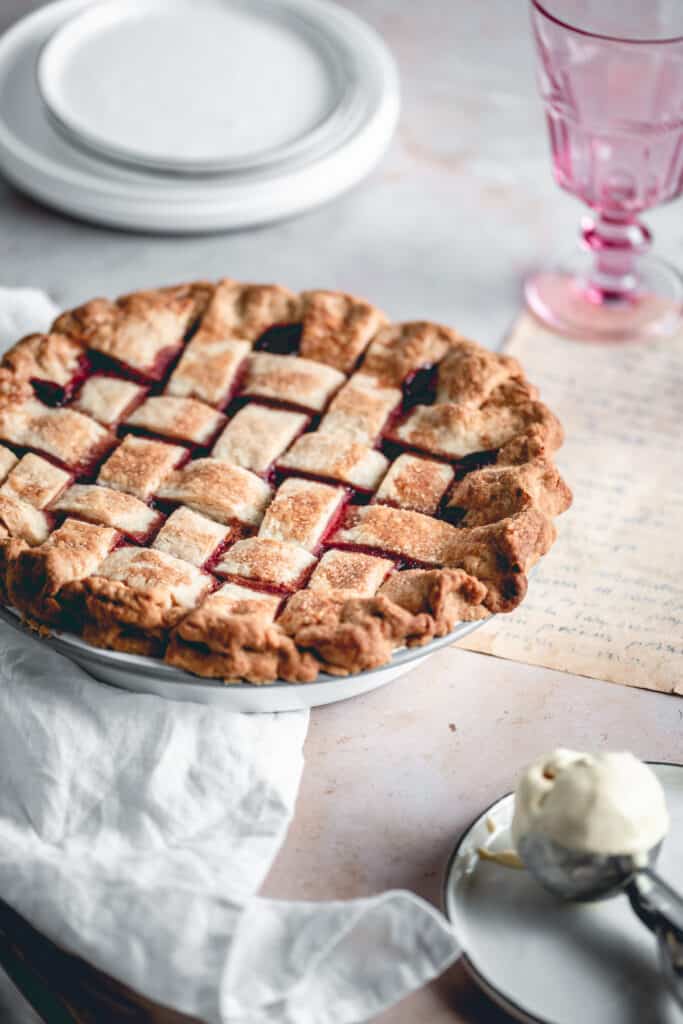
Homemade cherry pie filling
Never in my life have I seen a canned pie filling and I feel like that's an American thing? Correct me if I'm wrong. Homemade cherry pie filling is one of the easiest things in the world and the best thing is - you can use both frozen and fresh cherries! 🙂
Aside from cherries, two key ingredients you'll need are CORNSTARCH and SUGAR.
Cornstarch helps thicken the filling, because every fruit has a certain amount of liquid that gets released when exposed to some source of heat. As for the sugar, I use light soft brown sugar for better flavour.
Except for those, I like to add a little bit of vanilla and orange juice. I know some bloggers also like to use almond extract, I don't have it but I love the combination of almonds and cherries, so go for it if you feel like it!
And if you're using sweet cherries instead of sour ones, I suggest using lemon juice and zest. 🙂
For this recipes I used frozen, pitted sour cherries - my favourite. But I made a little mistake. I left the cherries to thaw for a couple of hours, but then got involved in something else, so I shoved the cherries in the fridge, thinking I'll make the pie the next morning. I threw away the liquid and left them in the sieve placed over a bowl.
However, the cherries got really dry in the fridge, releasing almost the same amount of juice as in their first thawing process. I wasn't sure if I should add all of that liquid to the filling, so I added just a couple of tablespoons and the filling ended up pretty stiff.
So, don't be like me, and thaw the cherries just until there are no visible ice traces. It's fine if they're cold. Then just combine them with all the other ingredients et voilà - you've successfully made a cherry pie filling! 🙂
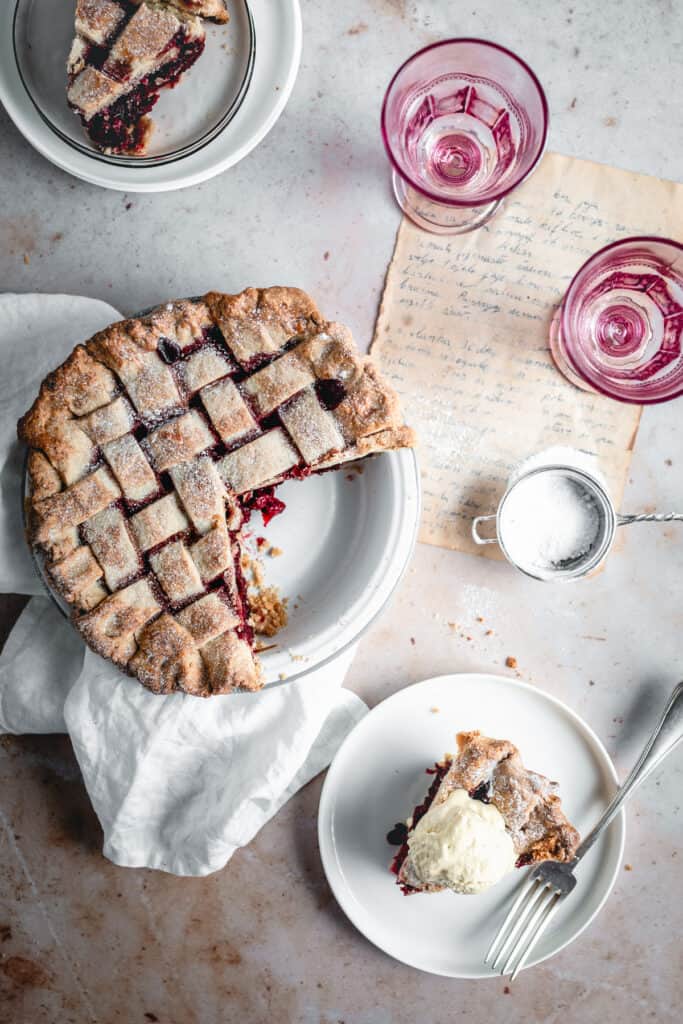
How to avoid soggy bottom
If there's one thing I've learnt while binge watching GBBO, that's that soggy bottom in a pie is a big NO. It's easier to avoid getting soggy pie crust when you're pre-baking it. But when you're doing all the once - like this cherry pie - there's a trick that always help me.
Brush your pie crust with a little bit of egg and let it dry for a couple of minutes before putting the filling in. I usually brush the crust bottom with egg white and save the egg yolk to brush the top, for a golden look.
For more fruit, spring desserts, take a look at these...
Raspberry Vanilla Layer Cake
Coconut Lime Loaf Cake
Yogurt Lemon Pie Bars
Classic Victoria Sponge Cake
Carrot Cake with Orange Cream Cheese Frosting
If you make this sour cherry pie let me know by tagging me on Instagram @anasbakingchronicles or tell me all about it in the comments section down below. I love seeing your creations! If you have any questions, don’t hesitate to ask. Happy baking!
Love,
Ana
📖 Recipe
homemade sour cherry pie
Description
ingredients
- 225 g unsalted butter (cold)
- 340 g all-purpose flour
- ½ teaspoon fine sea salt
- 30 g powdered sugar
- 5-6 tablespoons ice cold water
- 1 egg (for egg wash)
- demerara sugar (for sprinkling on top)
cherry filling
- 1 kg pitted sour cherries (I used frozen, thawed)
- 40 g cornstarch*
- 200 g light soft brown sugar
- 1 teaspoon vanilla extract
- 2 tablespoons orange juice (freshly squeezed)
- 20 g cold unsalted butter (diced)
Instructions
- In a food processor, sift your flour, salt and powdered sugar. Add cold cubes of butter. Pulse until the mixture is like a coarse sand, with a few bigger chunks of butter. Add 5 tablespoons of ice cold water and pulse until the dough starts clumping together, not more than that. If it doesn't start coming together, then add another tablespoon of ice cold water. When it's done, it should still be crumbly - that's fine, because we want to combine it together with our hands.
- Transfer the pie dough onto a lightly floured surface and using your floured hands just combine it until it forms a homogenous dough and there are no traces of flour. Form the dough into a ball and divide in half. Put each half onto a piece of plastic wrap, loosely wrap it and then flatten it with your hands to form a disk. Leave it in the fridge for at least an hour or up to four days.
- Prepare the filling. In a large bowl, combine cornstarch and light soft brown sugar using a whisks. Next, add in the cherries with vanilla extract and orange juice. Stir all the ingredients with a wooden spoon or a spatula until everything is combined. Set aside.
- Preheat your oven to 190°C (375°F).
- Take one of the discs of chilled dough and roll it out on a lightly floured surface. To keep the dough from sticking and to ensure rolling it out in a circle, rotate the dough every couple of rolls. When you're dough is approx. ¼ inch thick and has a diameter of 12 inch (30 cm) or more, carefully place it into a 9 inch (23 cm) pie dish. Using your knuckles, press the dough into corners, making sure it's smooth. Brush the dough with some egg white and leave it to dry for a couple of minutes. That will prevent liquid ruining your flaky dough.
- Spoon the into the prepared crust and top it with diced butter.
- Now, if you want a simple design, just roll out the other disc in he same manner. Top the pie with it, press the edges together, trim the excess and press with a fork for a rustic design. Also, make a couple of cuts in the middle to let the steam away, so your pie doesn't get puffy.
- For the lattice, take the other disc from the fridge, roll it out in the same manner as the first one and using a sharp knife cut strips approx. ¾ inch (2 cm) wide. Carefully place the strips on the pie, so they're over and under one another. Since I'm bad at explaining this, here's a good explanation of how to arrange lattice. 🙂
- When you're done, bake the pie in a preheated oven for around 45-50 minutes. Allow the pie to cool on room temperature for a couple of hours before eating. Serve with vanilla ice cream or whipped cream.
Notes
IMPORTANT
All the recipes are developed and tested using only metric measurements and a kitchen scale. The U.S. cup and spoon measurements are provided for your convenience, but I highly recommend getting a digital kitchen scale and measuring in metrics. It's easy and always guarantee the same results in baking!
Nutrition
The nutritional information and US conversions are calculated automatically. I cannot guarantee the accuracy of this data. If this is important to you, please verify with your favourite nutrition calculator and/or unit conversion tool.



Kristina Crvenković
Bok, pita izgleda predivno! 😍 Mogu li koristiti svjeze visnje i peci u posudi za tart od 24cm?
Ana Zelić
Baš mi je drago to čuti! Dapače, svježe višnje ili trešnje su super opcija, pogotovo kad su sad u sezoni. Pitu sam radila u veljači, zato sam koristila smrznute, a i htjela sam olakšati ljudima koji nemaju svježe ili se požele višanja usred zime. 🙂
Možda ćete trebati manje gustina, ovisi koliko su sočne i mekane. Napisala sam u Notes ispod recepta savjet.
Što se tiče posude, ako je dosta plitka, možda vam ostane viška nadjeva. Ovaj kalup za pite je po uzoru na klasične američke pite pa je dosta dubok za naš pojam, a širok 22.9 cm. A tijesta će biti dovoljno vjerujem. 🙂
Javite kako je prošlo s izmjenama!
Klara
Bog Ana, pravim ovu pitu vec vise puta i svaki put je odlicna.Koristim visnje iz kompota i stvarno, prateci upute koje su iznimno detaljne nema mjesta gresci.Hvala!