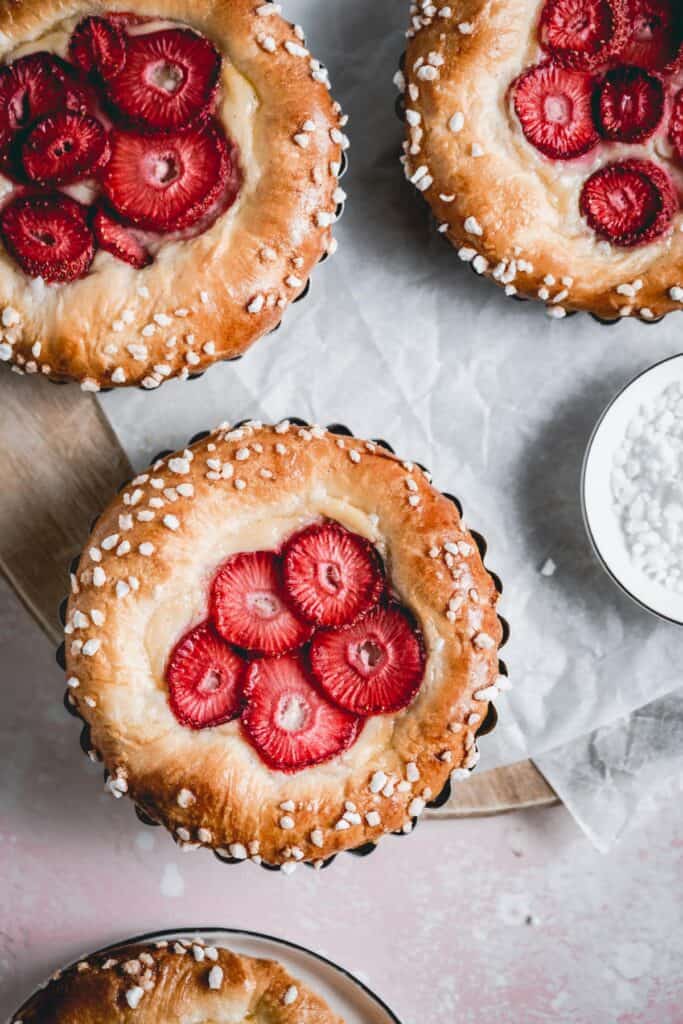
The combination of soft, rich brioche dough with velvety smooth tonka bean pastry cream and strawberries is exquisite! It results in refreshing, creamy strawberry brioche tarts that can be enjoyed as a breakfast, snack or a dessert!
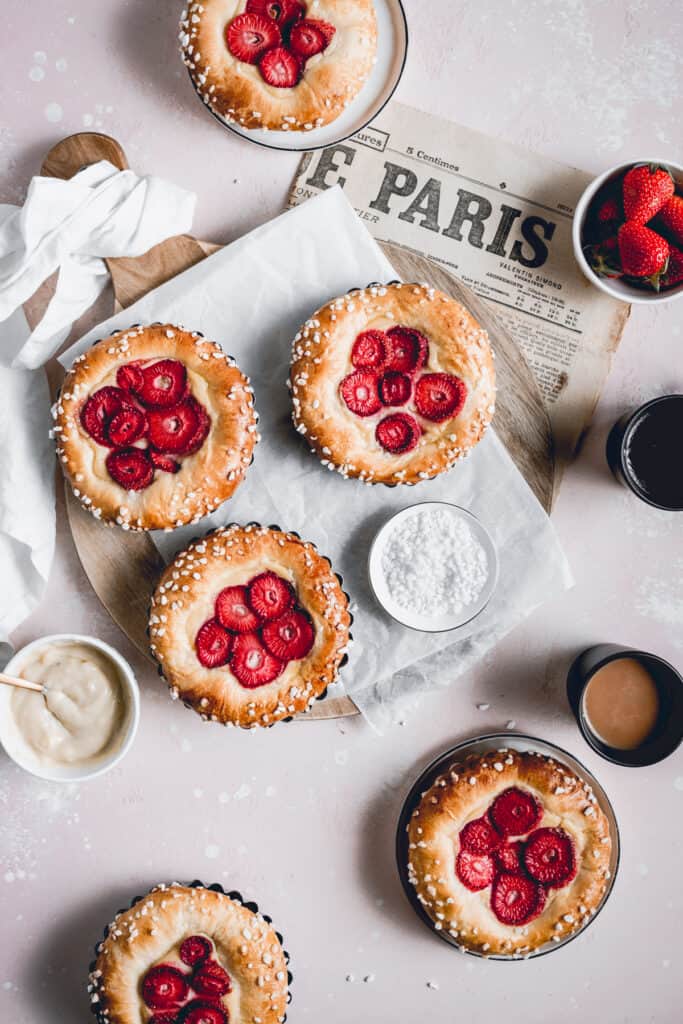
I wanted to make these cute brioche tarts ever since I bought Edd Kimber's cookbook Patisserie made simple. Edd's Blueberry Custard brioche tarts (or buns as he calls them in the book) are the cover of the cookbook, so I was always mesmerized seeing their beauty on the bookshelf.
But I wasn't a dough baker, so I was a little scared to try this recipe. That is why it's taken me this long to make them.
But finally, last year, I decided to tackle sweet doughs. I made cinnamon rolls, babka, all kinds of buns... I really dug deep and practiced a lot! And as a result - I totally fell in love with yeast baking. 🙂
So, it was only the matter of time before I tried out these soft, rich brioche tarts. Seeing all the fresh strawberries this season finally made me do my own version!
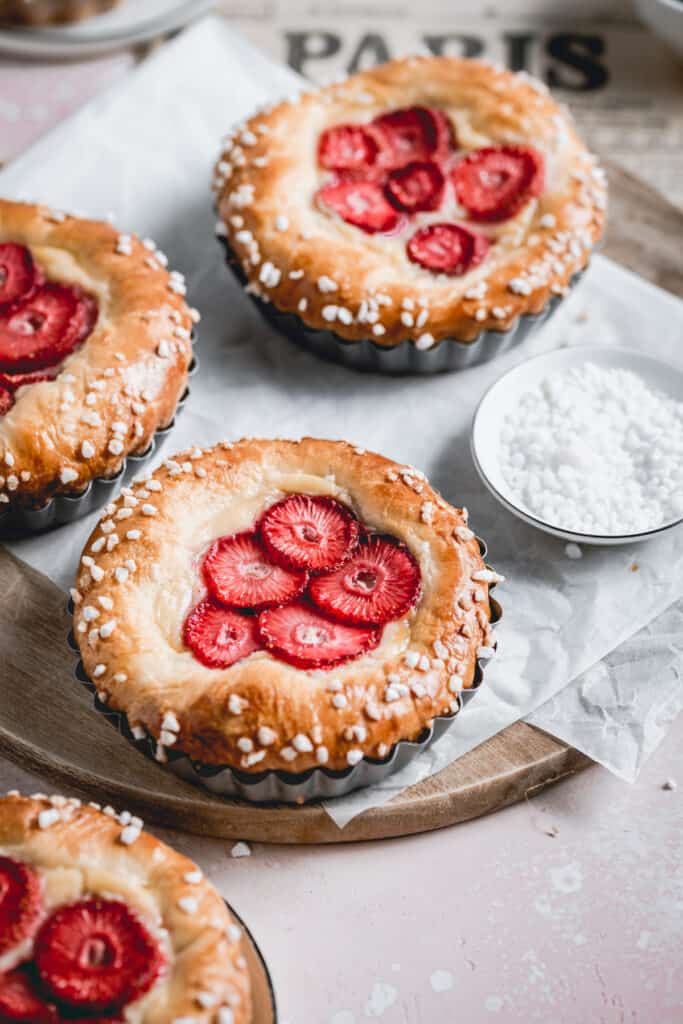
How to make brioche dough
It's sounds like a challenging task, with the french name and everything, but as it turns out - it's not that hard! Brioche dough is a rich, soft dough, made with lots of eggs and butter. Hence the richness part.
What makes it a little hard to make is all these rich additions. Adding eggs and butter is essentially adding a lot of fat to lean dough, which slows down the gluten formation. And it order to get the fluffy dough - you need to develop that gluten.
This is where stand mixers come in particularly handy. I found out that the main problem I encountered when I made yeast leavened doughs before, was not kneading the dough enough.
But can you blame me? It takes forever kneading it using just your hand a wooden spoon. 😬 That resulted in not enough gluten and structure developed, which in the end meant I got a sticky dough, very hard to work with.
That is why the process of making brioche dough starts with making butterless dough until it becomes elastic and forms gluten.
Then, you add butter in one cube at the time, with mixer still running, until it incorporates into the dough and becomes elastic-y. This can last up to 30-40 minutes. Depends on your electric mixer.
For this dough I used my brioche recipe, but adapted it to fit Edd's measurements. I was also able to finally find some bread flour in Croatia, so I used half bread and half all-purpose, just like in the original recipe. I must say there really is a difference and bread (or manitoba) flour developes gluten quicker!
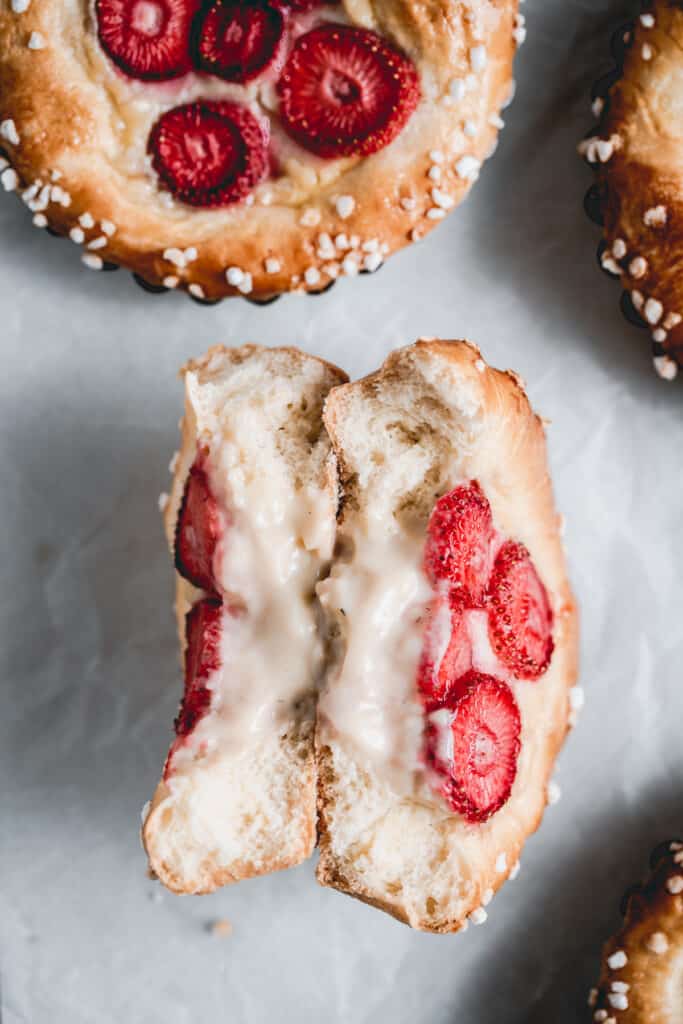
one tip
Brioche dough is usually left to prove overnight in the fridge. Slowly rise is said to provide better flavour and structure. And cold dough is much much easier to handle. But, if you're in a hurry, just let the dough rise at room temperature for a faster prove. I do suggest you place it in the fridge afterwards to chill and stiffen, because it will be easier to roll it out.
Tonka bean pastry cream
It seems like Tonka is a relatively "new" spice in the western culture. A couple of years ago when I mentioned it in one FB baking group, very few people were aware of it and I also found out that tonka bean was illegal in the US. I don't know if the situation is changed now, hope it is!
Tonka bean looks like a little black, dry, wrinkled legume. It has a beautiful scent, that reminds you of a spicy, kind of smokey vanilla. It's used mostly grated, just like nutmeg.
I've tested two ways of making tonka bean pastry cream.
- I infused the milk with a little bit of grated tonka, to get the specks, and two whole tonka beans, cut in half. After the hot milk has had time to infuse (45-60 minutes), I reheat it and used to make a pastry cream.
- Second time around, I made classic vanilla pastry cream because my family wanted to try both versions. So I just grated some tonka in half of already cooked pastry cream. The flavour didn't really come through like in the first method. But I also think I made a mistake (I was in a hurry) of grating the tonka in cold pastry cream, instead of a hot one.
But, the verdict is here. Everyone preferred tonka bean pastry cream as a pairing to strawberries, over the vanilla one! I call that a win. 🙂
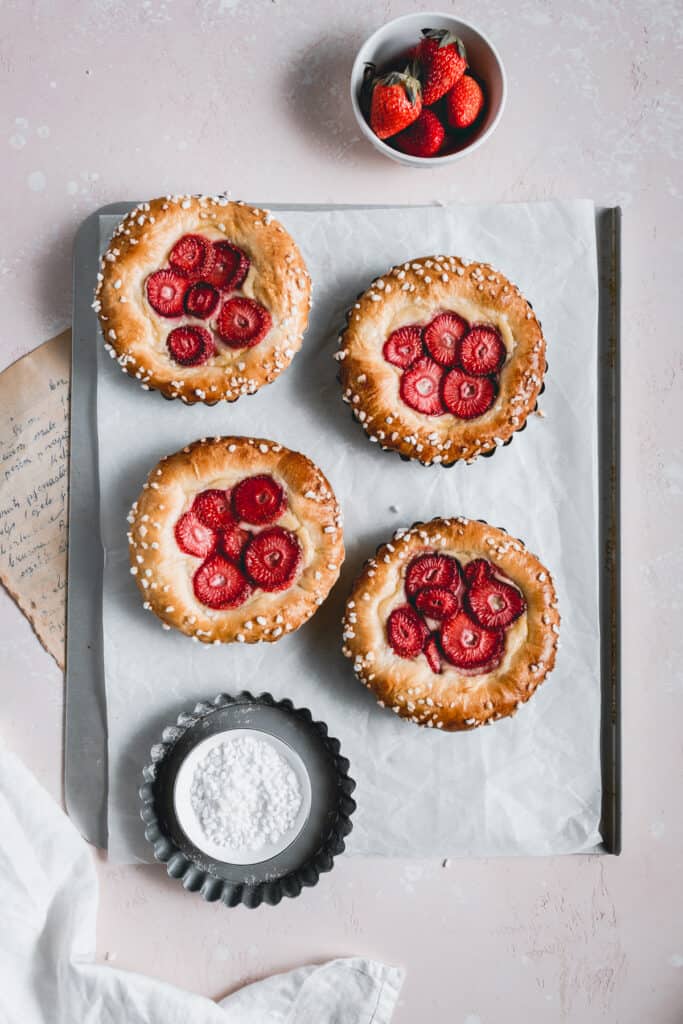
Storage tips
As it's the case with all desserts made with yeast leavened dough, they are the best when eaten the same day. I suggest keeping them in an airtight container if you wish to eat them the next day as well. If you don't have an airtight container, tightly wrapped cling film would also do the trick. My family ate them 2 days after and they were still good, but not as good as the fresh ones.
If you're into fruit summer desserts, then check out these...
Spiced Nectarine Blackberry Galette
Lemon Cheesecake
Blueberry Ginger Coffee Cake
Coconut Lime Loaf Cake
Yogurt Lemon Pie Bars
Homemade Cherry Pie
If you make these lovely Strawberry Custard Brioche Tarts let me know by tagging me on Instagram @anasbakingchronicles or tell me all about it in the comments section down below. Seeing my recipes come to life in your kitchens, always makes me incredibly happy! If you have any questions, don’t hesitate to ask. Happy baking!
Love,

📖 Recipe
strawberry and tonka custard brioche tarts
Description
ingredients
for the brioche dough
- 180 g all-purpose flour
- 180 g strong bread (manitoba) flour
- 2 large eggs + one for egg wash (room temperature )
- 85 g lukewarm water
- 30 g lukewarm milk
- 1 packet instant dry yeast
- 80 g caster sugar
- 100 g unsalted butter (room temperature)
- ¾ teaspoon fine sea salt
for the tonka bean pastry cream
- 300 g whole milk
- 2 tonka beans
- 2 large egg yolks
- 1 large egg
- 25 g cornstarch
- 100 g caster sugar
- ¼ teaspoon fine sea salt
- ½ teaspoon vanilla extract
- 25 g unsalted butter
- 300 g fresh strawberries
- pearl sugar
Instructions
for the brioche dough
- In a bowl of a stand mixer fitted with the dough hook pour milk and water, add instant dry yeast, sugar and eggs. Combine a little bit using a whisk. Then, add to it sifted flour and salt. Knead on medium-low speed for 10-15 minutes or until it starts pulling from the sides and is elastic-y.
- Meanwhile, cut your softened butter into cubes.
- With the mixer still running, add the butter one cube at a time and mix until fully incorporated into the dough. Then continue mixing for a further 10-15 minutes or until it's elastic and no longer sticking to the bowl. On a lightly floured surface, knead the dough a little bit to form a ball and place into a lightly greased bowl. Cover with cling film and let it rise slowly in the fridge, overnight or up to 48 hours.*
for the tonka bean pastry cream
- In a medium sized saucepan, heat the milk with approx. ¼ teaspoon of freshly grated tonka bean and two whole tonka beans (cut in half) until boiling point. Cover with a lid and leave for 45-60 minutes for milk to infuse the flavour. Take out the tonka beans and heat the milk up again.
- In the meantime, in a separate bowl, combine the egg yolks, egg, cornstarch, sugar and salt using a whisk. Once the milk has reached scalding point, start pouring it SLOWLY to egg mixture, whisking continuously, so you don’t cook the eggs. About half to ⅔ of hot milk will do. Once you tempered the egg mixture, add it to the pot with remaining milk and continue cooking, whisking constantly, until it thickens.
- Once it’s done, stir in vanilla extract and butter and whisk until everything is combined. Strain the pastry cream to a clean bowl through a sieve, to get rid of any cooked egg bits and lumps. Cover with cling film touching the surface to prevent skin forming. Leave it to cool at room temperature, then put it in the fridge to cool completely.
assembling
- Remove the dough from the fridge onto a lightly floured surface, slightly knead it and divide into 10 equal (by weight) sized balls of dough. I use a kitchen scale for this. Using a floured rolling pin, roll out each piece (one at a time) into a circle approx. 11-12 cm in diameter. Depends on the size of your tart pans - mine are 10 cm wide. Line the tins with the rolled out dough as if you were making a pie crust - up the sides as well.
- Place tart tins on a baking tray, cover with plastic wrap and leave to rise, approx. 45-60 minutes. They have to be puffy and when you press it slightly with your finger it should leave an indent.
- Preheat your fan oven to 160°C (325°F) or 175°C (350°F) if you're not using a fan oven.
- Take the pastry cream out of the fridge and beat it with a hand mixer until creamy. Slice fresh strawberries into 2-3mm thick slices.
- Brush the edges of the risen brioche tarts with whisked egg and sprinkle with pearl sugar. If you don't have belgian pearl sugar, you can use any coarse brown sugar or even almond flakes. Fill the middle of each brioche with pastry cream and top with strawberry slices.
- Bake in a preheated oven for 20-25 minutes or until the edges are golden colour. 22 minutes was just right for me. 🙂
Notes
- Not all ovens are the same. If you experience browning at the top and are afraid it's too much, put a baking paper sheet over it or cover in aluminium foil. Just be careful when pulling the pan out of the oven - aluminium foil gets really hot!
- They are best eaten the same day. I suggest keeping them in an airtight container if you wish to eat them the next day as well. If you don't have an airtight container, tightly wrapped cling film would also do the trick.
- If you still don’t own one, I advise you to buy a kitchen scale – they’re cheap and easy to use, and always guarantee the same results in baking!
- This recipe is inspired by the amazing Edd Kimber and his breakfast brioche buns from his cookbook Patisserie Made Simple.
- You don't need to prove the dough overnight if you're in a hurry, although the dough is more malleable when is cold. You can prove it for approx. an hour at room temperature and then put in the fridge for 1-2h to chill.
IMPORTANT
All the recipes are developed and tested using only metric measurements and a kitchen scale. The U.S. cup and spoon measurements are provided for your convenience, but I highly recommend getting a digital kitchen scale and measuring in metrics. It's easy and always guarantee the same results in baking!
Nutrition
The nutritional information and US conversions are calculated automatically. I cannot guarantee the accuracy of this data. If this is important to you, please verify with your favourite nutrition calculator and/or unit conversion tool.


Comments
No Comments