Quick and easy recipe for the softest, homemade cinnamon rolls, smothered in delicious vanilla bean cream cheese glaze. Perfect fall bake!
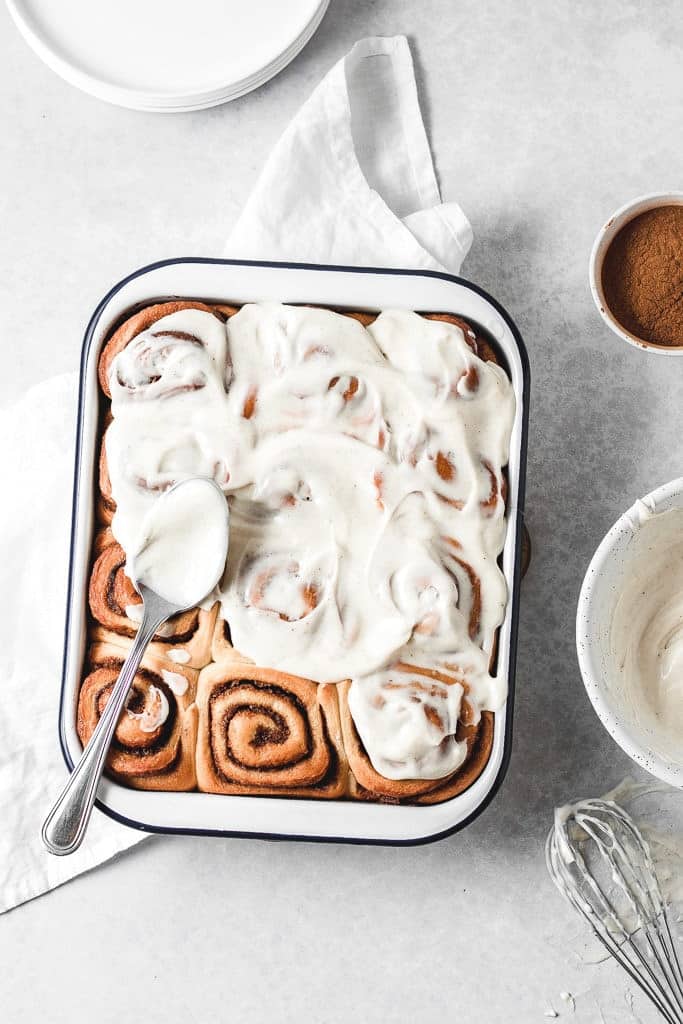
Finally, the summer is coming to an end. It's raining, it's colder - and what a better way to welcome fall, than with these pillowy soft cinnamon rolls. Aaah, just saying the name makes me feel all cozy and warm inside! They were very popular the other day when I posted them on Instagram. Quite a few of you asked me where's the recipe and when will it be available. Hearing from you guys makes me really happy!
So I changed my plans a bit and decided to bring you this recipe as soon as possible! 🙂
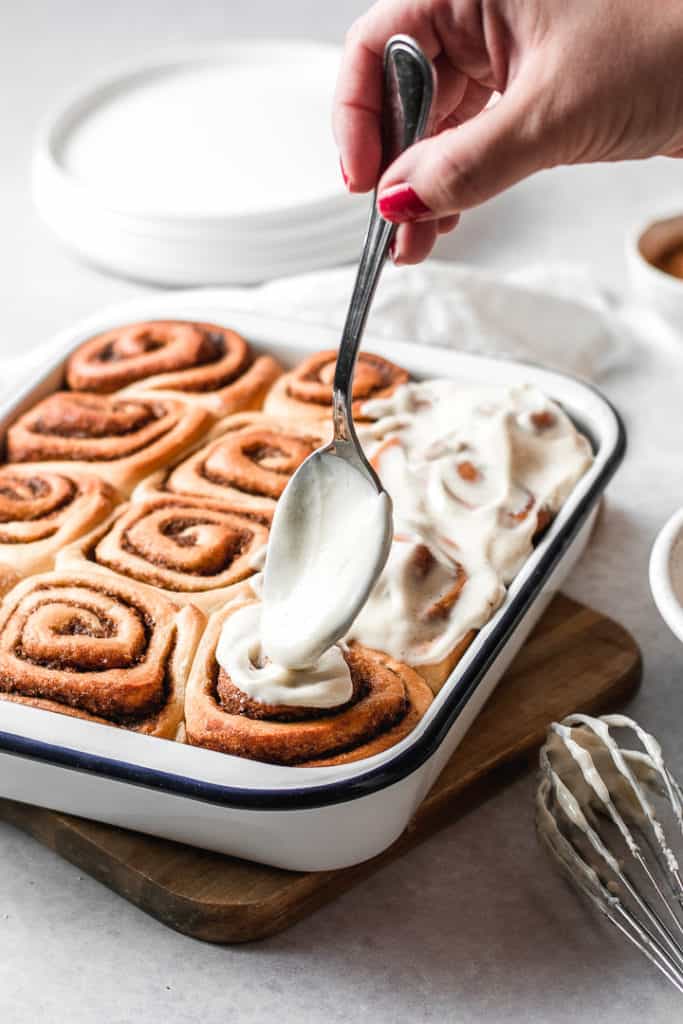
TIPS FOR MAKING THESE CINNAMON ROLLS
Don't be afraid when working with yeasted doughs. I know you are, I was, too. But practice makes perfect, and I hope these insights from my experience will help you.
- Having a stand mixer is reeeaally helpful (I know I love it), but you can easily make these using an electric hand mixer fitted with the dough attachments. Lastly, you can always use a wooden spoon and your hands - it'll just be more painful for your muscles. Call it an excercise. 😉
- When working with yeast, it's important to activate it with warm liquid. And I say WARM, not hot. If your liquid (in my case mix of water and milk) is TOO HOT, you'll kill the yeast and your dough won't rise. The sweet spot for this is around 45-50°C. This applies for active dry and fresh yeast. If you're using instant yeast, there is no need to activate it - although I always do, to make sure everything is going smoothly haha.
- Since the dough need to prove (rise), it's best to do that in a warm enviroment, because what makes it rise is yeast. But, if it's cold or you want to speed up the process, then use a warm oven! Honestly, that's what I do in 99% of the time. I preheat the oven to 50C, turn it off and leave for a minute and then put the dough in there to prove. Works like a charm every time!
- I prefer covering the dough with cling film, I feel like it rises more evenly, but you can cover it with a CLEAN tea towel as well.
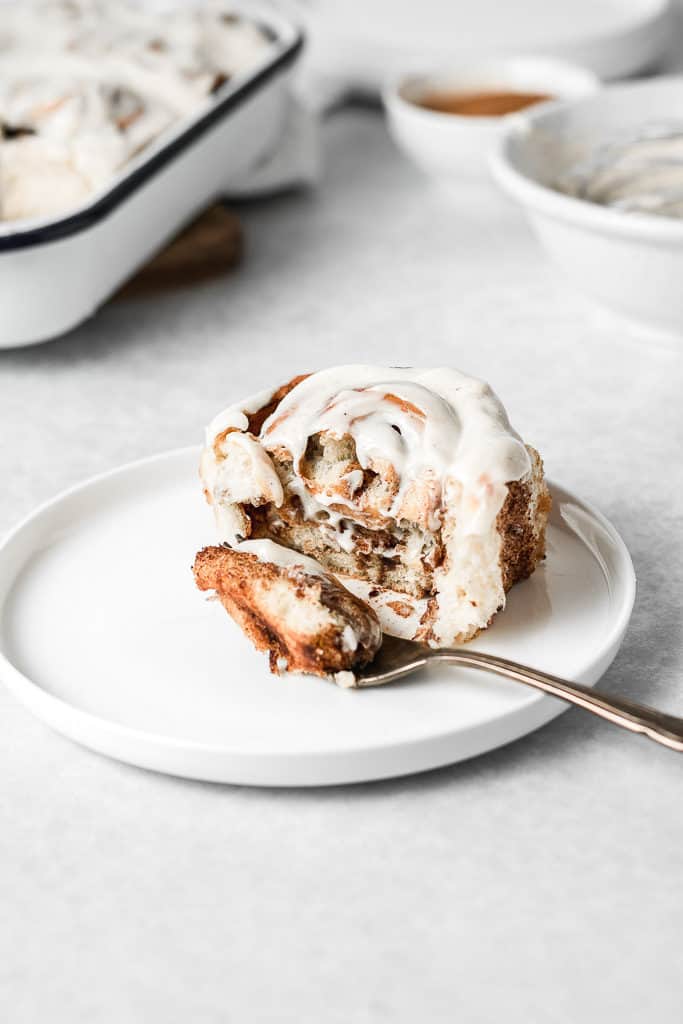
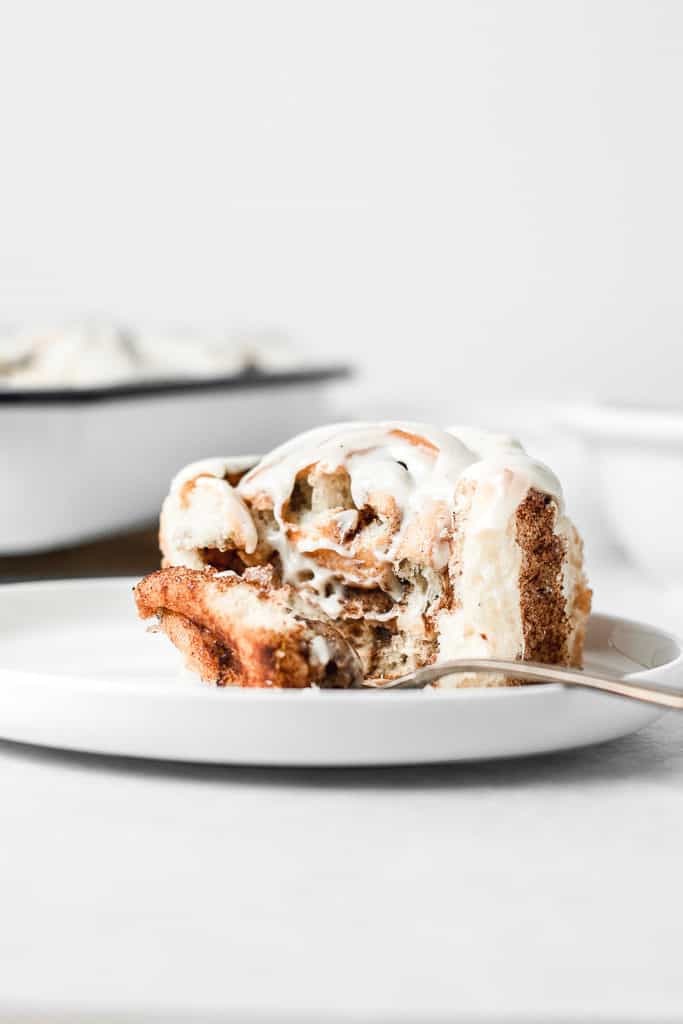
Omg. Can you see how fluffy these cinnamon rolls are? I just want to reach out and grab one through my screen - they are so, so good! Those vanilla specks in the glaze are giving me life!
HOW TO MAKE THE BEST CREAM CHEESE GLAZE
What makes this cream cheese glaze THE BEST is definitely vanilla bean. Just seeing all those gorgeous, black, vanilla specks makes me so happy. If you don't have fresh vanilla bean (because they're so damn expensive), you can use powdered vanilla bean or vanilla extract.
I actually used the powdered vanilla (which also is quite expensive) and it was ah-mazing. Vanilla extract will do the trick, although the flavour will be ever so slightly weaker and you won't get to enjoy all those specks. But that shouldn't stop you from making these gorgeous cinnamon rolls! 🙂
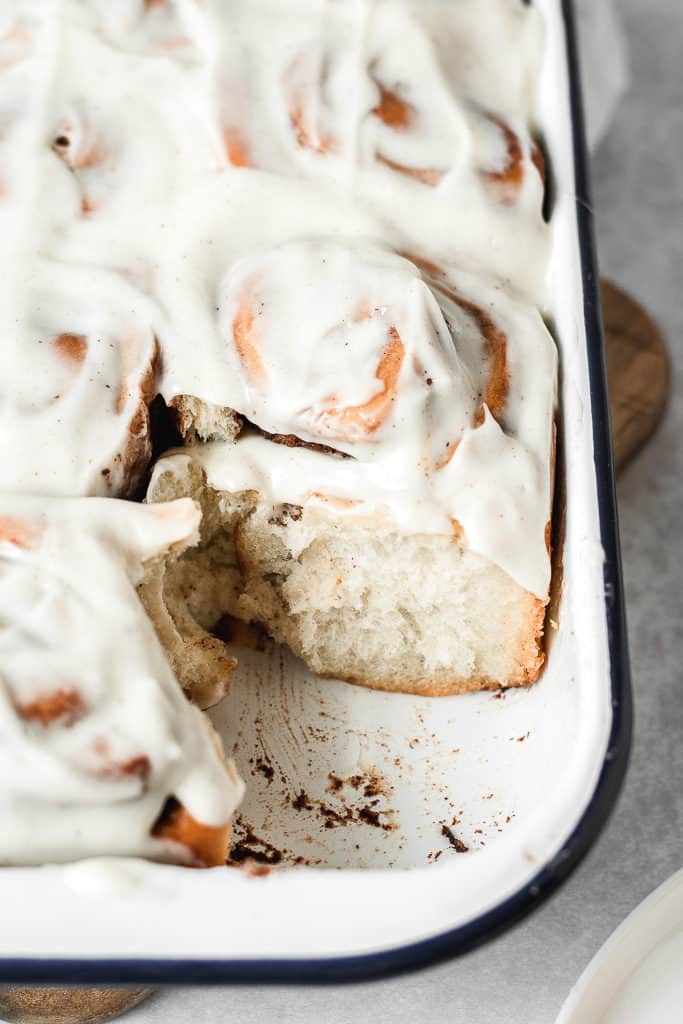
The main thing to remember when making this glaze is: everything needs to be ROOM TEMPERATURE. We're mixing butter with cream cheese, to make it more stable (and delicious, cause - butter, doh), so in order to emulsify the two they need to be the same temperature. Otherwise, you might experience curdling and cottage-cheese-like glaze.
Now that we've established the essentials, the next two ingredients you'll need are powdered sugar and milk. With these two you're basically determining the thickness of the glaze. I like it on the thicker side, but still kind of pourable. If you like it runnier just add a little bit more milk, or cut down the sugar. Play with it to find your sweet spot!
ARE YOU INTO EASY HOMEMADE RECIPES? THEN CHECK OUT THESE...
Soft Coconut Sugar Cookies
Brown Butter Chocolate Chip Cookies
Fluffy doughnuts with orange vanilla pastry cream
No bake Nutella Cookie Dough Cheesecake
If you make these gorgeous cinnamon rolls, let me know by tagging me on Instagram @anasbakingchronicles or tell me all about it in the comments section down below. I love seeing your creations! If you have any questions, don’t hesitate to ask. Happy baking!
Love,

📖 Recipe
soft homemade cinnamon rolls
Description
ingredients
for the dough
- 375 g all-purpose flour (sifted)
- 1 large egg (room temperature)
- 120 g warm water ((45-50C))
- 65 g warm milk
- 1 packet active dry or instant yeast ((9 or 7 g))
- 75 g caster sugar
- 60 g unsalted butter
- ¾ teaspoon salt
for the filling
- 100 g unsalted butter (room temperature, soft)
- 100 g light muscovado sugar (or any light soft brown sugar)
- 2 tablespoons cinnamon
for the vanilla bean cream cheese glaze
- 130 g cream cheese (room temperature)
- 60 g unsalted butter (room temperature)
- 100 g powdered sugar (sifted)
- 1-3 tablespoons whole milk
- 1 vanilla bean (or ½ teaspoon powdered vanilla)
Instructions
for the cinnamon rolls
- Preheat your oven to 170°C (340°F). Grease a 22x33 cm (13x9 inch) pan with softened butter.
- In a bowl of a stand mixer sift together flour, salt and sugar. Set aside while you prepare the rest.
- If you're using active dry yeast (like me), you need to activate it first. Heat your milk and water over a medium heat until it reaches about 50°C. Put active dry yeast in a small bowl and cover with couple of tablespoons of that warm milk and water mixture and a teaspoon of sugar. Mix it with a teaspoon and leave it to rest for 5 minutes or until it becomes all frothy and bubbly on top.
- While your yeast is activating, heat up your milk and water mixture just a bit more and then pour it over cubed unsalted butter in order to melt it. Let it cool down - this mixture shouldn't be over 50-55C , otherwise it might kill the yeast.
- Once you got everything ready, pour your yeast and milk/water/butter mixture to the flour. Add an egg. Using your stand mixer fitted with the dough hook, knead it on low speed for about 10 minutes or until it starts pulling from the sides. You may want to turn the mixer down once or twice and scrape the bottom with a spatula to make sure everything combines well.
- The dough should be a little sticky, that's fine. When you're done with the stand mixer, transfer the douhgh to a lightly floured surface and knead it for just a couple of minutes. Transfer it to a greased bowl and let it rest fo 15-20 minutes, covered with cling film, while you prepare the filling. It doesn't need to double in size or anything.
- For the filling - mix together softened butter, light muscovado sugar and cinnamon. If your sugar is lumpy, make sure to sift it before. Mix everything with a spatula, until smooth and combined.
- After 15-20 minutes, using a floured rolling pin - roll the dough on a lightly floured surfaced to around 40x30 cm rectangle. (17x12 inch)
- Using an offset palette knife, spread the filling evenly, making sure you're not damaging the dough. Roll the dough on the long side to a log. Cut about a centimeter from each end to get neat edges. Then divide the log into 12 pieces using a sharp knife (you don't want to smush everything)
- Place cinnamon rolls in a prepared pan leaving quite a bit of space so they can rise properly. I actually used a too small of a pan, it would be better if I put only 9 of them in there, but it turned out okay anyway. 🙂
- Cover your rolls with a clean tea towel or cling film and leave them to rise in a warm place, until double in size ( approx. 45 minutes). You'll know the dough is perfectly risen if it leaves a small indent when you press your finger.
- Bake them for about 25 minutes in a preheated oven. Once they're done, leave them to cool a little bit before glazing.
for the vanilla bean cream cheese glaze
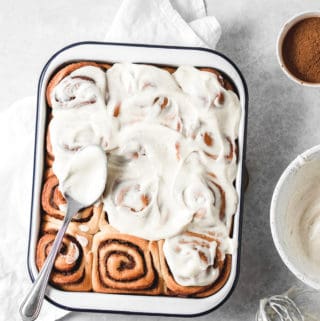
- Make sure all your ingredients are ROOM TEMPERATURE. In a medium sized bowl, mix together cream cheese and butter with a whisk or a hand mixer. Add sifted powdered sugar and vanilla. Now, depending on the preferred thickness of the glaze, add anywhere between 1 to 3 tablespoons of whole milk. I added two tablespoons. Pour over slightly warm cinnamon rolls and enjoy! 🙂
Notes
- Not all ovens are the same. If you experience browning at the top and are afraid it's too much, put a baking paper sheet over it or cover in aluminium foil. Just be careful when pulling them out of the oven - aluminium foil gets really hot!
- They are best eaten the same day. I suggest keeping them in an airtight container if you wish to eat them the next day as well. If you don't have an airtight container, tightly wrapped cling film would also do the trick.
- If you still don’t own one, I advise you to buy a kitchen scale – they’re cheap and easy to use, and always guarantee the same results in baking!
IMPORTANT
All the recipes are developed and tested using only metric measurements and a kitchen scale. The U.S. cup and spoon measurements are provided for your convenience, but I highly recommend getting a digital kitchen scale and measuring in metrics. It's easy and always guarantee the same results in baking!
The nutritional information and US conversions are calculated automatically. I cannot guarantee the accuracy of this data. If this is important to you, please verify with your favourite nutrition calculator and/or unit conversion tool.



Comments
No Comments